Our neighbor watched us pump up a basketball for a concrete job and asked, flatly, whether the ball was going to make it.
It wasn’t. A size 7 ball is about 9½ inches across, and how high it sits in the form decides the whole concrete outdoor sink.
Ours sat 5½ inches above the form floor, under 7 inches of concrete, which leaves a bottom 1½ inches thick. Let the ball ride an inch higher and the core bit goes through something closer to a cracker.
The first store run came back with a ¼-inch masonry bit instead of a 1¾-inch core bit. Second trip.
Wet mix smells like a damp basement floor, and the boards under the form creak once as the last bucket goes in.
Why a Basketball Makes a Good Sink Mold
A ball is the one shape that’s hard to build out of wood and easy to find in a garage. Concrete copies its skin exactly, down to the black seams, which print into the bowl as thin raised ribs.
Casting upside down does the rest. The floor of the form becomes the top of the sink, so a smooth floor gives you a smooth rim without any troweling.
We figured getting the ball out would be the fight. It took about ten seconds once the air was out; the sanding took an hour and a half.
Materials & Tools
Concrete: any bagged 5000 psi mix works. Countertop mixes pour smoother, but cost several times as much per bag.
Melamine or plywood: the floor of the form is the face you’ll look at every day, so this is the one place to spend. Plywood works if you cover the floor in packing tape; bare, it prints its grain.
Not in the $180: the faucet, drain and hose adapter, about $90 more, plus the drill, jigsaw, mixing tub and rubber mallet most people already own.
Step by Step
Step 1Build the form
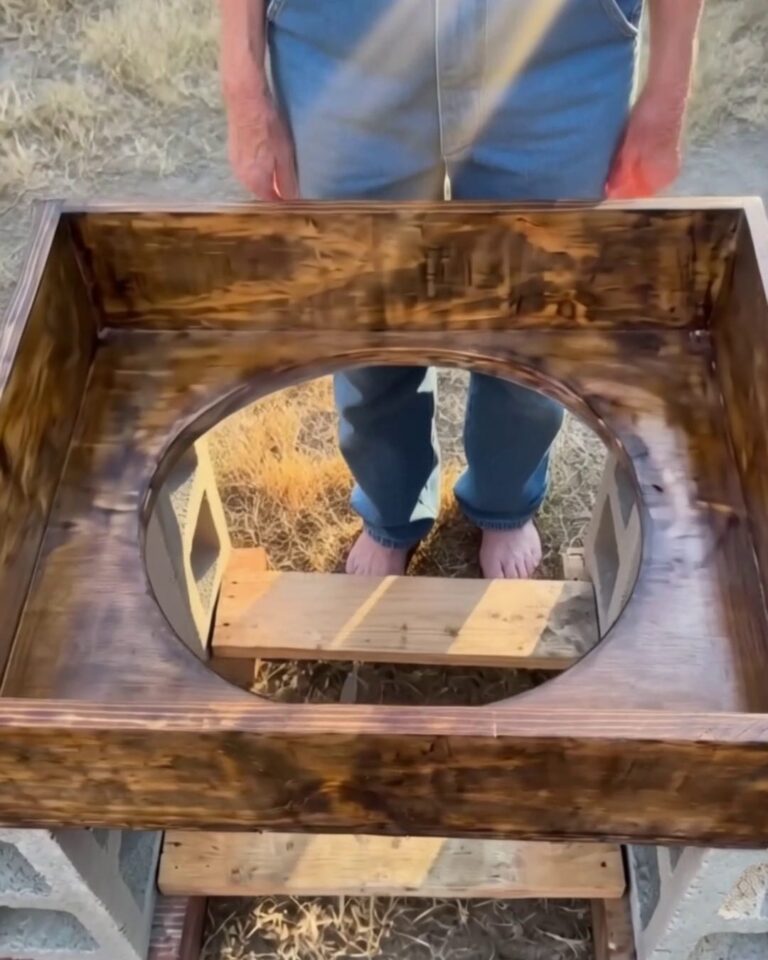
Cut a 24 × 24 in floor and four 7 in strips from the melamine: two 18 in long, two 19½ in long. Screw the strips into a box that measures 18 × 18 in inside, then screw the floor on from underneath.
Cut a 9¼ in circle in the center of the floor with a jigsaw. Run a thin bead of silicone along every inside corner, smooth it with a fingertip, and give it a night to cure.
Set the form on two boards laid across four cinder blocks, about 20 in apart, so the hole hangs free between them.
Step 2Seat the ball
Pump the ball firm, give it a thin coat of cooking spray, and drop it into the hole. Measure from the form floor to the top of the ball: you want 5½ inches.
Too high, open the hole a little with a rasp; too low, wrap a turn of duct tape around the ball’s middle. Then tape the seam where ball meets floor from underneath so no paste leaks out.
The ball wants to float — more than 20 pounds of push once the mix surrounds it. Screw a scrap 2×4 across the top of the form and wedge a 1½ in stub of 1¼ in PVC pipe between the board and the ball, with tape over its top and one wrap around its side so it twists out later.
It pins the ball, and the stub marks the drain.

Step 3Mix and pour
Mix one bag at a time in a tub with about 3 quarts of water (check the bag), until it looks like thick oatmeal and holds a ridge. Gloves and eye protection on; wet concrete burns skin.
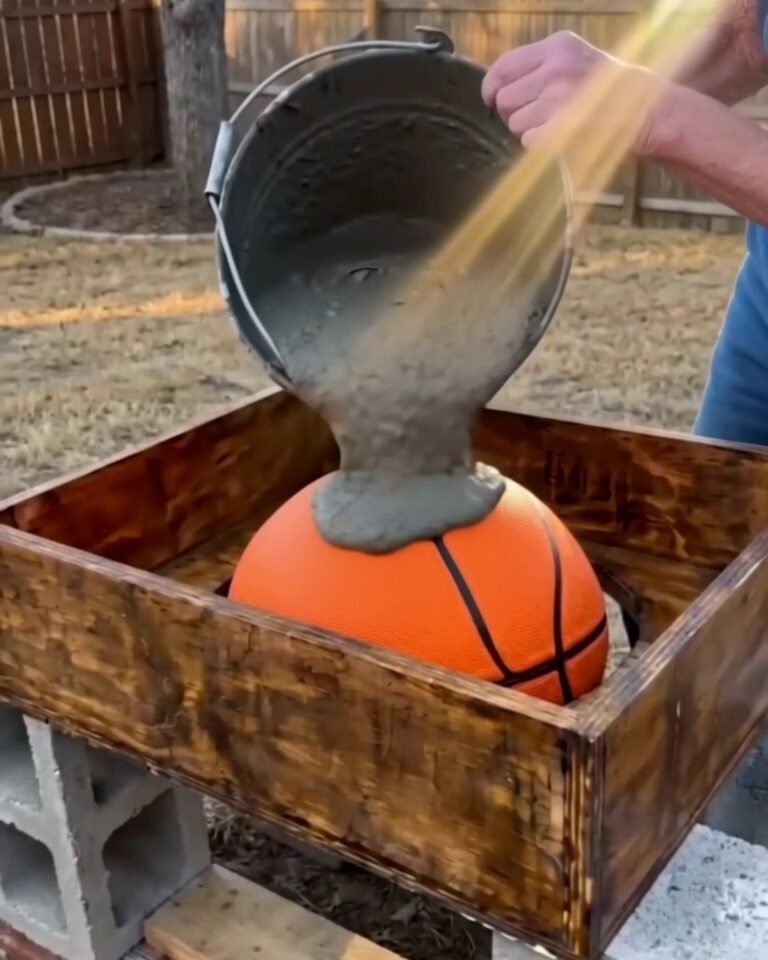
Pour the first bucket over the ball and let it slump down around it. Rap the sides of the form with a rubber mallet for a full minute — every bubble you knock out now is a pinhole you won’t fill later.
Two bags only just fill it, and with what sticks to the tub you’ll come up a little short. Mix part of the third to finish.
Step 4Strike it flat and wait
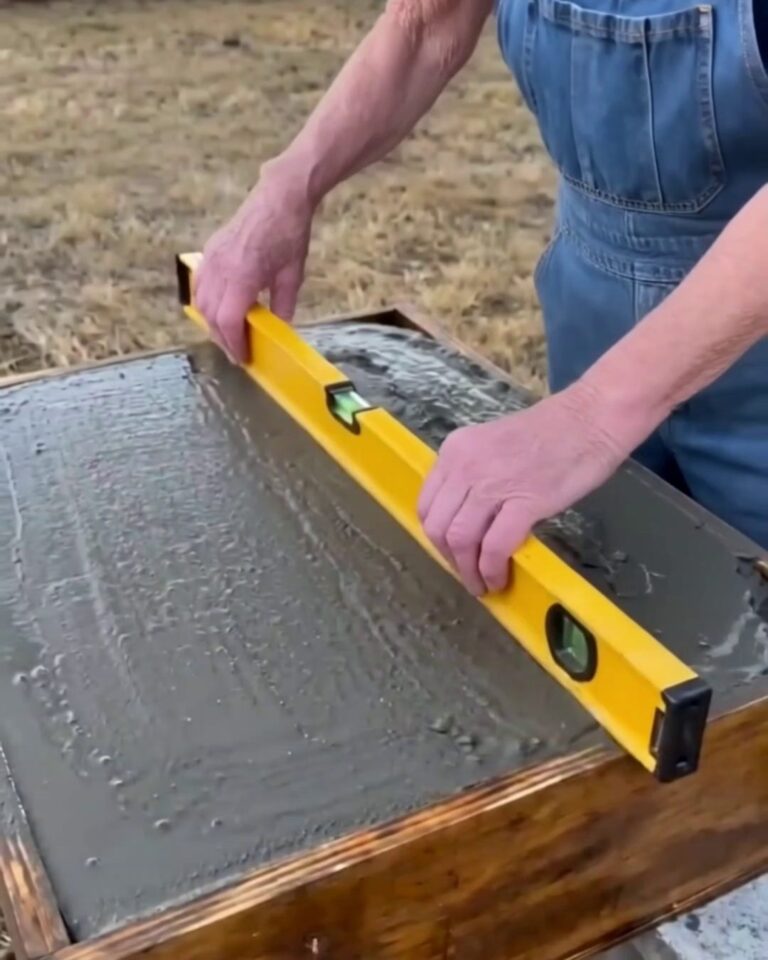
Saw a long level or a straight board back and forth across the top until the concrete is flush with the form, working around the 2×4. This face ends up underneath, so flat is all it needs to be.
Cover it with plastic and leave it 48 hours.
Step 5Drill the drain
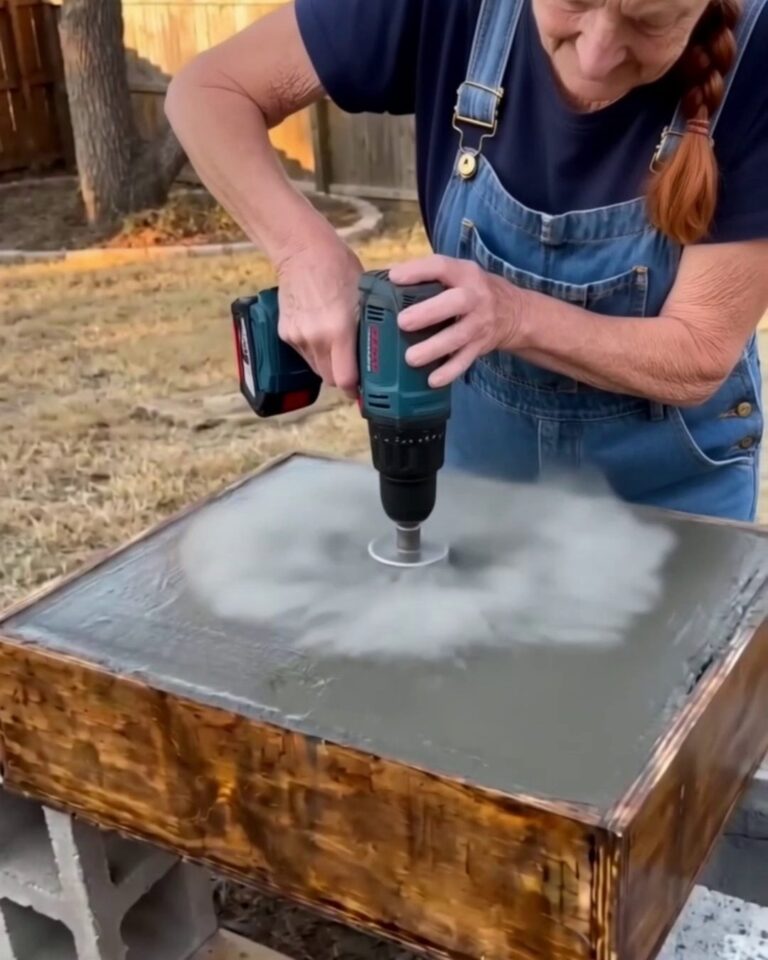
Twist the PVC stub out with pliers and center the 1¾ in core bit on its hole.
No stub? Snap two diagonals corner to corner; the top of the ball sits right under where they cross.
Drill straight down with a trickle of water on the bit and a dust mask on. Ease off as it breaks through the 1½ in of concrete, about five minutes in; the ball under it will probably pop, and that’s fine.
Step 6Strip the form and pull the ball
Back out the screws and pry off the sides. With a second person — the slab weighs about 165 pounds — flip it bowl-up onto the blocks and lift off the floor.
Let out whatever air is left in the ball and fold it out of the bowl.
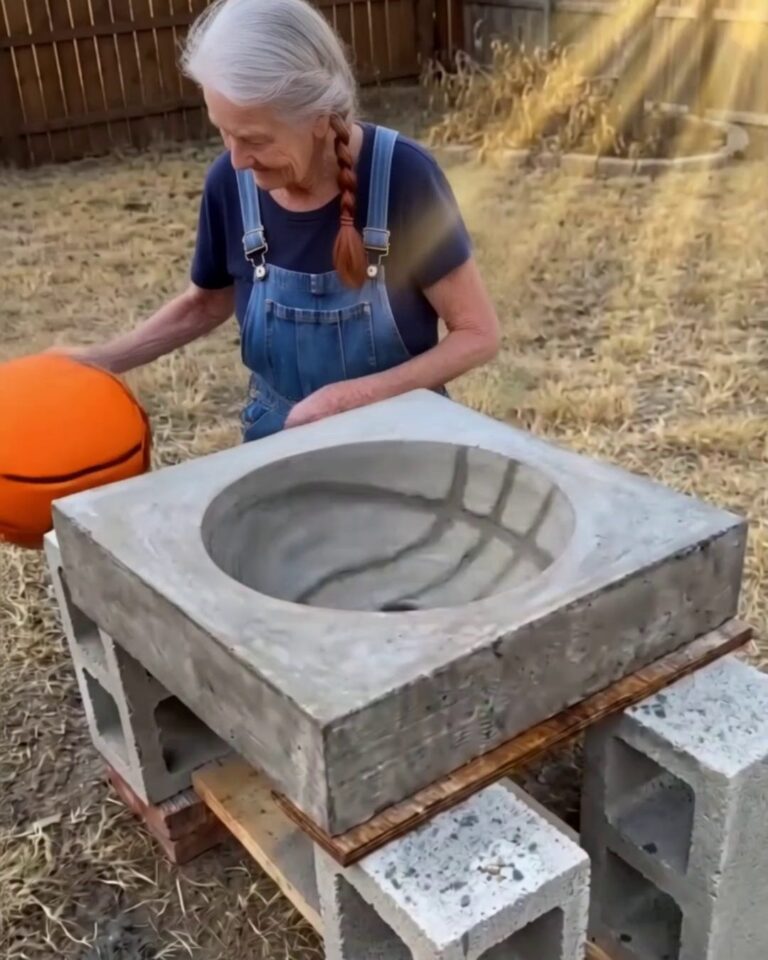
Step 7Sand the bowl
The ball’s seams leave thin ribs across the bowl. Take them down with the 50 grit pad, then work through 100, 200 and 400, keeping everything wet — figure about 20 minutes per grit.
Rub a paste of cement and water into any pinholes, let it harden overnight, and go over those spots again with 400.
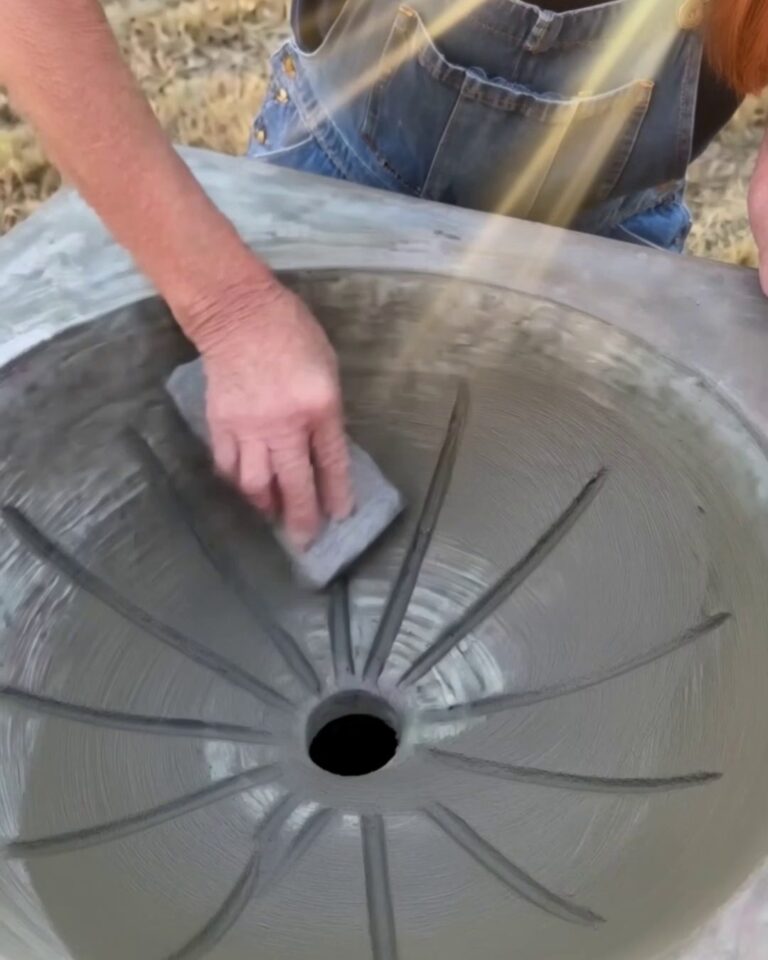
Step 8Seal it
Keep the sink under plastic and mist it once a day until it’s 7 days old, then uncover it and let it dry for 2 days; some sealers want 28 days, so read the can. Brush on two thin coats of countertop sealer, 2 to 4 hours apart, bowl first.
The first coat darkens the gray right away. That’s the wet look in the video.
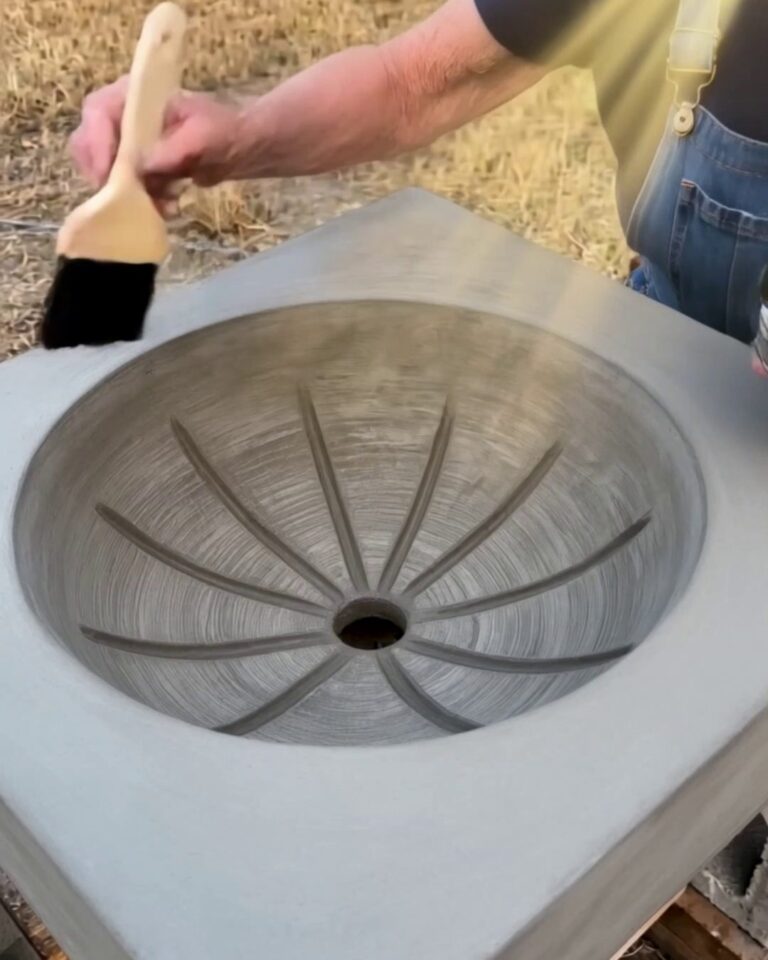
Step 9Set it and hook up water
Drill a 2 in hole through the counter under the drain and a 1⅜ in hole just off the sink’s back corner for the faucet. Set the sink on a bead of silicone and fit a vessel drain long enough to reach through the sink bottom and the counter, about 3 in in all.
A ¾ in hose to ⅜ in compression adapter feeds the faucet from a garden hose; cap the hot line if the faucet has two. The drain can run into a 5-gallon bucket or down a short hose to a gravel bed.
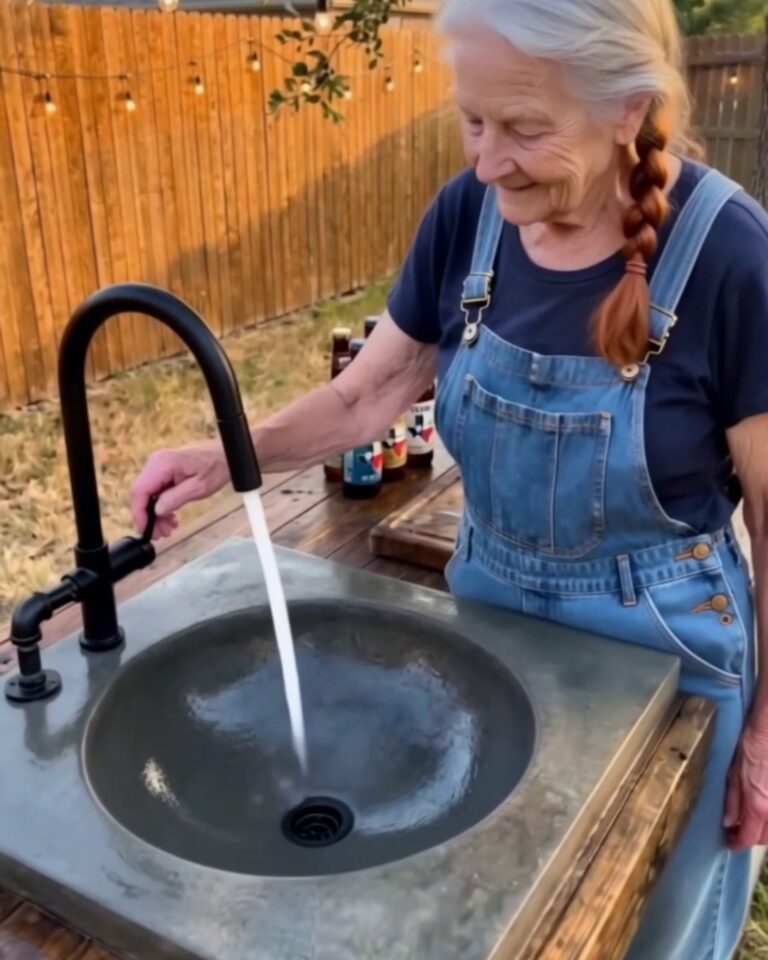
How a Concrete Outdoor Sink Holds Up
The sealer goes first, around the drain and wherever the soap bottle sits. When water stops beading there, scrub it, let it dry a day and add one fresh coat; most sealers ask for that every year or two.
Frost is the other risk. Drain the hose and faucet before the first hard freeze, and don’t leave water standing in the bowl on a cold night.
FAQ
My ball floated up halfway through the pour. Can I save it?
If the mix is still loose, push the ball back down to 5½ in and brace it — a board across the form and anything that reaches the ball. Once it has started to stiffen, the bowl comes out shallow and off center, and we’d break it out and start over.
Tiny holes all over the bowl after demolding — normal?
Those are air bubbles that stuck to the ball. Rub cement paste into them, give it a night, and sand with 400 grit. More tapping during the pour cuts them down next time.
Could I use a soccer ball instead?
We haven’t tried one. A size 5 soccer ball is about 8¾ in across, so the bowl would come out smaller, and the hole and the form depth would both need working out again.
Does this need real plumbing?
No. A garden hose feeds the faucet, and the drain can empty into a bucket or a gravel bed. Some towns have rules about where sink water goes, so check yours if you use anything stronger than plain soap.
Is it safe to rinse vegetables in it?
That comes down to the sealer. Some concrete countertop sealers are labeled food safe once cured and some aren’t; the can will tell you.
The first thing washed in it was a colander of muddy carrots, and the grid drain disappeared under carrot tops in about a minute.
A $4 mesh strainer went in the next morning.