Our neighbor’s kid asked whether the blue exercise ball would come out of the concrete in one piece. Mostly, it turned out; it came out with a slow hiss and a dent it never lost.
You’ll also love: How to Make Draped Concrete Planters Over Nursery Pots, How to Make a Concrete Outdoor Sink with a Basketball Mold, How to Build a Cinder Block Pyramid Garden in Four Tiers.
The ball sets the size of a yoga ball concrete sink. A 55-centimeter ball is about 21¾ inches across, and pushed 5½ inches up into the form it leaves a bowl almost 19 inches wide.
We brought home the 65-centimeter ball first, the size for taller people. Its dome barely curved inside a 24-inch form, so it went back.
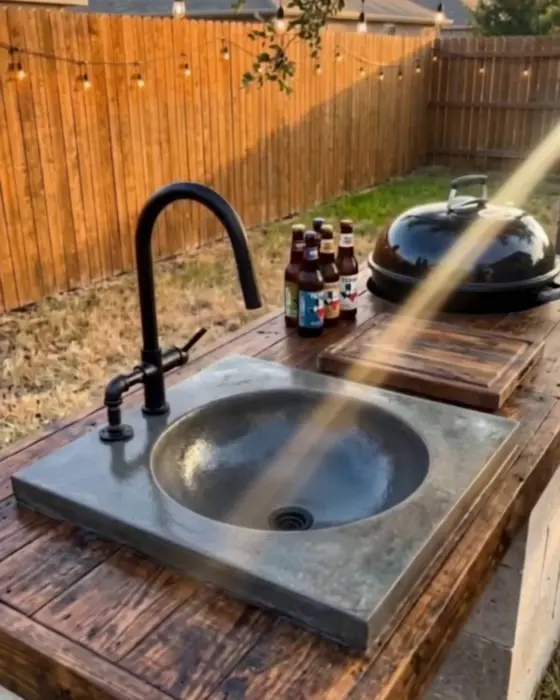
Wet concrete landing on rubber sounds like a towel dropped on a gym floor. Her father looked over the fence at the finished sink and said it would make a good birdbath.
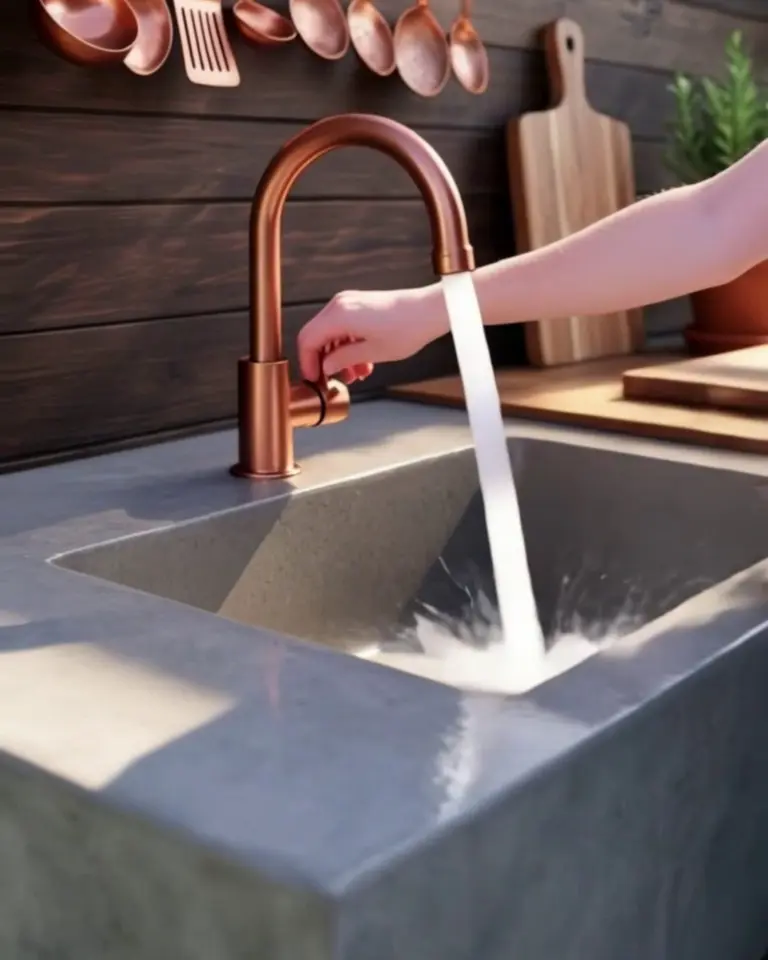
Why a Ball Under the Form Makes the Bowl
The ball sits under a round hole in the floor of the form, so its top pushes up into the space the concrete fills. Pour, wait, flip it over, and the dome is a bowl.
From underneath, it can’t float. The concrete presses down on the ball and the blocks hold it up.
We figured getting the ball out would be the hard part. It was turning 290 pounds of concrete over without chipping a corner.
Materials & Tools
Ball size: 55 cm for a 24-inch form. A 65 cm ball gives a shallow, wide dish, and a 45 cm one leaves thick walls and more weight.
Weight: the finished sink comes to about 290 pounds. Line up three helpers before the flip, not after.
Not in the $255: the faucet, the stone pedestal and the drill.
Watch the Build
Step by Step
Step 1Build the form
Cut a 30 × 30 in floor from the melamine and four strips 7½ in tall: two 24 in long and two 25½ in. Screw the strips into a box 24 inches square inside, centered on the floor.
Cut an 18¾-inch circle out of the middle of the floor with a jigsaw. Run silicone along every inside corner and let it cure overnight.
Step 2Seat the ball
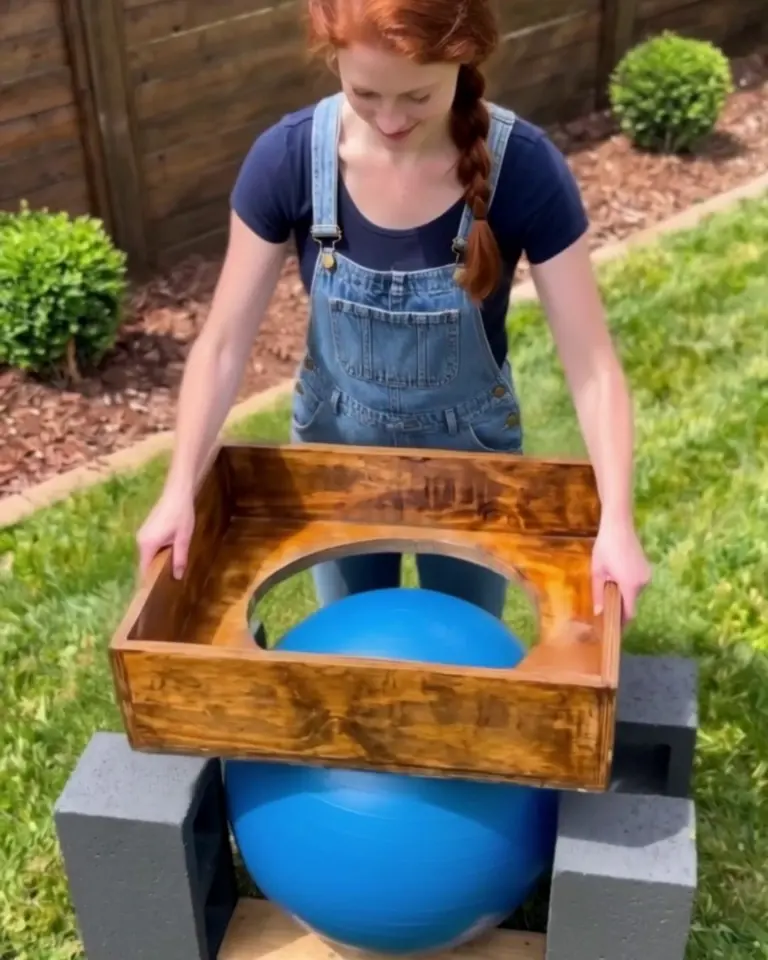
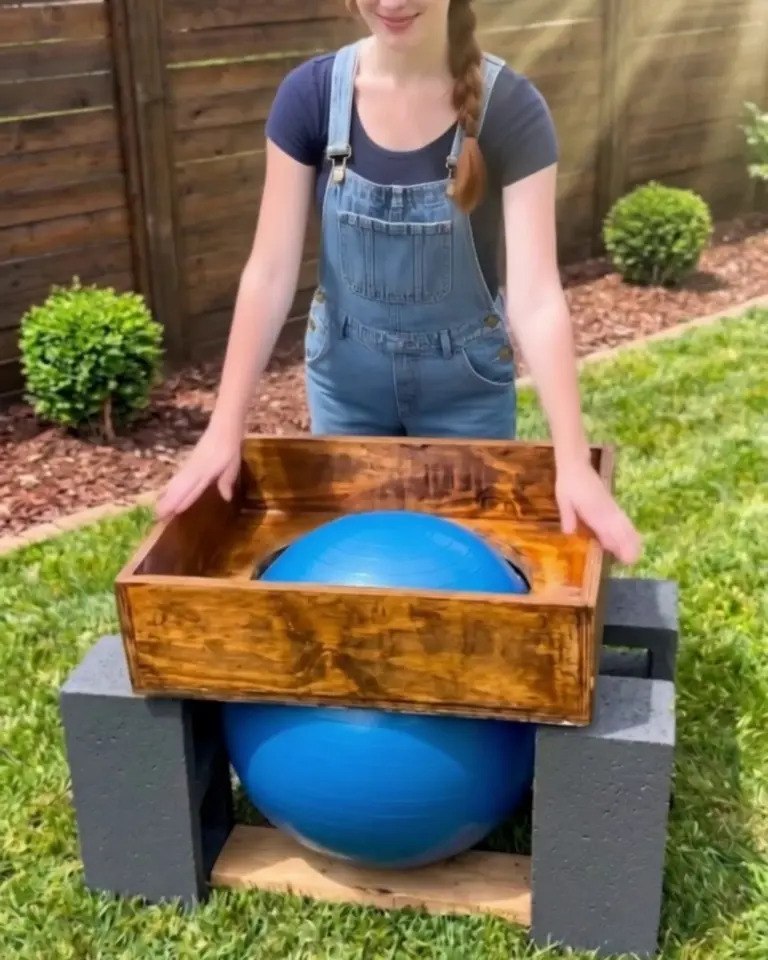
Stack the cinder blocks into two pairs about 20 inches apart and set the ball between them on a scrap of plywood. Lay the form on the blocks so the ball pushes up through the hole.
Measure from the form floor to the top of the dome: 5½ inches. Too high, let out a little air; too low, slide a folded towel under the ball. Tape the seam between ball and floor from inside so no paste runs out.
Step 3Mix and pour
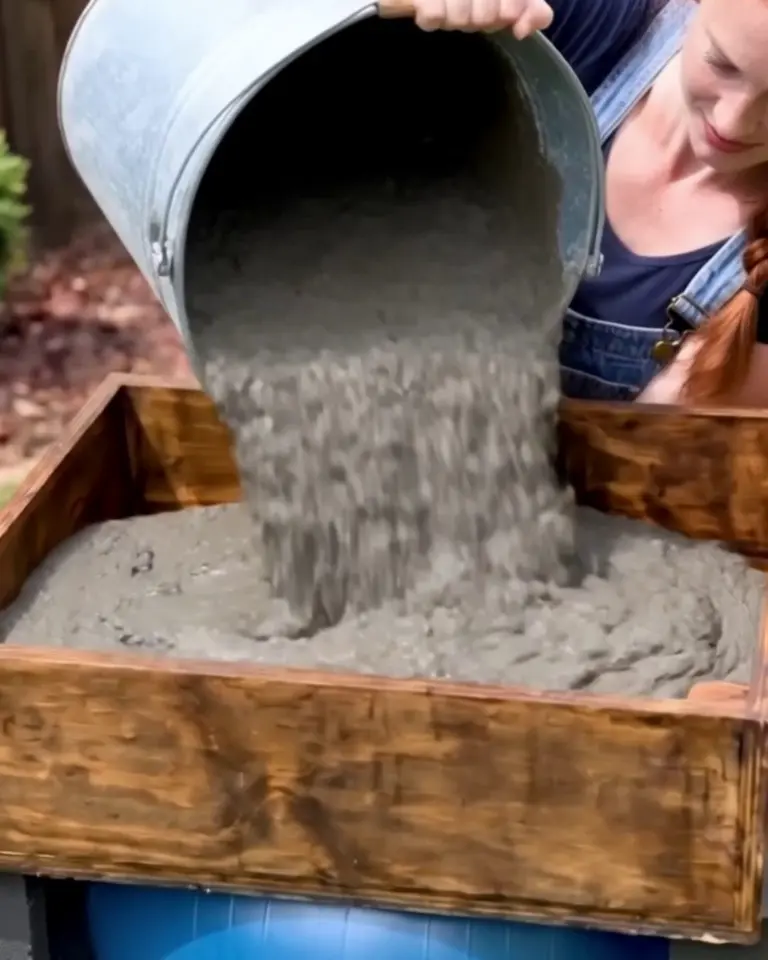
Mix one bag at a time, starting with 3 quarts of water and working toward 5 only as needed (the data sheet for one 5000 psi mix calls for 6 to 10 pints a bag). Stop when it holds a ridge like thick oatmeal; gloves and eye protection on, since wet concrete burns skin.
Pour around the dome first, then over it, and rap the sides of the form with a rubber mallet for a full minute after each bag. Four bags fill it with a little to spare.
Step 4Strike it flat
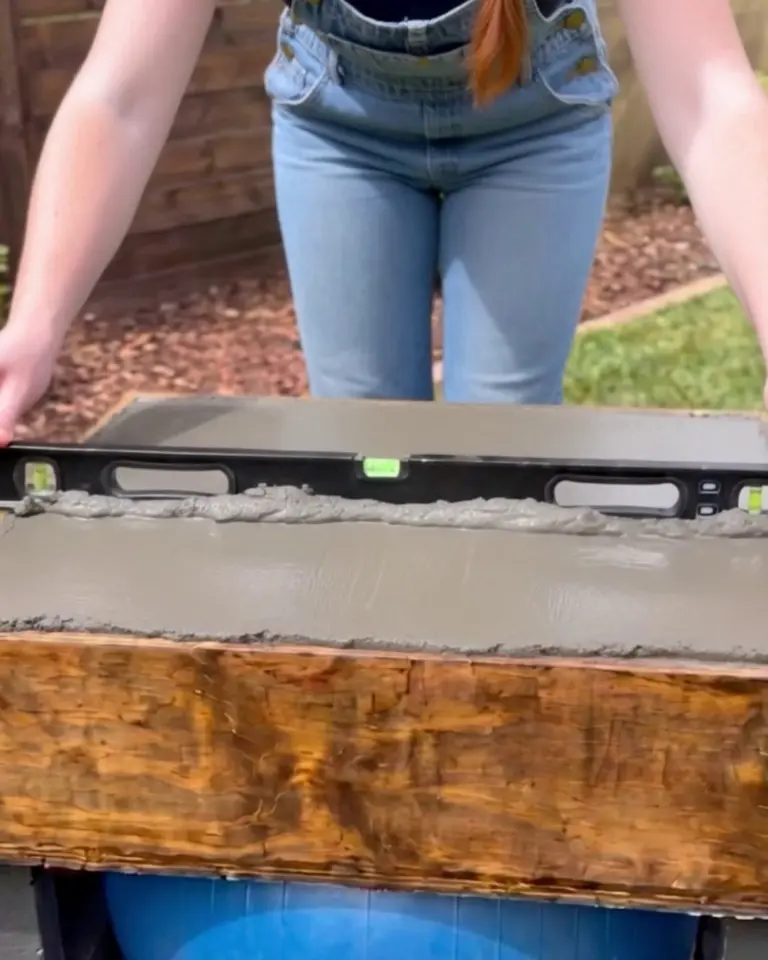
Saw a long level back and forth across the top of the form until the concrete is flush. This face ends up underneath, so flat is all it has to be.
Cover it with plastic and leave it three days.
Step 5Drill the drain
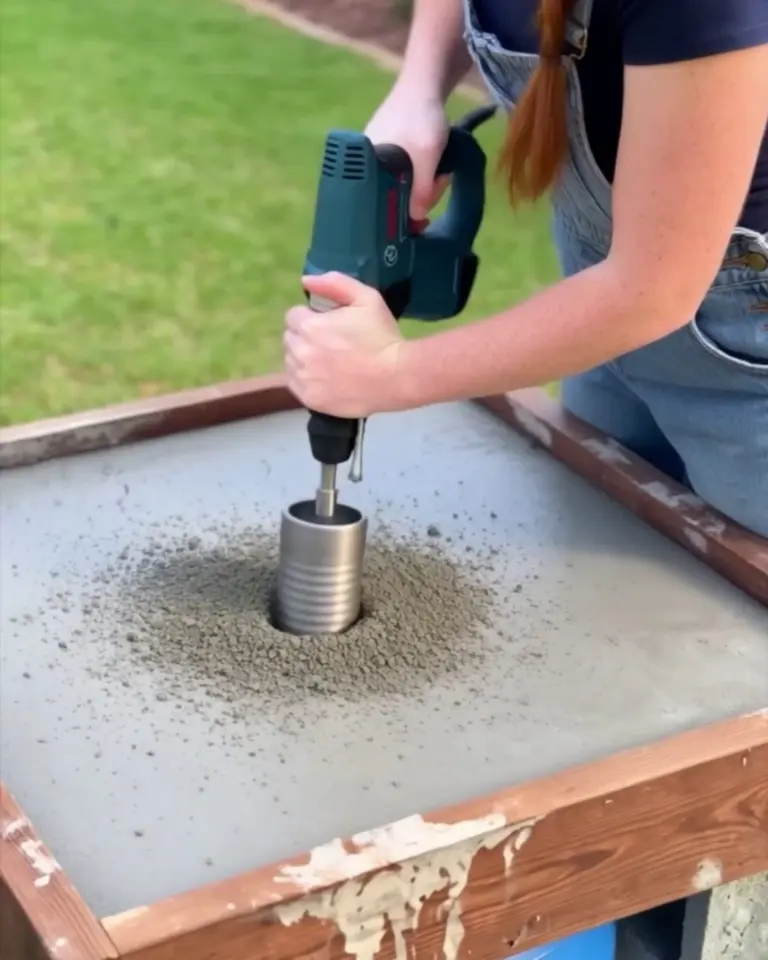
The top of the ball sits exactly under the center of the form, so snap two diagonals and drill where they cross. Run the 1¾-inch core bit straight down through the 2 inches of concrete with a trickle of water on it and a dust mask on.
Step 6Strip the form and flip it
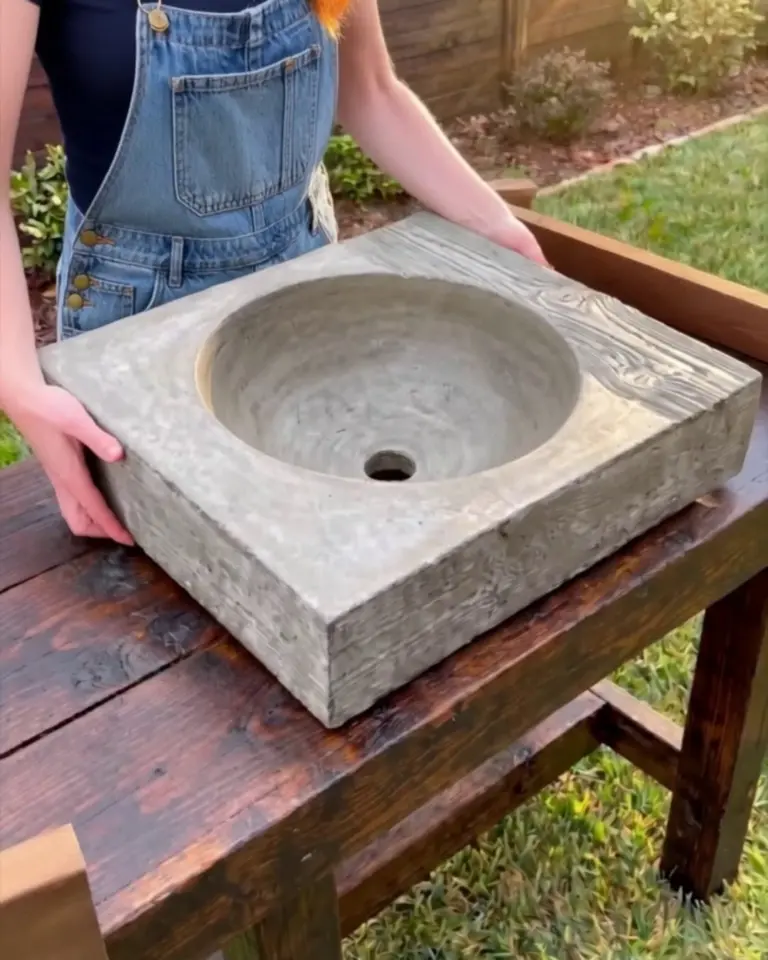
Back out the screws, pull the sides, let the air out of the ball and fold it out of the bowl. Then the flip: lay two moving blankets beside the blocks, slide the 2×4s under one edge as levers, and tip the slab up onto its side and over onto the blankets, bowl up.
Four people, slowly. The corners chip if it lands on anything harder than a blanket.
Step 7Sand it
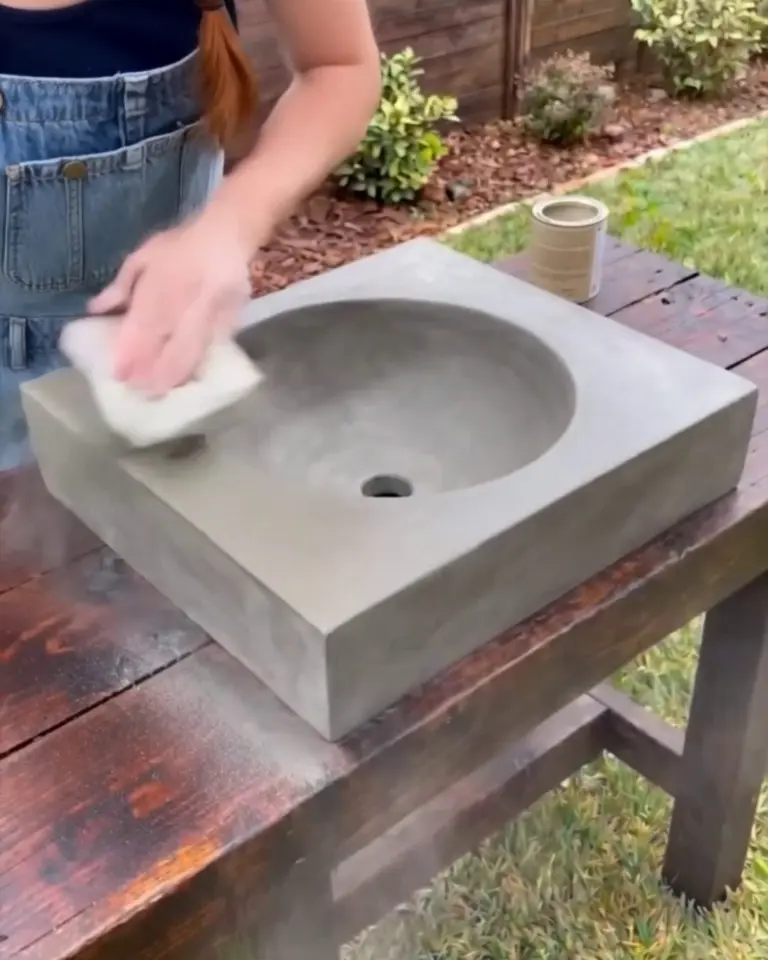
The sides carry the grain of the form and the bowl carries the ball’s seams. Work through 50, 100, 200 and 400 grit, keeping everything wet, about 20 minutes per grit, and rub cement paste into any pinholes before the last pass.
Step 8Seal it
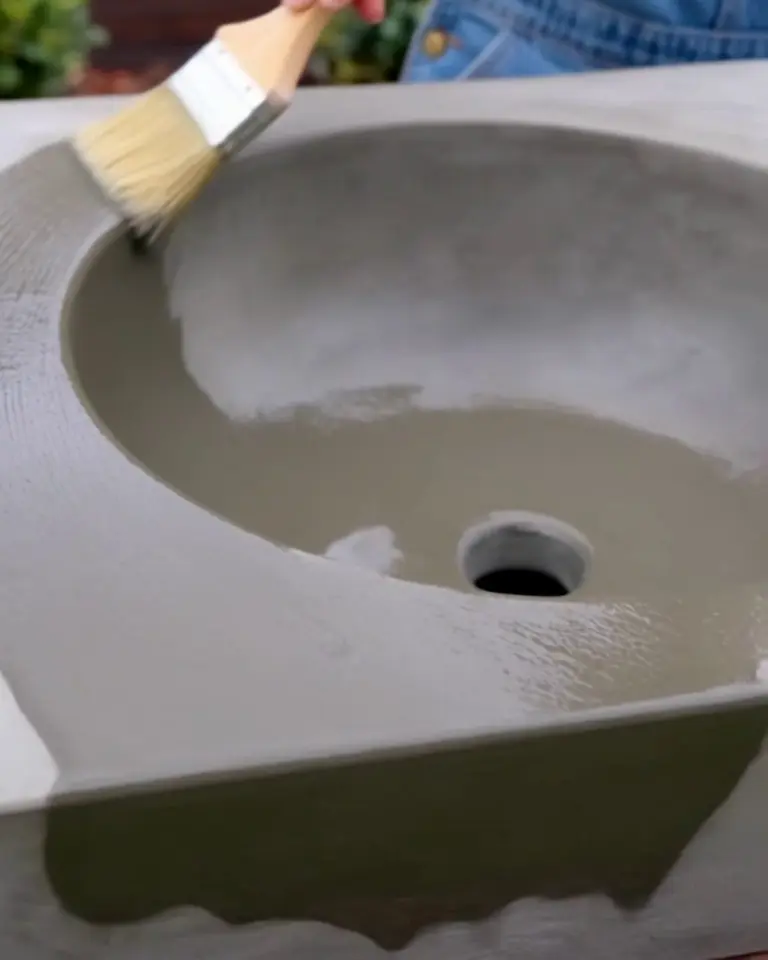
Keep it damp under plastic until it’s 7 days old, then let it dry 2 days; some sealers want 28 days, so read the can. Two thin coats, 2 to 4 hours apart, bowl first.
Step 9Set it in place
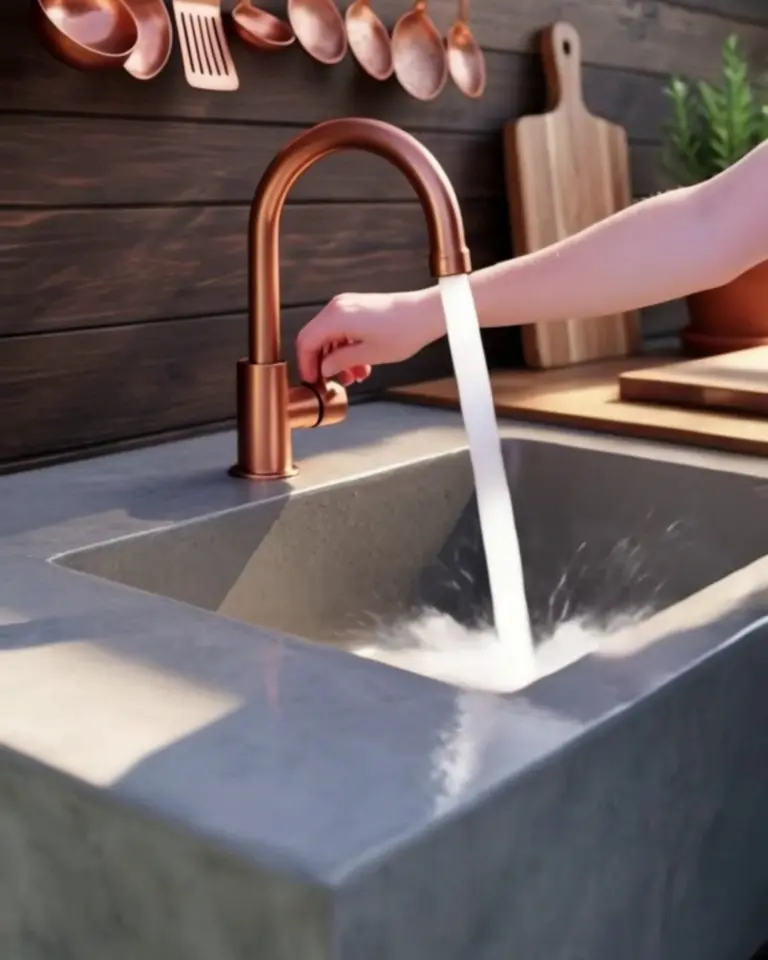
Set the sink on its pedestal on a bead of silicone with three helpers, and fit the drain through the 1¾-inch hole. A deck faucet set 2 to 3 inches behind the sink needs about 14 inches of reach to land over the drain; a common 9-inch kitchen gooseneck lands about 5 inches behind it, still well inside the 19-inch bowl.
How a Yoga Ball Concrete Sink Holds Up
The sealer around the drain wears first. When water stops beading there, scrub it, let it dry a day and add a fresh coat; most sealers ask for that every year or two.
Frost matters more than wear. Drain the lines before a hard freeze and don’t leave water standing in the bowl overnight.
FAQ
The ball went soft halfway through the pour
Wet concrete squeezes a ball that isn’t pumped hard. Push the dome back up from below with the towel trick while the mix is still loose; once it stiffens, the bowl is whatever shape it set in.
Big air holes in the bowl after demolding
Bubbles collect on the underside of the ball. Fill them with cement paste, wait a day, sand with 400 grit, and tap the form longer next time.
Can I use a beach ball instead?
We haven’t tried one. A beach ball is thin vinyl at very low pressure, so expect it to flatten under the weight.
Is 290 pounds too much for a wooden counter?
For a 2×4 frame on four legs, yes. Set it on masonry, a stone pedestal, or a frame of 4×4 posts with a solid top.
Could I make it lighter?
Shrink the form to 22 inches and the bottom to 1½ inches, and it drops to about 215 pounds. Go thinner than that and the bowl rim gets fragile. For a sink nearer 165 pounds, a basketball takes the ball’s place, as in our concrete outdoor sink with a basketball mold.
The first thing rinsed in it was a bucket of garden tools, and the dirt ring took a week to wash out of the unsealed underside.
The dented ball is in the garage, still holding air.