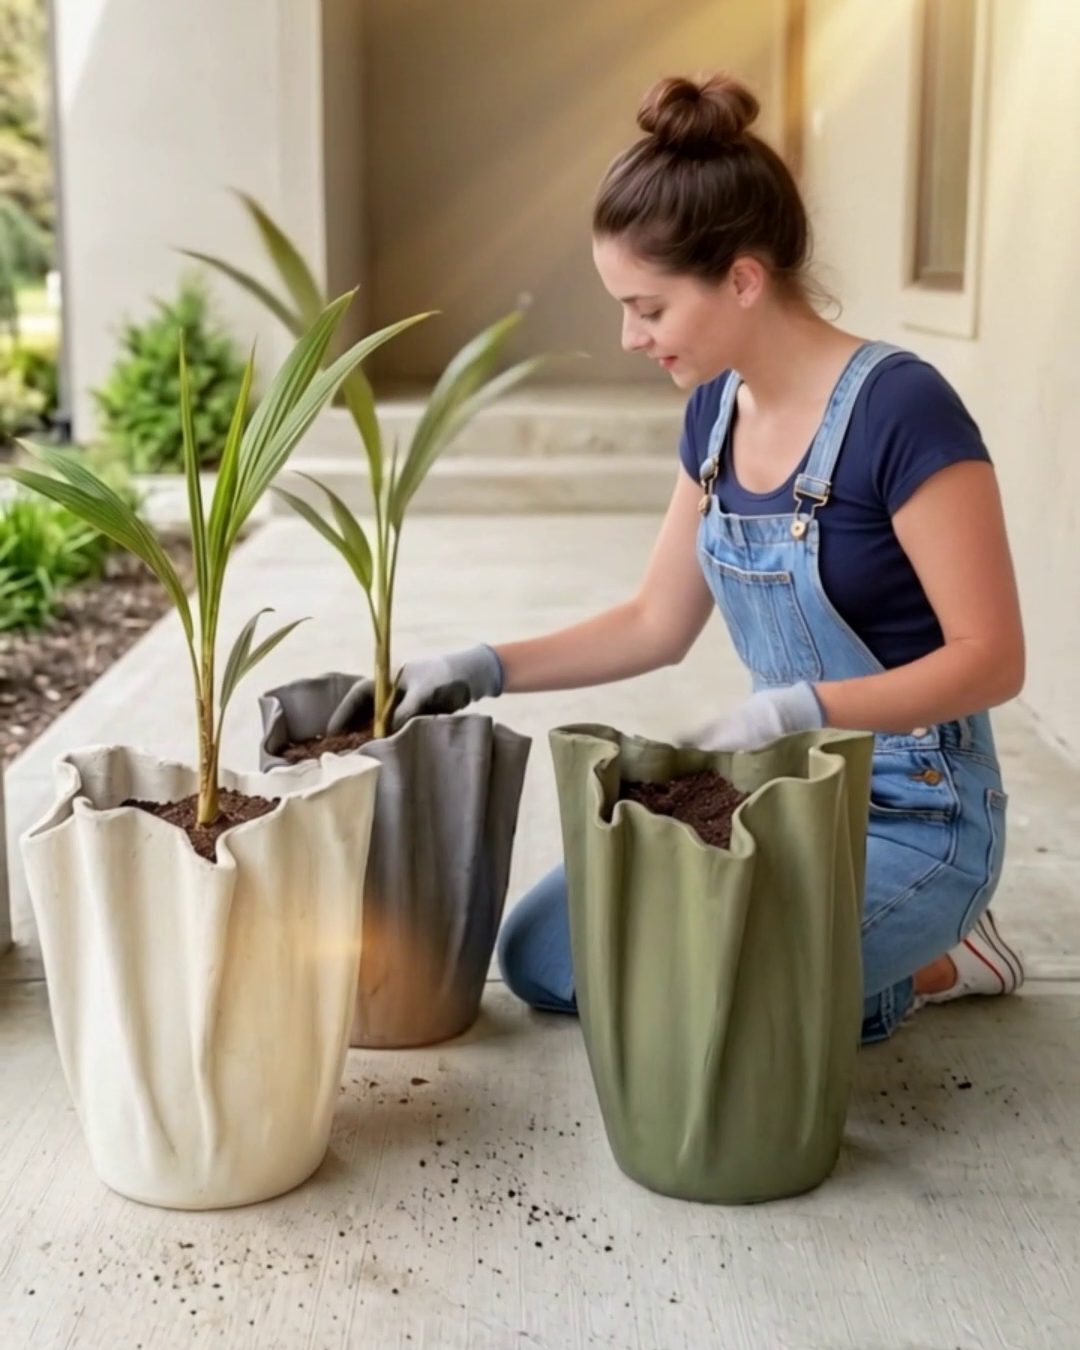
Our mail carrier slowed down to ask whether the three cement-soaked towels drying on the patio were laundry. In a way they were: old cotton towels, now stiff as plywood, pulled over 5-gallon nursery pots.
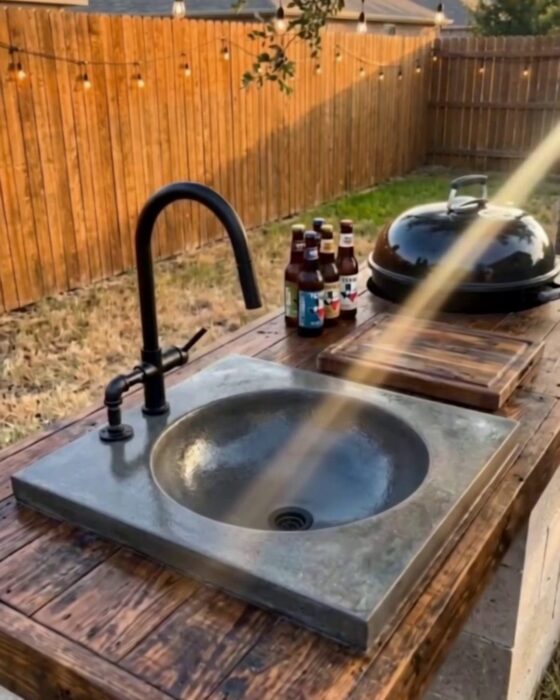
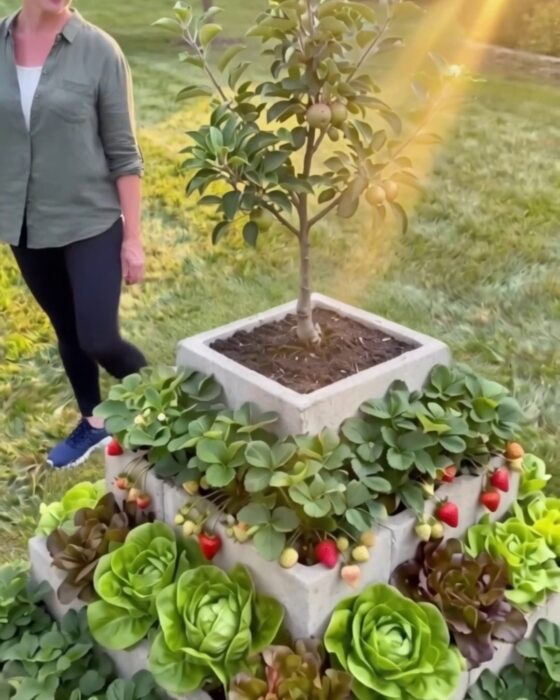
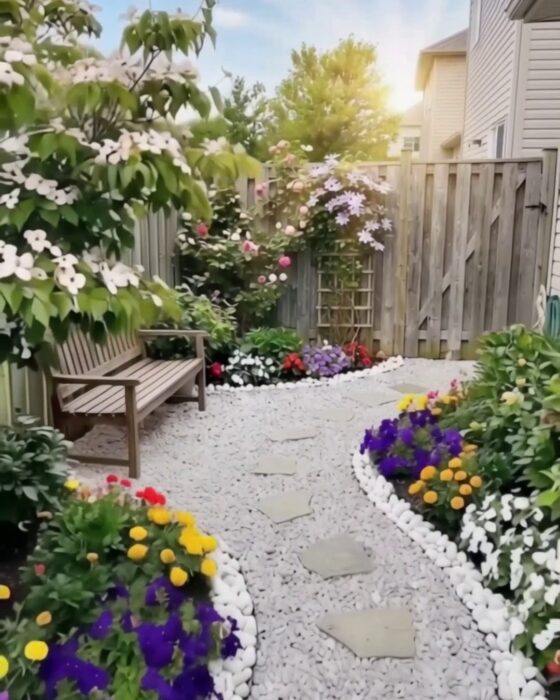
You’ll also love: How to Make a Concrete Outdoor Sink with a Basketball Mold, How to Build a Cinder Block Pyramid Garden in Four Tiers, How to Lay a White Gravel Garden Path with River Rock Edges.
The pot is the whole form for a draped concrete planter, so its size decides the shape. A 5-gallon pot is about 12 inches across and 10 to 11½ tall depending on the brand, and a 40-inch towel over it leaves enough cloth to flare into a ruffled rim.
We skipped the trash bag on the first pot. It took a long screwdriver and twenty minutes to work it loose.
A soaked towel weighs close to 20 pounds and runs gray water down to your elbows on the way to the pot.
Why Cloth and Cement Hold a Shape
Cotton and burlap pull the cement paste right into their fibers, so the cloth ends up as the reinforcement, the way wire mesh works in a sidewalk. Polyester only gets coated, and the coating flakes.
Gravity does the styling. Whatever folds the towel falls into in the first ten minutes are the folds you keep.
We expected the thin ruffled rim to be the weak spot. It was the flat bottom, where the towel stretched tight over the pot and dried barely ⅛ inch thick.
Materials & Tools
Fabric: anything 100% cotton, linen or jute. Blends with polyester shed the cement as they dry.
Not concrete mix: bagged concrete carries gravel, and gravel can’t get into cloth; save it for a solid cast like our concrete outdoor sink. Cement and sand only here, or a sand mix with no stones in it.
Not in the $125: the three palms, the lights, and a drill with a ½-inch masonry bit.
Watch the Build
Step by Step
Step 1Mix the cement
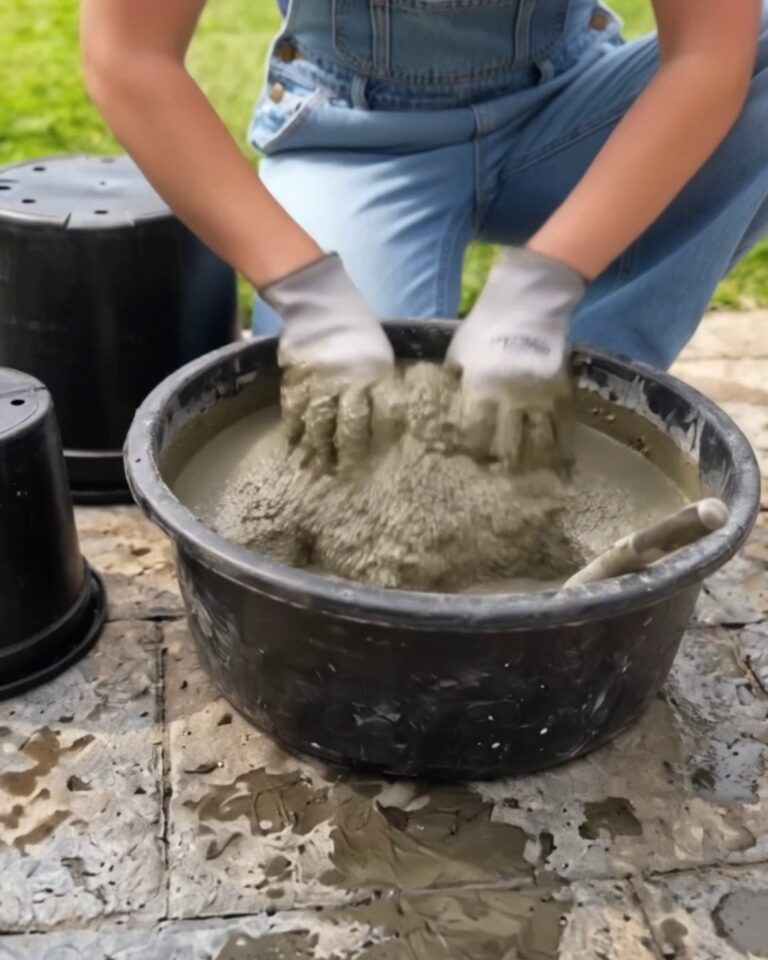
Stir about 12 lb of cement and the same volume of sand together dry in the tub, enough for the two big towels. Add water a quart at a time, roughly a gallon for this half, until it pours like thick pancake batter.
Gloves and eye protection on; wet cement burns skin. Mix the second half for the small towel once the first two are draped.
Step 2Soak the towel
Push a 40-inch towel under and knead it for a full two minutes, until you can’t find a dry patch anywhere. Lift it by two corners and let it drip for a few seconds.
It should hold the paste like a thick coat of yogurt. If it sheets off, the mix is too wet; stir in another scoop of cement and sand.
Step 3Drape the first pot
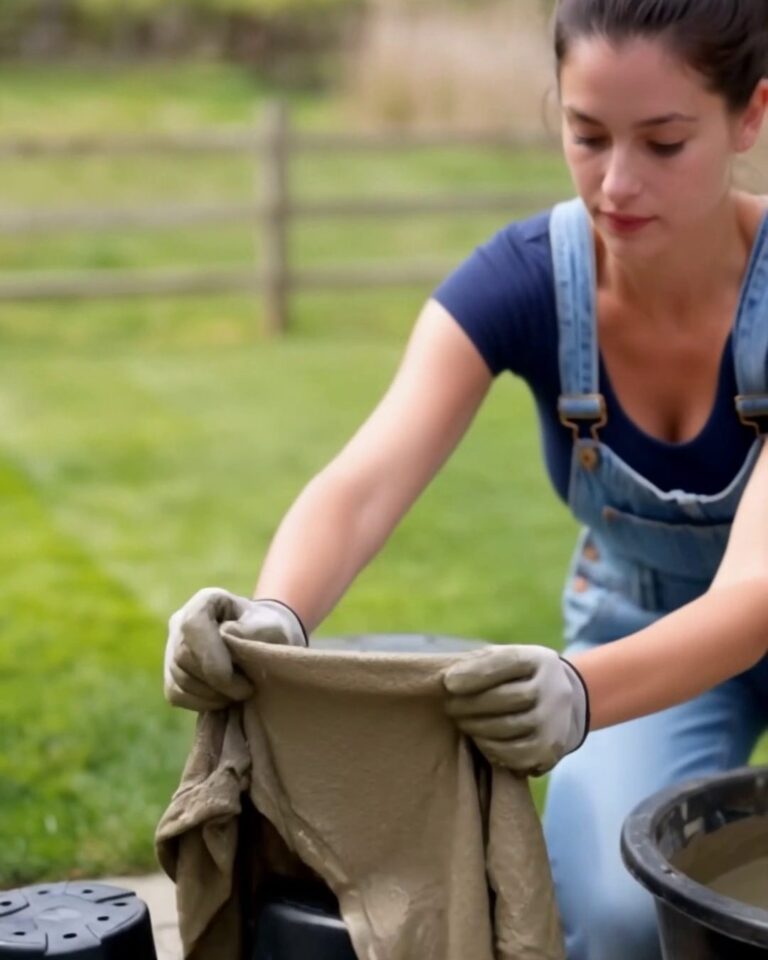
Turn a 5-gallon pot upside down on the plastic sheet and pull a trash bag over it, tight and tucked. Center the towel on top and let it fall.
Pull the four corners down to the ground, then lift the cloth between them into loose vertical folds.
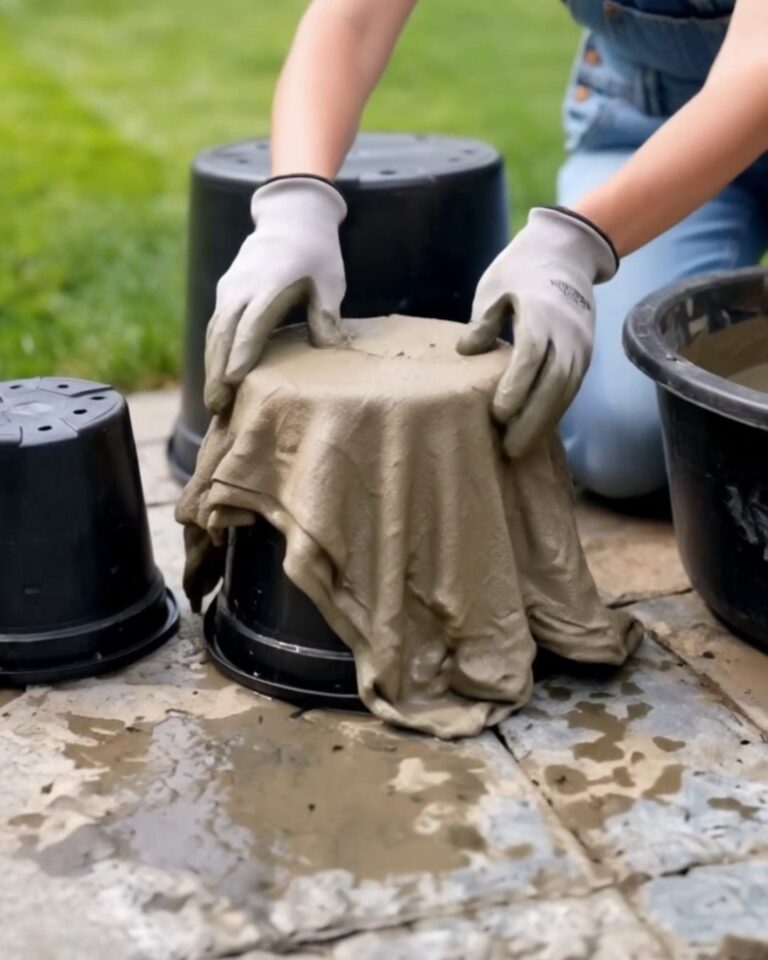
Step 4Set the folds
Press the cloth flat against the pot for the first 8 to 10 inches down, so the walls of the planter stay tight. Leave the bottom few inches loose; that skirt turns into the ruffled rim once the planter is flipped.
Repeat on the second 5-gallon pot, then mix the rest and do the 3-gallon pot with the 34-inch towel. Brush leftover paste onto any spot where the weave shows through on top.
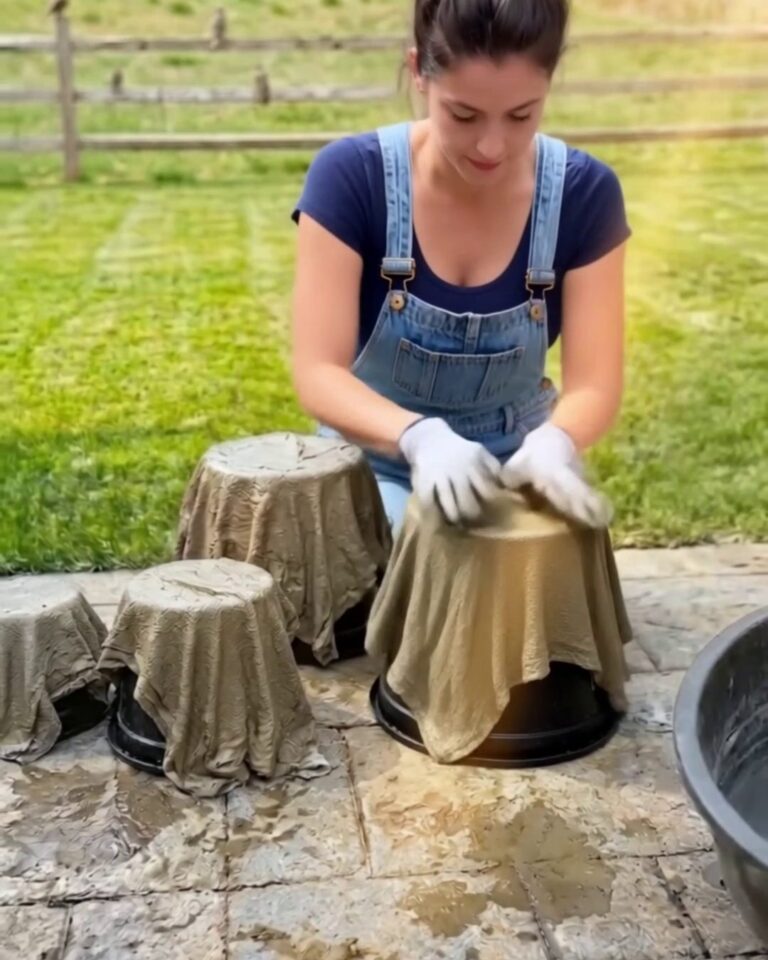
Step 5Cure, then pull the pots
Mist the cloth morning and evening and leave it alone for 48 hours. Flip each shell over, grab the pot rim and pull straight up.
With the bag on, it slides out. The planter weighs about 20 pounds, so one person can move it.
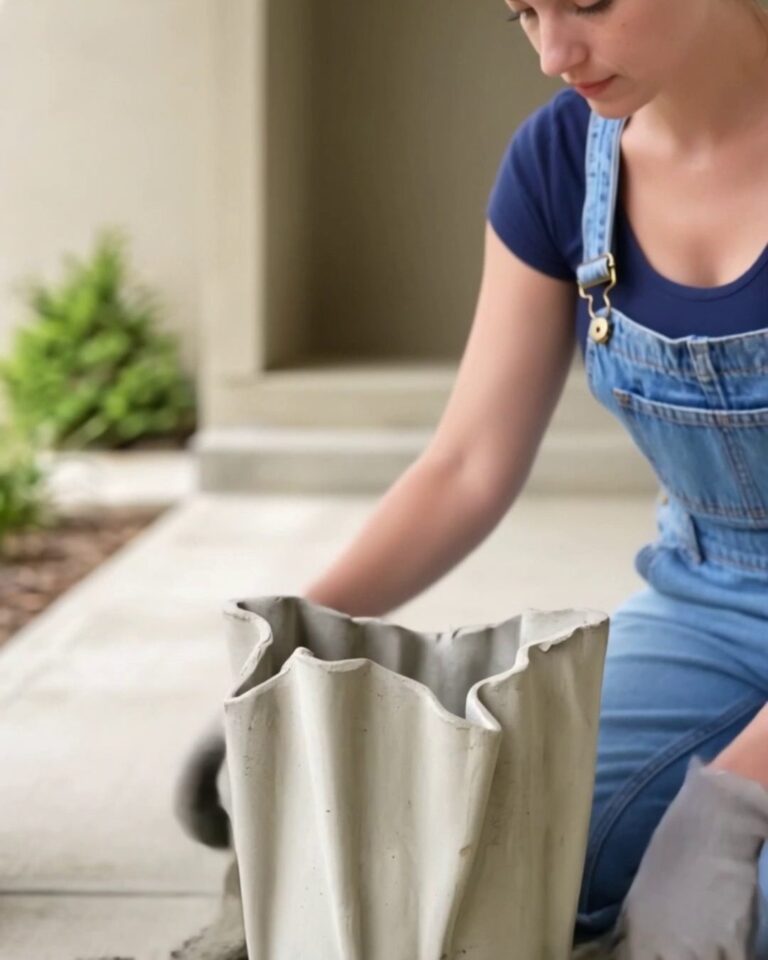
Step 6Drill the drain and seal the inside
Set the planter on a scrap of wood and drill a ½-inch hole through the center of the bottom with a masonry bit, slow speed, no hammer setting. Dust mask on.
Brush one coat of water-based sealer over the whole inside so the walls don’t wick water out to the paint. Then keep the shells damp under plastic until they’re 7 days old.
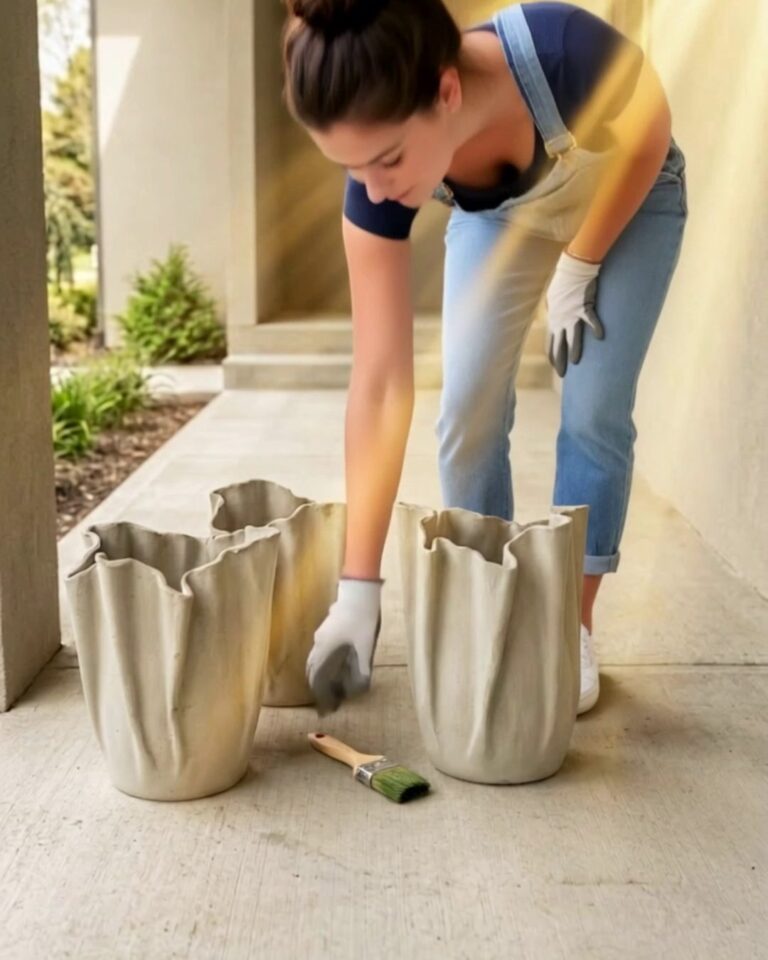
Step 7Paint
Masonry paint wants new concrete cured about 30 days first; Behr’s product page says 30, and paint on fresh cement tends to peel. If you can’t wait, brush on an alkali-resistant masonry primer before the color.
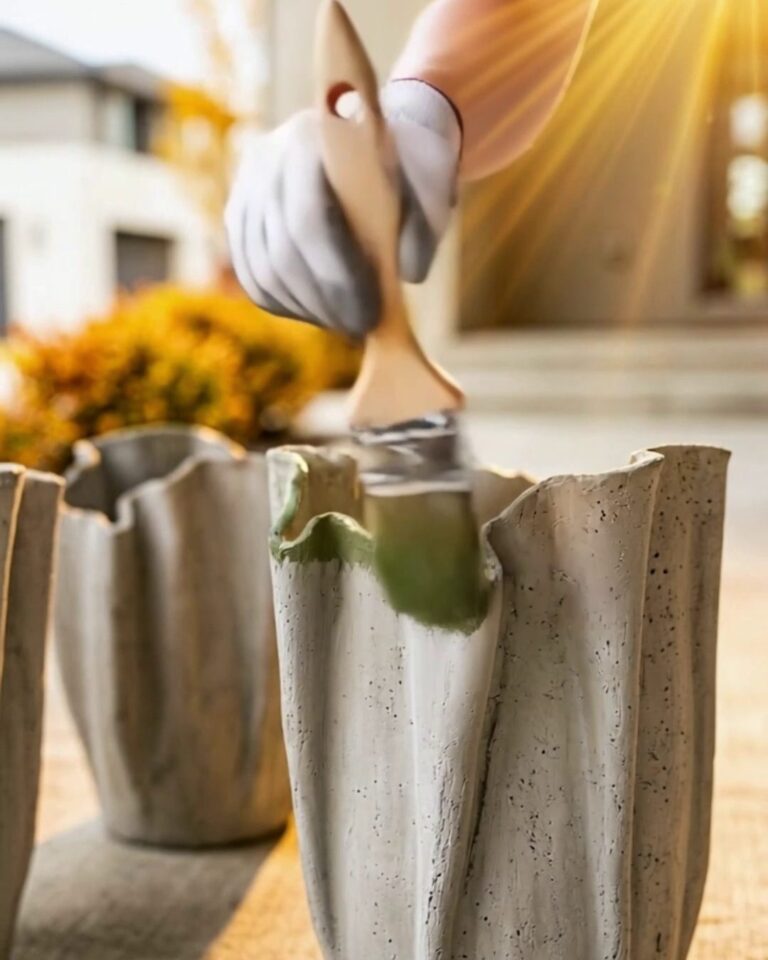
Two thin coats with a 2-inch brush, about 2 hours apart, working down the folds rather than across them. Ours went cream, charcoal and sage, and one 8-ounce sample jar covered the outside of one planter twice.
Step 8Fill with soil
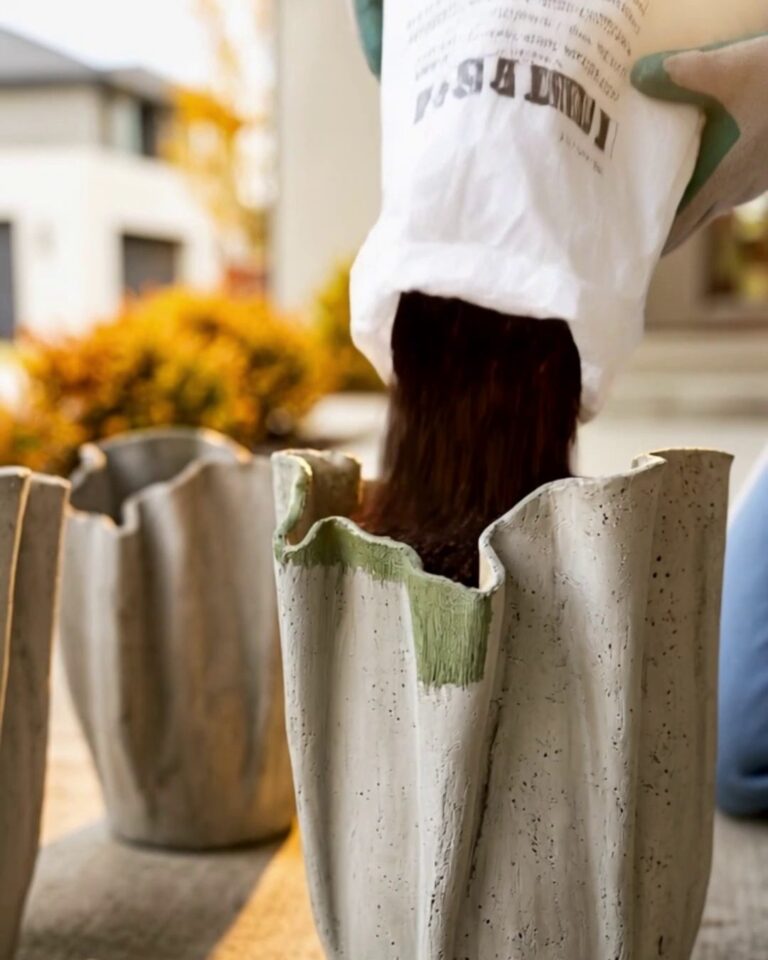
Pour potting soil to about 2 inches below the lowest dip in the rim. The two big planters take roughly 0.6 cu ft each and the small one about 0.4.
Step 9Plant
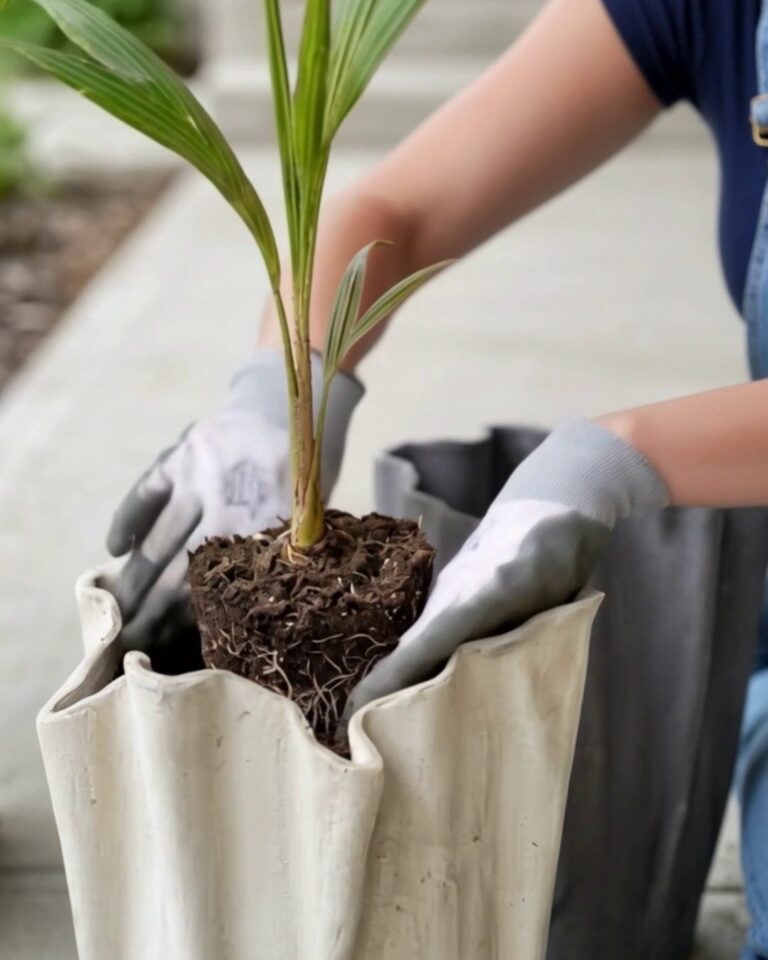
Set each palm so the top of its root ball sits an inch below the soil line, and firm the soil around it with your fingers. Water until it runs out of the drain hole.
A palm in a 1-gallon nursery pot, about 2 feet tall, fills these without crowding them.
Step 10Light them
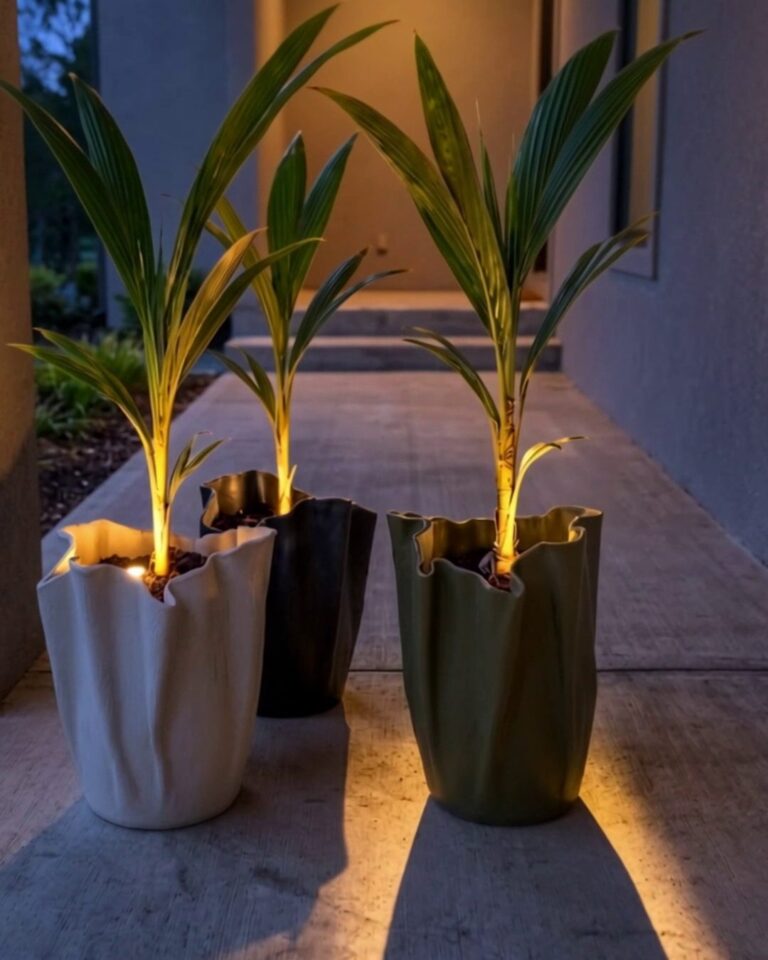
Push a small solar spotlight into the soil beside each palm and aim it up the fronds. Its panel has to see a few hours of sun, so on a covered porch run it out to the edge on its cable.
How Draped Concrete Planters Wear
The paint goes first, on the rim folds where hands and hoses hit. A fresh coat from the same sample jar covers it in ten minutes.
The thin bottom is the real weak point. Water that freezes in a soaked planter can split it there, so empty them or bring them in where winters drop below freezing.
FAQ
I can’t get the pot out of the cured planter
That’s usually the skipped trash bag, same as our first one. Slide a long flat screwdriver between pot and shell all the way around, then twist the pot as you pull. Don’t pry against the rim; it’s the thinnest part.
Hairline cracks showed up along the folds after a week
Those are thin spots that dried faster than the rest. Brush a paste of cement and water into them, keep them damp for two days, then paint over. They rarely grow after that.
Can I use regular concrete mix instead of cement and sand?
Not the kind with gravel in it. The stones can’t get into the cloth and fall off in clumps. A bagged sand mix, which has no gravel, behaves the same as cement and sand.
Do they really need a drain hole?
Yes, if anything is going to live in them. Without one, water sits on that thin bottom and the palm roots rot.
Would an old fleece blanket work as the cloth?
We haven’t tried one. Fleece is polyester, which doesn’t take up the paste the way cotton does, so expect a thinner, flakier shell.
The cream planter ended up by the door, where the porch light hits it from above and every fold throws its own small shadow.
The charcoal one still has a gray thumbprint on the rim that two coats haven’t covered.