Our neighbor asked whether any leaf would work, holding up a maple leaf no bigger than a hand. Some would, just not that one.
You’ll also love: How to Lay a White Gravel Garden Path with River Rock Edges, How to Build a PVC Pipe Vertical Garden on a Cedar Frame, How to Make Concrete Mushroom Garden Stakes in Eggshells.
These concrete leaf stepping stones use elephant ear leaves about 22 inches long, pressed into 2 inches of sand mix and trimmed along the outline. Fifteen of them run 30 feet from the front walk across the lawn.
The first leaf went in shiny side down and printed almost nothing. Flipped vein side down, the second printed every vein.
A peeled leaf squeaks against the wet mix as it comes away. The neighbor said the path looked like something from a resort, then asked whether the mower would clip them.
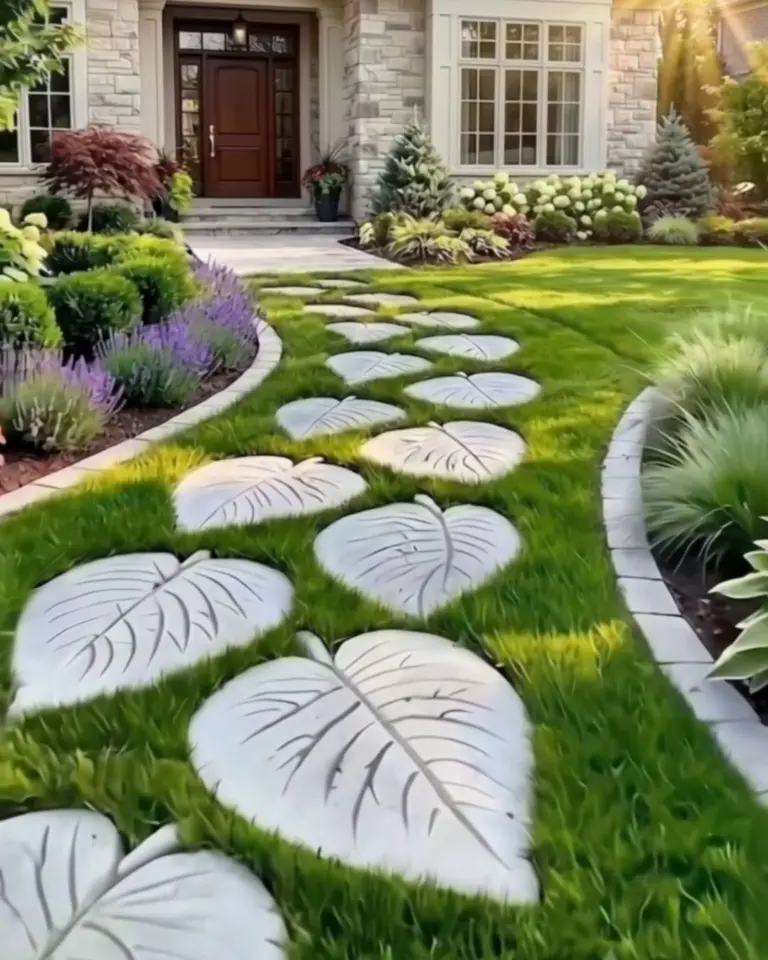
Why the Underside Prints the Veins
The veins of an elephant ear leaf stand out on the underside, the midrib nearly a quarter inch proud. Pressed into wet sand mix, that side leaves a groove for every vein down to the fine ones near the edge.
We expected rain to run straight off the stones. It collects in the grooves instead and sits there for a day after a storm, darker gray than the rest.
Each stone weighs about 40 pounds. One person can carry them to the path, one at a time.
Materials & Tools
Not in the $115: the leaves, which cost nothing if you or a neighbor grow elephant ears, and the tools.
Batches: a 10-foot sheet holds three or four stones with room to kneel between them. Pour one batch, let it cure two days, and reuse the sheet.
Sand mix, not concrete mix: concrete mix carries gravel up to ¾ inch, and the stones break the finer veins apart. Sand mix keeps every line.
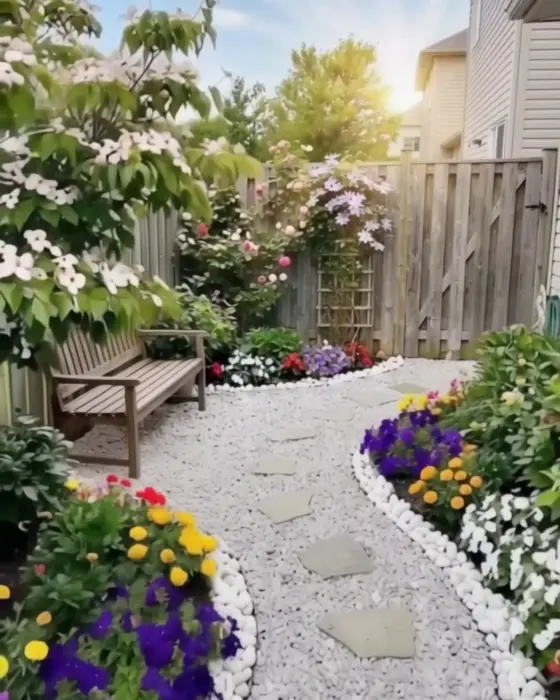
Gravel instead of grass: stones set in lawn need edging every few mowings. Set in gravel, the way the flagstones sit in our white gravel garden path, they don’t.
Watch the Build
Step by Step
Step 1Mix and pour a round
Spread the plastic over a flat patch of lawn. Mix one bag at a time, starting with 8 pints of water and stopping well short of the 12 the Quikrete data sheet allows; stiff mix holds the print.
It’s right when a handful squeezed in a gloved fist holds its shape and no water runs out between the fingers.
Pour a round about 24 inches across and pat it out 2 inches thick. Gloves and safety glasses on: wet mix burns skin.
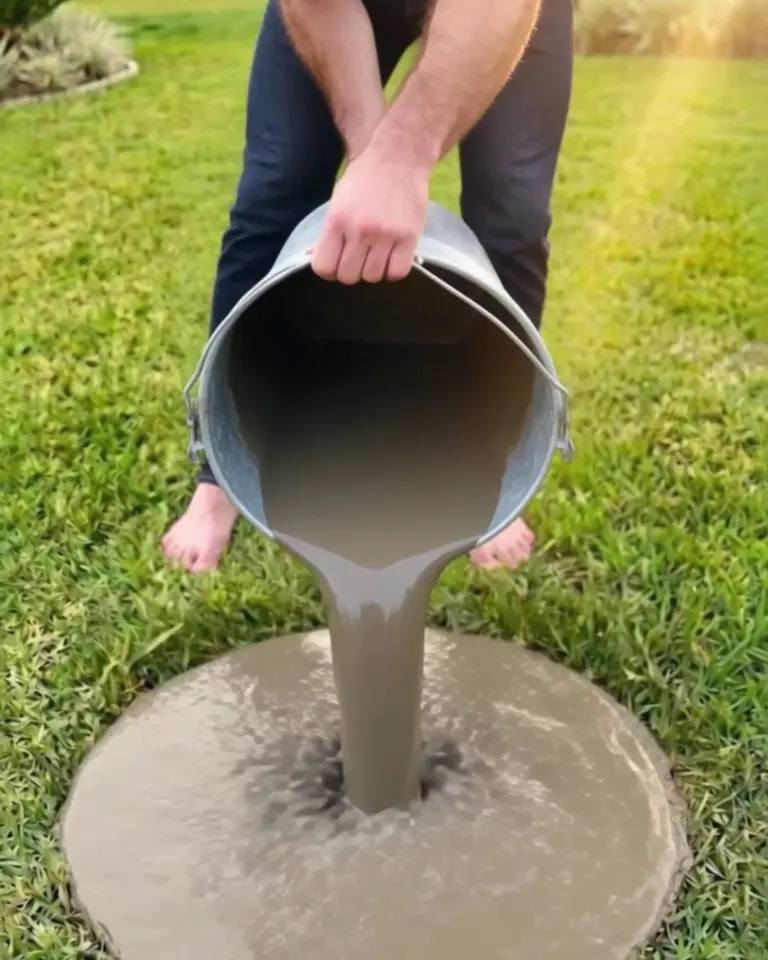
Step 2Set the leaf vein side down
Mist the leaf lightly with cooking spray on the vein side and lay it on the round, vein side down and stem toward the edge. Leave at least an inch of mix showing all around the leaf.
A leaf that curls at the tips will lift its edges out of the mix; lay a scrap of plywood over it for a minute to flatten it before you press.
Handle the leaves in gloves too; elephant ear sap carries calcium oxalate crystals that make hands itch for hours.
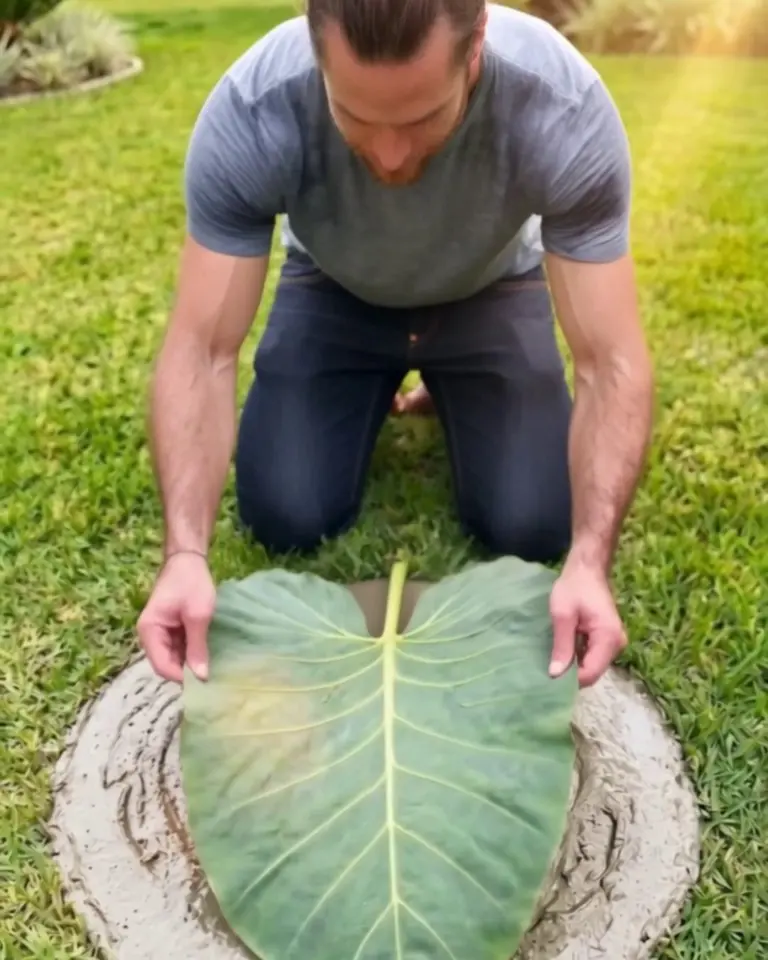
Step 3Press it in
Press with flat palms from the midrib outward until the whole leaf has sunk about ⅛ inch. Hold each spot for a few seconds; the outer edge needs as much pressure as the middle, or the tips print faint.
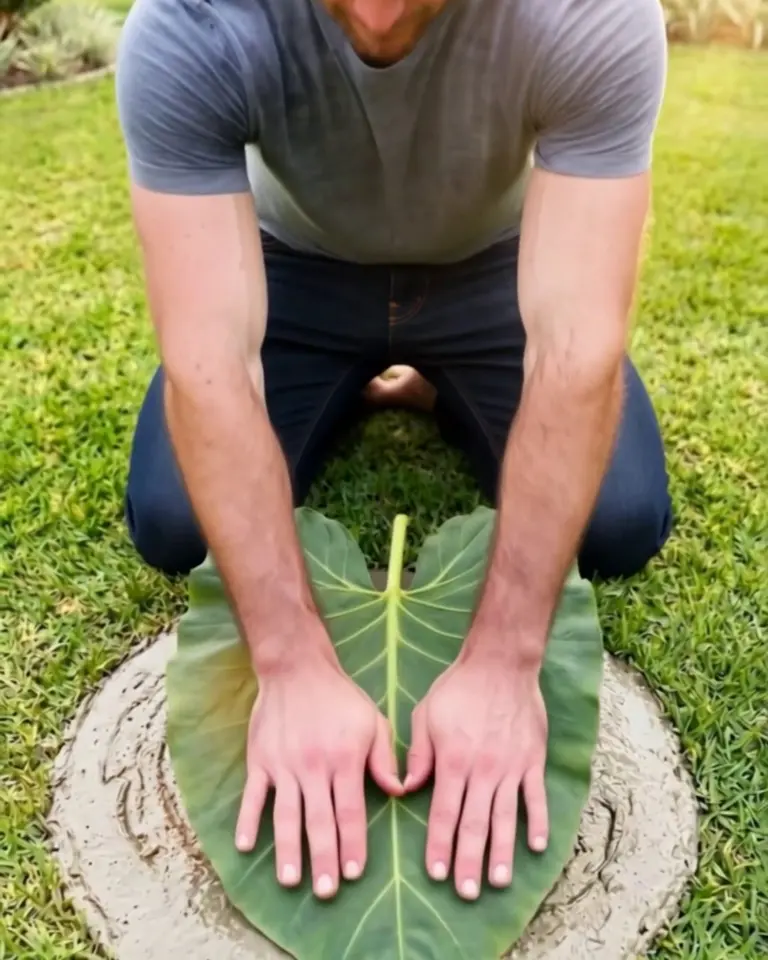
Step 4Peel the leaf
Wait until a fingertip pressed near the edge leaves only a faint dent, usually 1 to 2 hours; peeled sooner, the edges of the grooves slump and blur. Lift the leaf by the stem and peel it back slowly over itself.
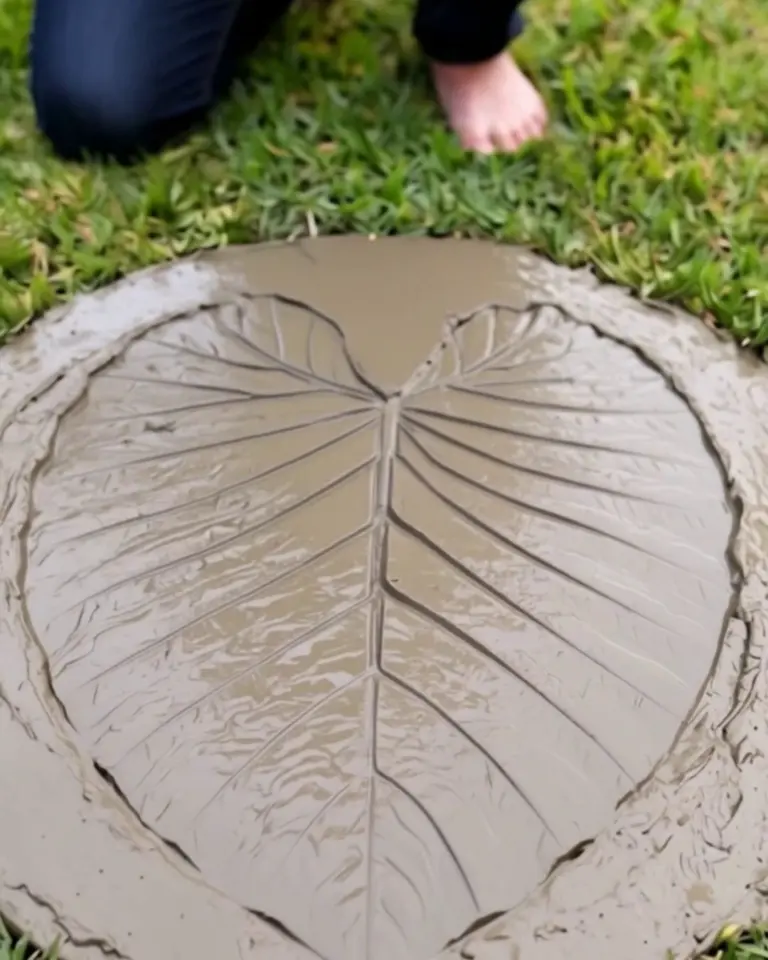
Step 5Trim to the outline
Cut straight down with the pointing trowel about an inch outside the printed outline and pull the extra mix away. Round over the cut edge with the trowel so it doesn’t chip later, then wipe the trowel marks off the side with a damp sponge.
The trimmings pressed into a plastic pot make small accent stones for the border.
Cover the stone with plastic and leave it two days before lifting it off the sheet.
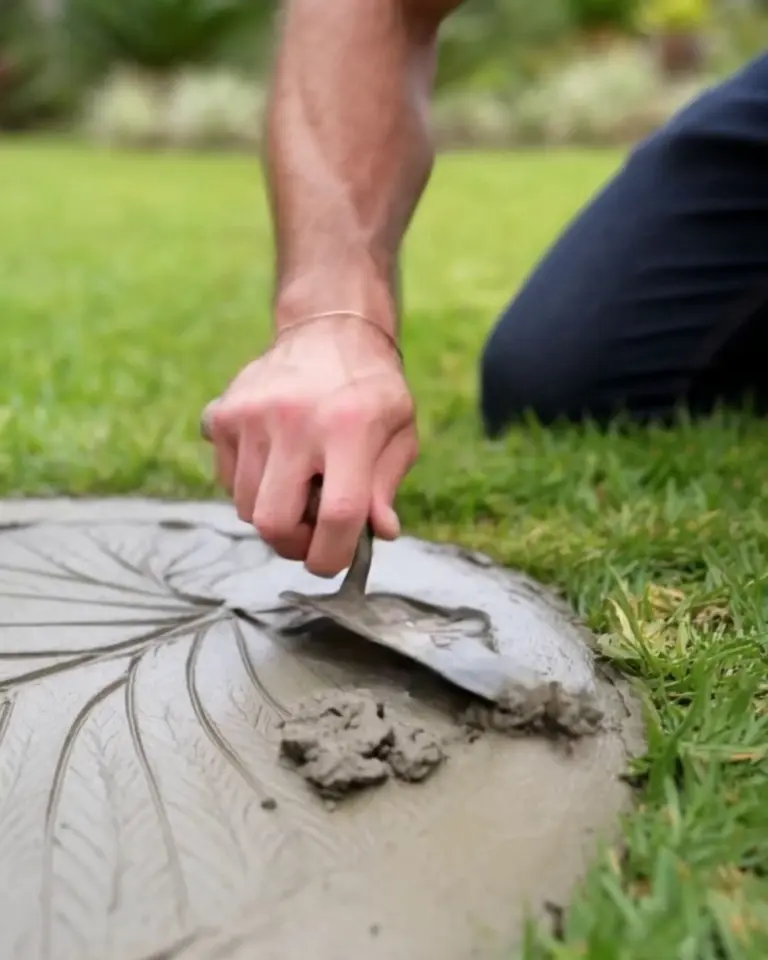
Step 6Set them in the lawn
Lay a garden hose along the route first and look at the curve from a window; it’s easier to move a hose than a stone. Then lay the stones out 24 inches apart, center to center, and walk the line before cutting anything.
Cut around each stone with the edger, lift the sod 2½ inches deep, add half an inch of sand and set the stone so it sits level with the soil.
Flush with the soil, the mower passes right over. Give them a week before anyone walks on them.
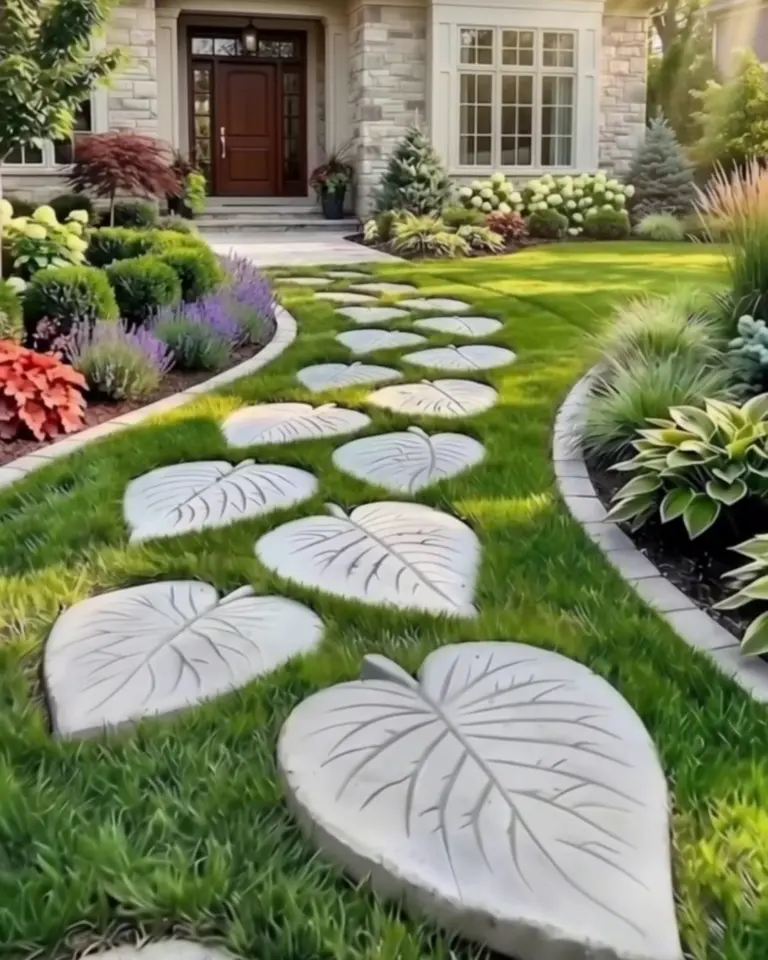
How Concrete Leaf Stepping Stones Hold Up
The fine veins near the edges soften first, worn by shoes and grit. The midrib and the big veins stay sharp.
Grass creeps over the edges within a season; trim it back with the edger a few times a summer.
FAQ
The veins barely show
The leaf went in shiny side down, or the mix was too wet and flowed back into the grooves. Use the vein side, and stiffen the next batch with less water.
The leaf tore when I peeled it
It sat too long or dried out on the stone. Peel within a couple of hours; leaf scraps left in the grooves wash out with a hose and a stiff brush after the stone cures.
What if I don’t have elephant ears?
Rhubarb, hosta and large hydrangea leaves all print. Smaller leaves make smaller stones, so plan on more of them.
One stone cracked across the middle
Usually it was set on a high spot and rocked when stepped on. Lift it, level the sand under it, and keep the pieces for the garden border.
Can I color the mix?
We haven’t tried it on these. Cement color is sold for exactly this, but how a tinted batch takes the print, we can’t say.
The maple leaf from the first question ended up pressed into a scrap of mix, about the size of a coaster.
It sits on the porch rail and holds a candle.