Mortar squeezed through every square of the milk crate’s lattice on our first try and set around the plastic like a fist. The crate came out in 14 pieces, cut with tin snips.
You’ll also love: How to Cast a Yoga Ball Concrete Sink for an Outdoor Kitchen, How to Make Draped Concrete Planters Over Nursery Pots, How to Make a Concrete Outdoor Sink with a Basketball Mold.
Second time, two layers of stretch wrap went around the crate before any mortar did, and it slid out two days later with a squeak.
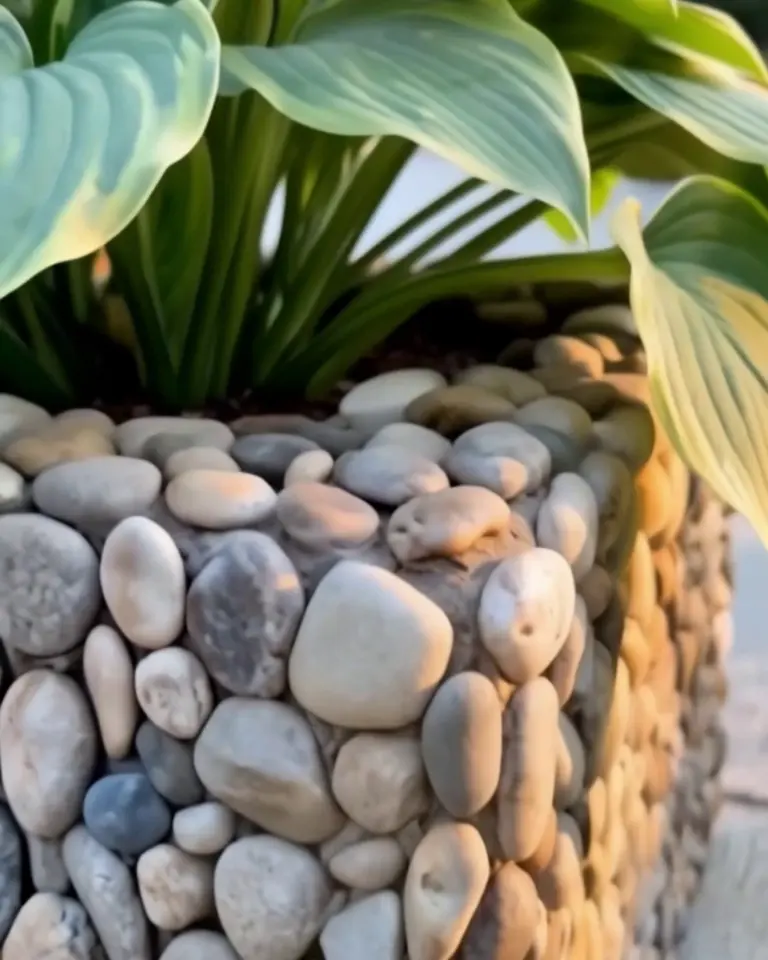
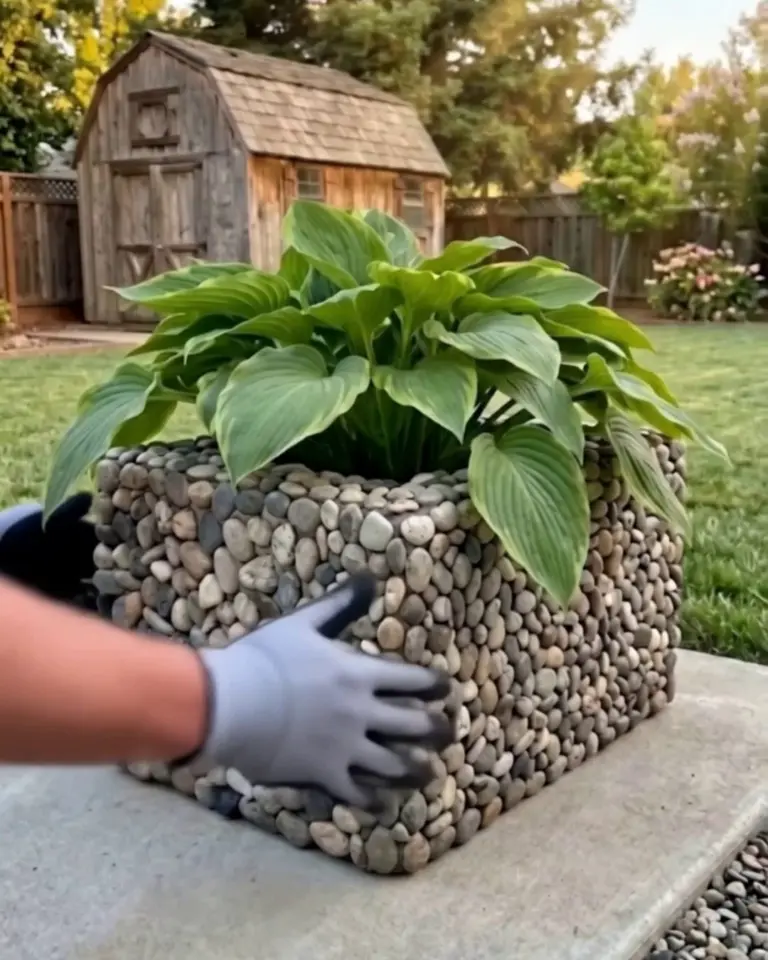
Our river rock concrete planter is that second shell: the crate’s shape in mortar about ¾ inch thick, then two bags of mixed river pebbles pressed into a fresh coat, one face at a time.
Wet mortar smells like a damp basement. A friend asked which garden center it came from and lost interest when we said a milk crate.
Why a Milk Crate Makes a Good Form
A 16-quart milk crate measures 13 × 13 × 11 inches outside, with walls stiff enough to trowel against. Coat the outside, pull the crate, and the hole it leaves is the planter’s 13-inch cavity.
We expected the pebbles to need grout between them. Set half-deep in a ½-inch bed, they lock in on their own, and the gaps stay a soft gray.
Round stones leave more mortar showing; flat ones lie closer together. A mixed bag gives both, and the mix is most of the look.
Materials & Tools
Not in the $110: the hosta, the potting mix, the trowels, the tub and the gloves.
Mortar: veneer stone mortar is made to hang on a vertical wall, which is what both coats here are. Plain sand mix slides off the sides of the crate before you’re done with the face.
Sorting: tip both bags onto a tarp first. The flattest stones go on the corners and along the rim, where a round one would stick out and catch.
No crate: for a rounder shape, cement-soaked cloth draped over a nursery pot does the job the crate does here, the way it does for our draped concrete planters.
Watch the Build
Step by Step
Step 1Wrap the crate
Turn the crate upside down on a bench and wrap it in two layers of stretch wrap, pulled tight over the bottom and down all four sides, then tape the loose end. The wrap is the only thing that lets the crate come back out.
Step 2Mix the mortar
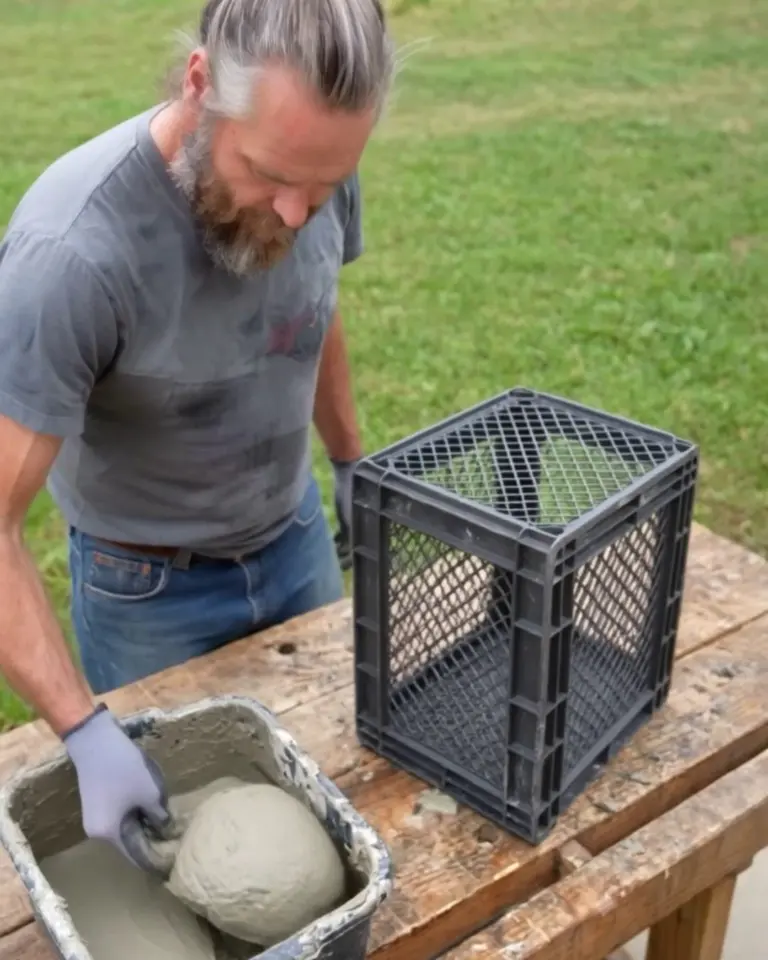
Start one 80-pound bag with about 8½ pints of water and add more a little at a time until the mortar holds on a trowel turned on its side. Quikrete’s data sheet puts the limit at just under 14 pints a bag.
Gloves and safety glasses on from here: wet mortar burns skin.
Step 3Coat the first side
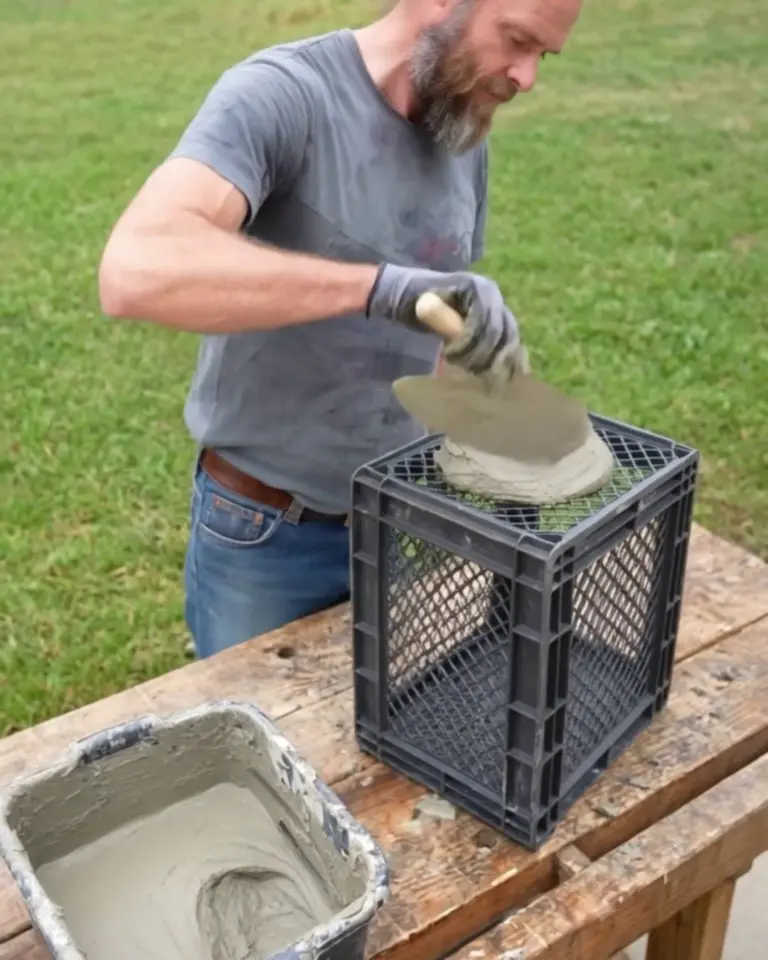
Press mortar onto one side, working from the bottom up, until it’s ¾ inch thick everywhere. Smooth it with long strokes and run the trowel flat along the edges so the corners stay square.
Corners are where it chips later, so give them an extra pass: hold the trowel at the edge and draw it down in one stroke, then do the same from the other side.
Step 4Coat the rest and set the drain
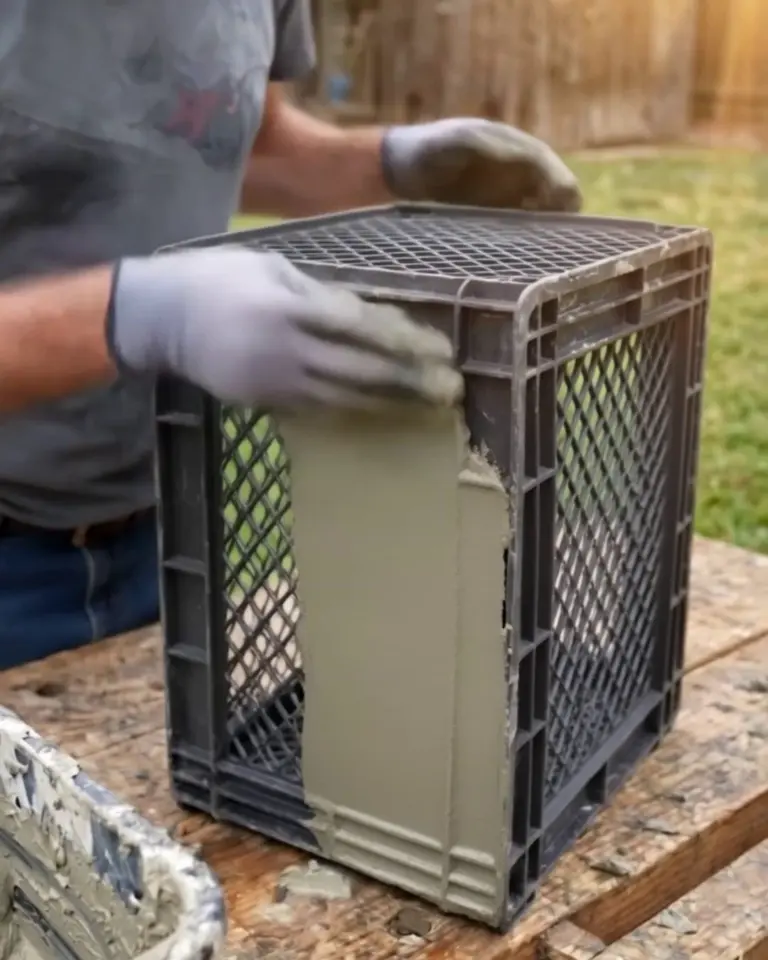
Do the other three sides the same way, then the top, which becomes the planter’s bottom. Push the 3-inch piece of PVC straight down through the middle of the top coat.
Thin spots crack when the crate comes out, so check every face for ¾ inch before you stop.
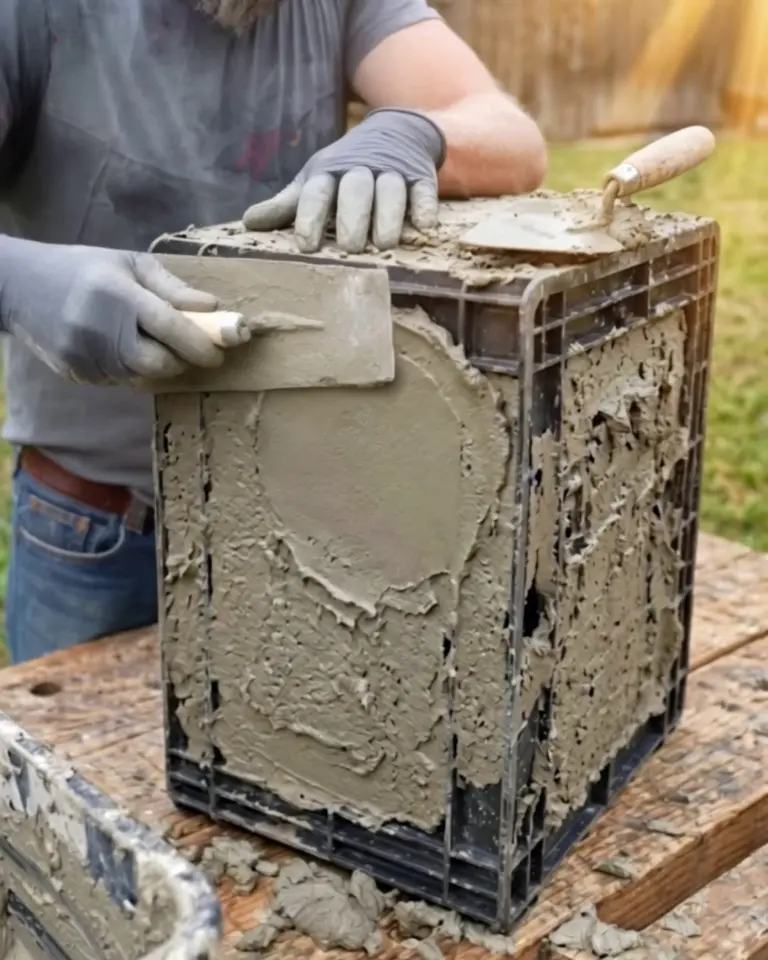
Step 5Let it cure
Cover the box with plastic and leave it two days, misting it once a day if the weather is hot and dry. Pull the crate early and the corners come with it.
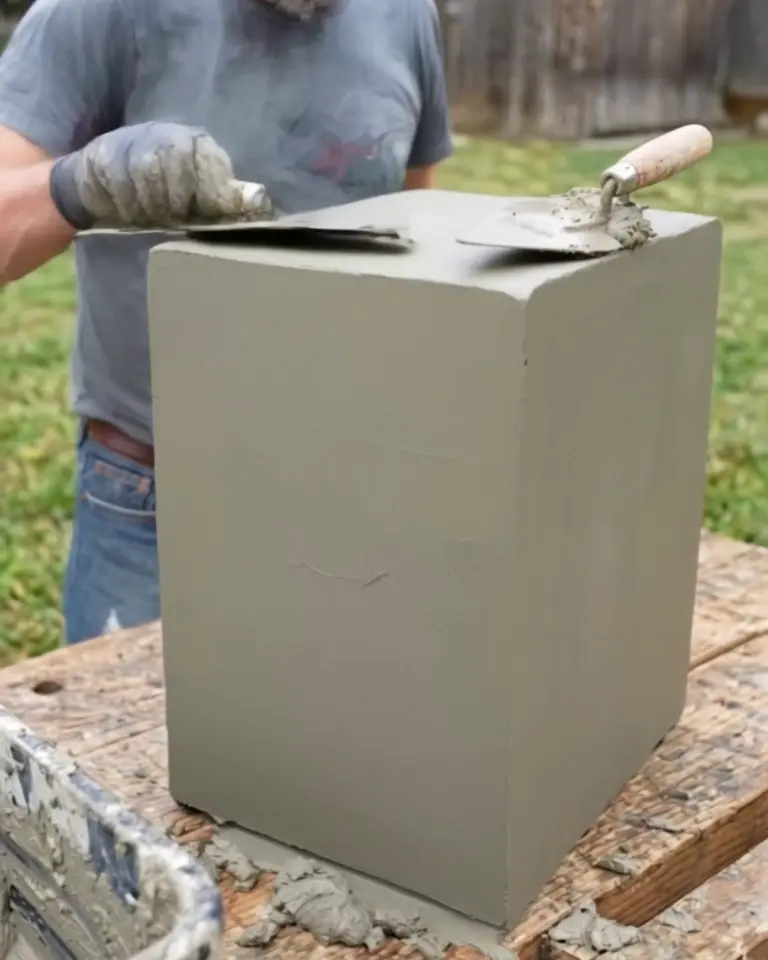
Step 6Pull the crate
Flip the shell onto a folded towel so the open side faces up, and pull the crate straight out by its rim. Peel out the stretch wrap and push the PVC plug through.
The inside walls keep the lattice pattern of the crate. Once there’s soil in it, nobody sees it.
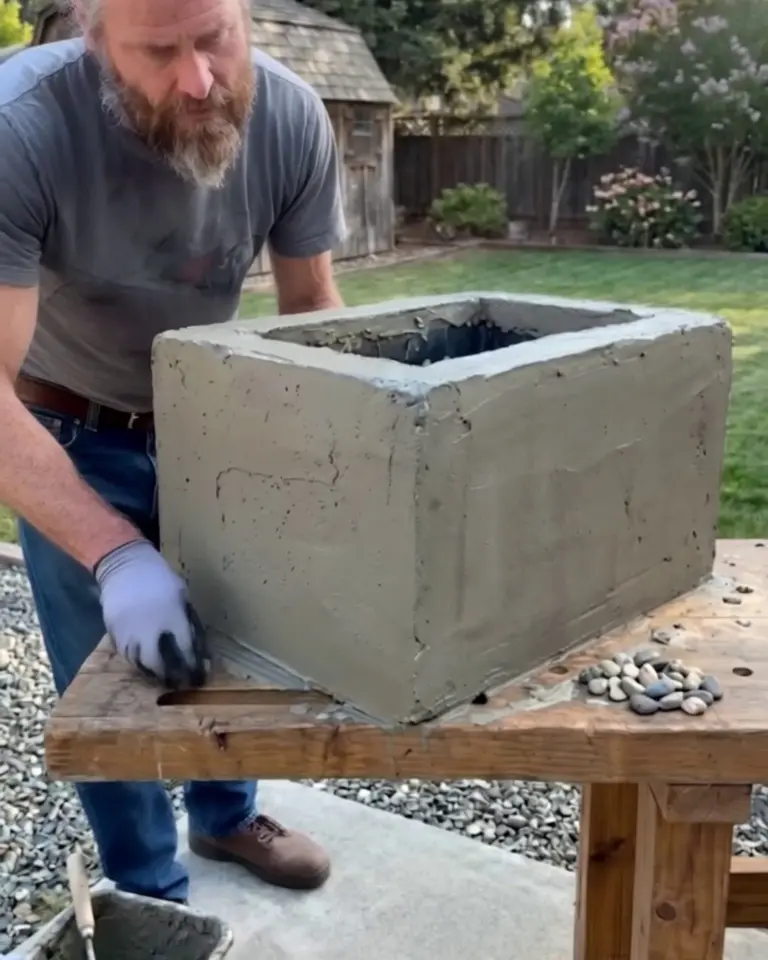
Step 7Press in the pebbles
Lay the planter on its side so the face you’re working on points up. Spread a ½-inch layer of fresh mortar over that face and press pebbles into it, flat side down, until about half of each stone is buried.
Start at the bottom edge with the bigger stones and work up, keeping the smallest for the corners and the rim.
Give each face an hour before turning to the next. A face that tips too soon lets the stones slide.
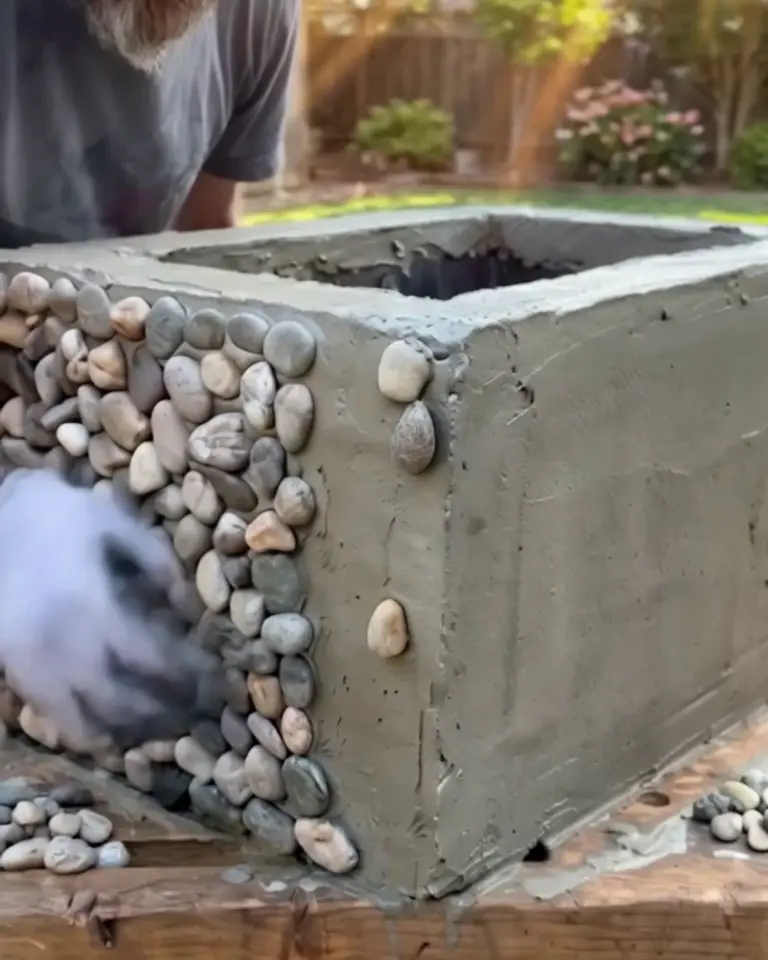
Step 8Place it and plant it
Leave it under plastic 3 more days. Empty, it weighs about 140 pounds, so set it where it will live before any soil goes in.
A cubic foot of potting mix fills it. Hostas suit it, since a pot this heavy tends to stay in the shady spot where it first lands.
How a River Rock Concrete Planter Holds Up
Round pebbles set too shallow are the first to pop out. Press them back into a dab of fresh mortar.
Frost is the bigger risk. Wet soil that freezes pushes on the walls, so lift the planter onto pot feet to let the drain work, and empty it for winter wherever the ground freezes.
FAQ
The crate won’t come out
The wrap tore somewhere and mortar keyed into the lattice there. Twist the crate side to side rather than pulling straight up. If it still holds, cut it out with tin snips a section at a time.
My pebbles keep sliding down
Either the mix is too wet or the face isn’t level. Lay the planter so the face points straight up, stiffen the batch with a handful of dry mortar, and wait the full hour between faces.
Can I use regular concrete mix?
Not for this one. The gravel in concrete mix won’t hold on a vertical wall at ¾ inch; it slumps, and the stones end up on the bench.
Does it need a sealer?
Not to survive. A penetrating sealer darkens the pebbles and makes them look wet, and we haven’t decided whether we like that.
How do we move it once it’s built?
Empty, with two people and a moving blanket under it. A hand truck works too, with the planter strapped on and the pebble side padded.
The first crate went into the recycling bin in 14 pieces.
The hosta has filled the top, and the pebbles on the north side have a little moss started.