Spreading mortar straight onto the wooden slats was the first plan. A test patch cracked along every gap between the boards within a week, as the wood swelled and shrank under it.
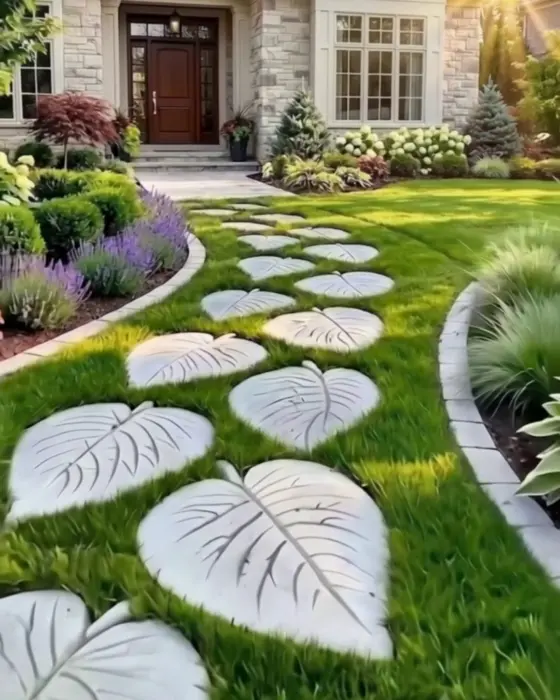
You’ll also love: How to Build a Gabion Fire Pit Grill from an Old Car Wheel, How to Make Concrete Mushroom Garden Stakes in Eggshells, How to Make Concrete Leaf Stepping Stones for a Garden Path.
Our mosaic patio table sits on a 36-inch circle of cement board instead, screwed to the slats, with 16 thrift-store plates set into a thin bed of thinset.
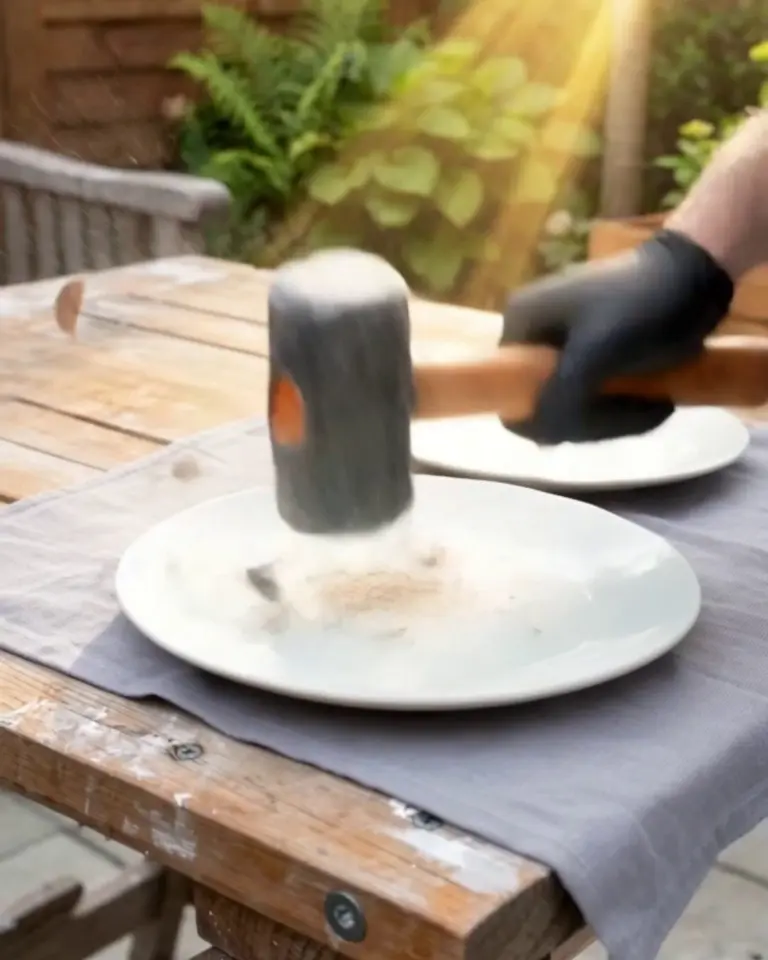
A plate under a towel gives one dull crack, then sounds like ice in a glass when you lift the towel.
A friend recognized one of the blue plates as hers. She decided she liked it better this way, eventually.
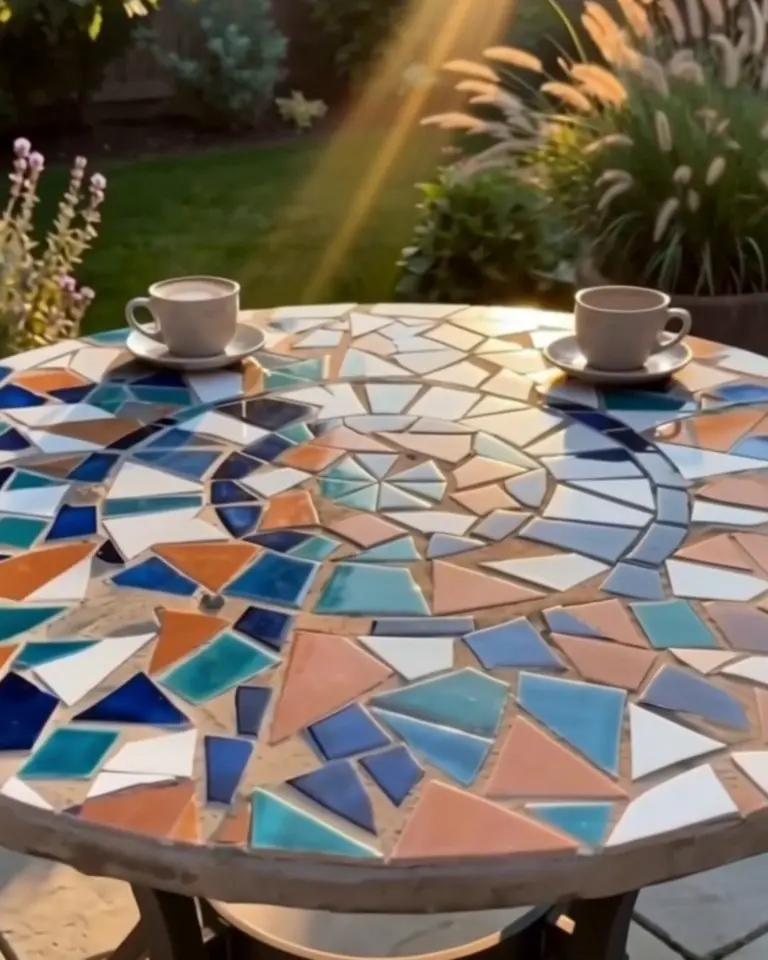
What the Cement Board Does Under the Plates
Cement board doesn’t swell when it gets wet the way wood does. Screwed down every 6 inches, it gives the thinset a flat, stiff base that stays put under the shards.
We expected the curved plate rims to be a problem on a flat top. They break into pieces that tip, so those went around the edge and the flat centers went into the middle.
Dark blue looks darker once it’s grouted. White joints make every color stronger.
Materials & Tools
Not in the $110: the table, the mallet and the jigsaw that cuts the board.
Planning colors: lay the dry shards out on the bare board first, ring by ring, and take a photo. Once the thinset goes on, the photo is the plan.
Which plates: porcelain and stoneware hold up outdoors. Soft earthenware, the kind with a chalky unglazed ring underneath that drinks a drop of water, cracks the first winter it stays wet.
A smaller version: the same shards and grout cover a concrete planter rim nicely; the flat sides of our concrete outdoor sink would take them too.
Watch the Build
Step by Step
Step 1Screw down a cement board circle
Mark a 36-inch circle on the board with a string and pencil and cut it with a jigsaw and a carbide-grit blade, outdoors with a dust mask on. Lay a zigzag of exterior construction adhesive on the slats, set the circle on top and drive a cement board screw every 6 inches into the slats below.
Sand the old finish off the slats with 80-grit first, so the adhesive grips bare wood.
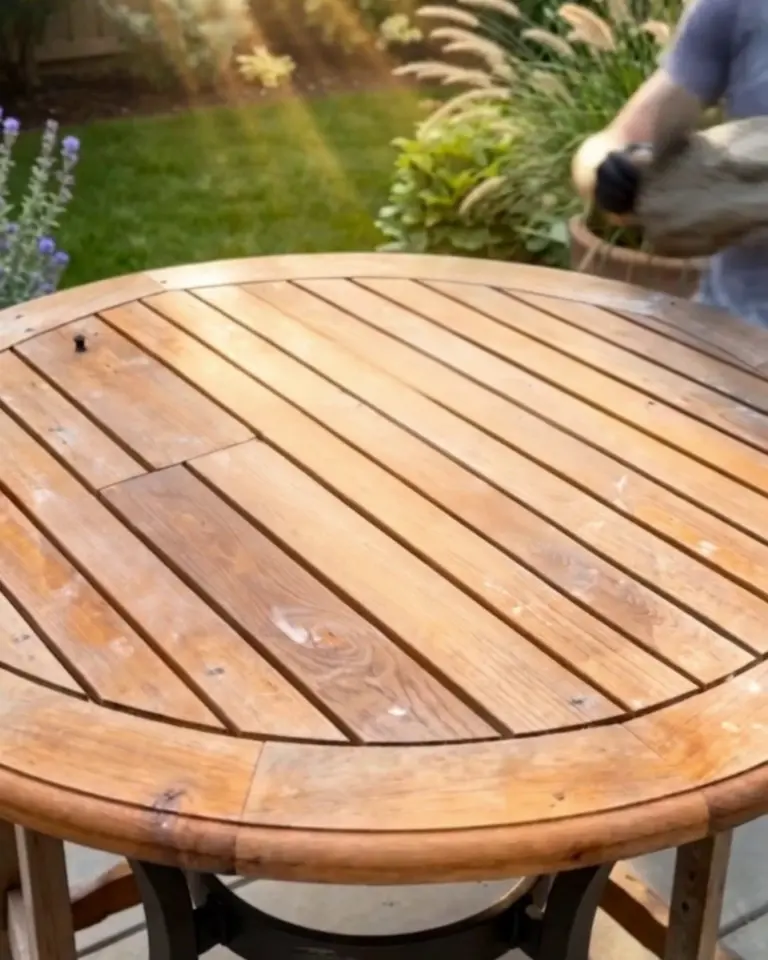
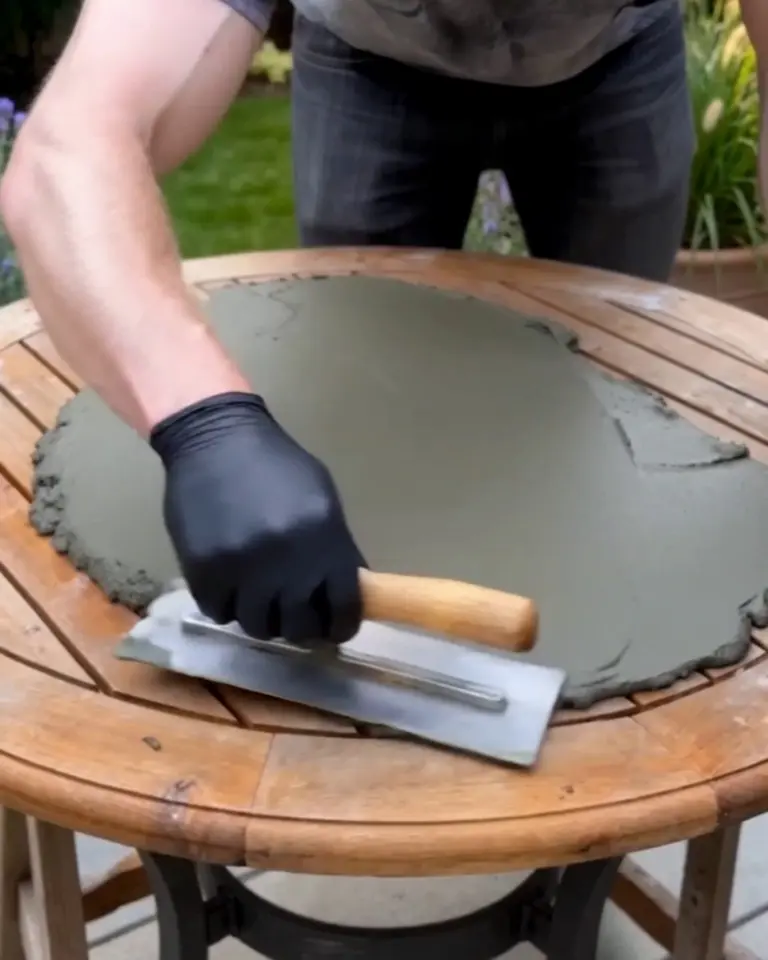
Step 2Spread the thinset
Mix the thinset to a peanut-butter stiffness and spread it ⅛ inch thick with the flat of the trowel. Do one third of the top at a time; thinset skins over in about half an hour, and shards won’t stick to a skin.
Step 3Break the plates
Fold a plate inside an old towel, flat on a hard surface, and hit the center once with the mallet. Two or three more taps break the pieces down to 1 to 2 inches; tile nippers trim the odd shapes.
Glasses on. Shards come out of the towel edges. Sort the pieces into bowls by color as you go, which makes planning rings far easier than picking from one pile.
Step 4Set the outer ring
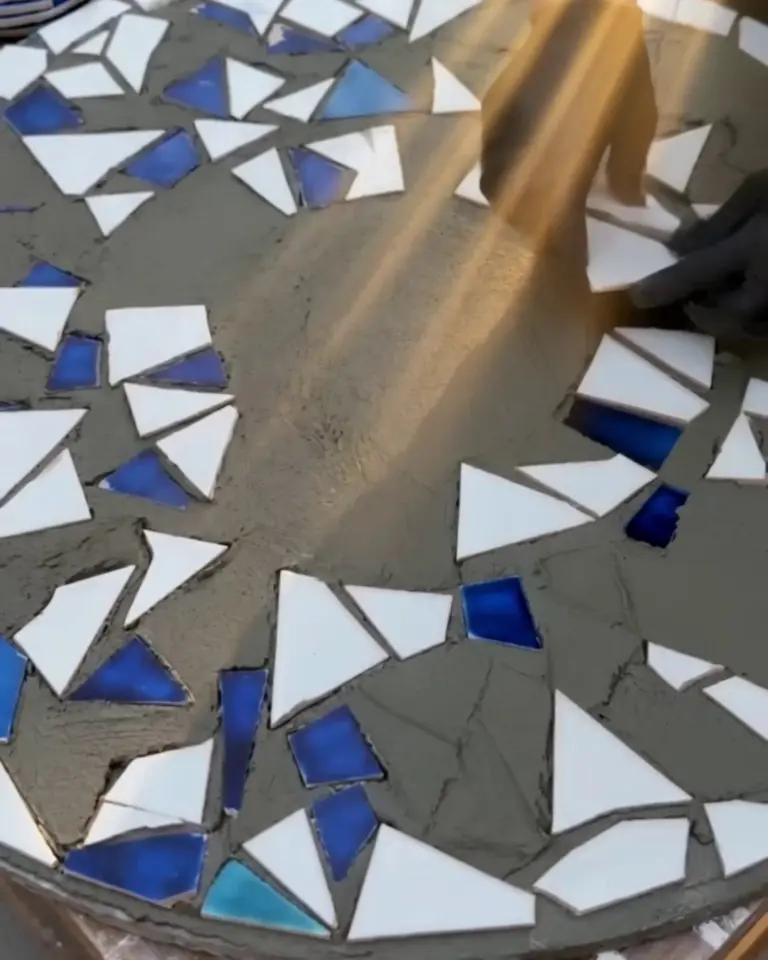
Start at the rim with the curved edge pieces, glaze up, pressed into the thinset with a thumb. Leave gaps of ⅛ to ¼ inch between pieces for grout.
A curved piece sits flat if you butter its back with a little extra thinset before pressing it in.
Step 5Work toward the center
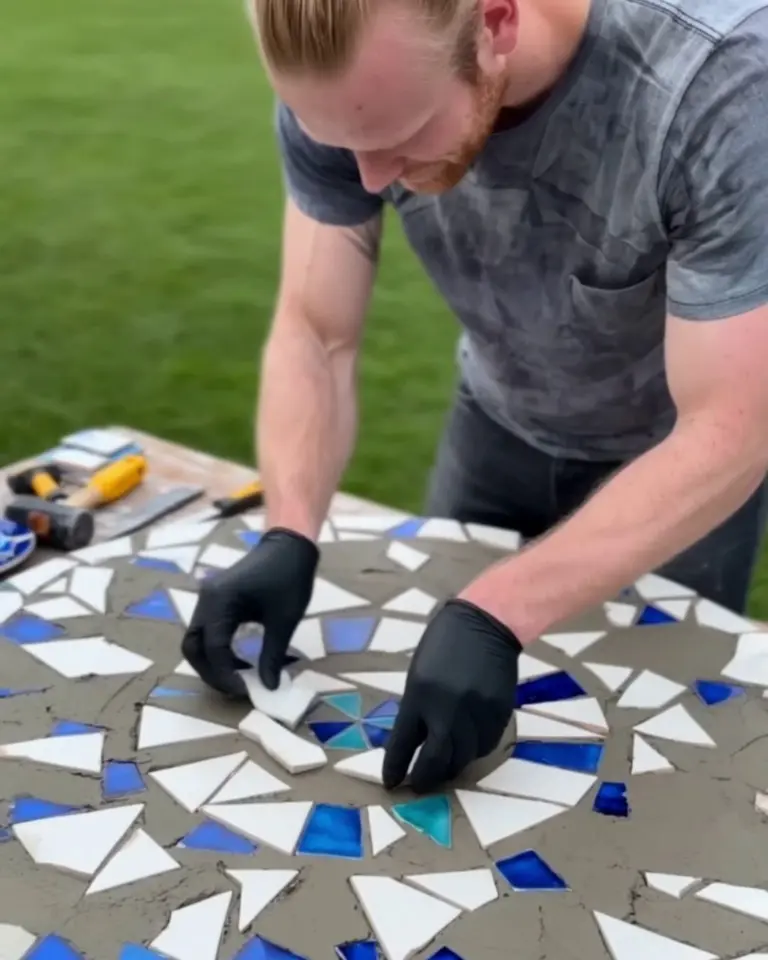
Lay rings of color inward, keeping the flattest pieces for the middle where cups and plates sit. Spread the next third of thinset only when the last one is covered.
Step 6Tap them level
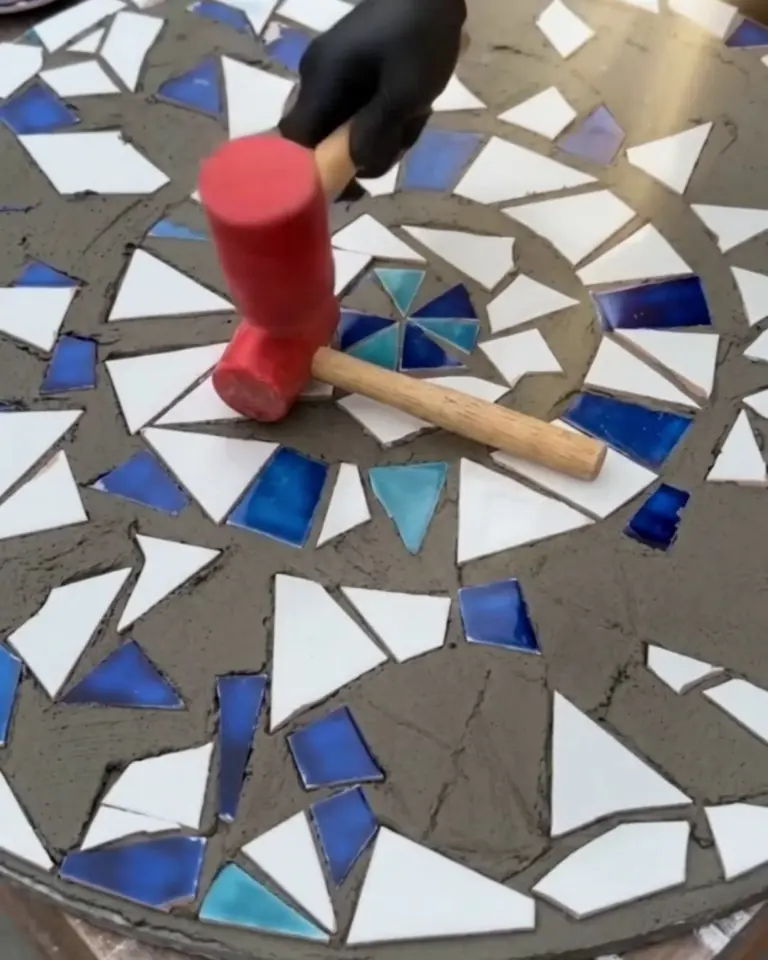
Lay a scrap of flat board across a patch of shards and tap it with the mallet so the tops line up. A shard standing proud catches every glass set down on it.
Leave it a full day before grouting.
Step 7Grout it
Mix the sanded grout stiff (Mapei’s sanded grout is made for joints from ⅛ to ⅝ inch, which covers every gap here), pile it on the top and push it into the joints with the float held at 45 degrees, working diagonally across the gaps. Scrape the extra off with the float’s edge.
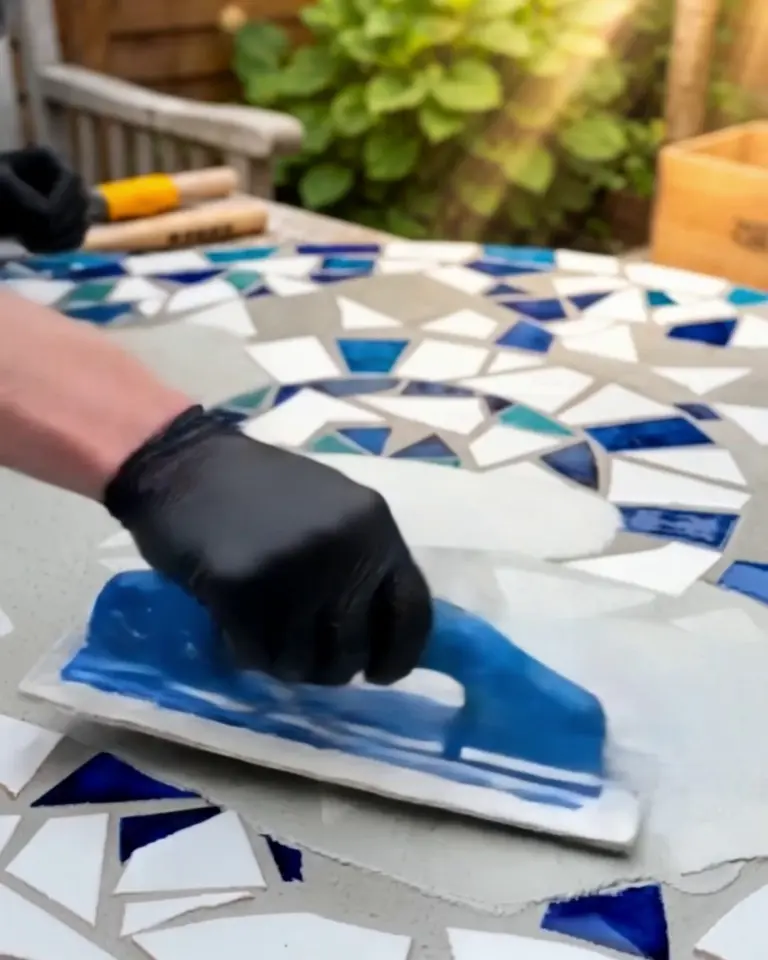
Step 8Wipe it clean and seal
After 15 to 20 minutes, wipe in circles with a damp sponge, rinsing it often, until the glaze shows through the haze; wring the sponge nearly dry, since a wet one pulls grout back out of the joints. Buff the last film off with a dry cloth an hour later.
Give the grout 3 days, then brush two coats of penetrating sealer over the whole top.
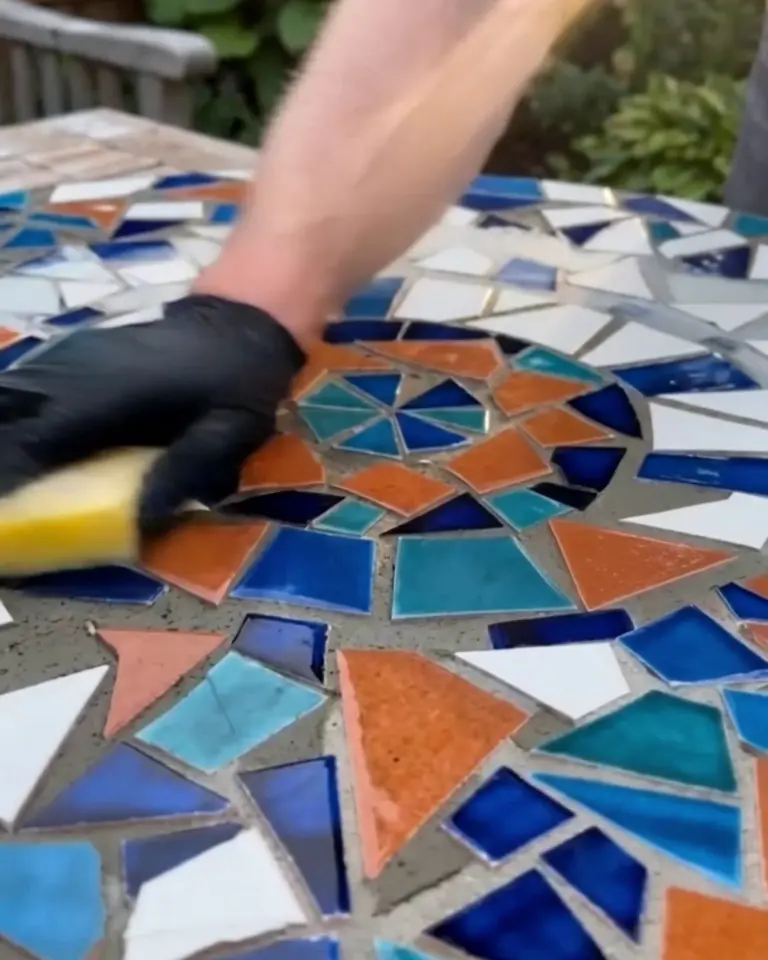
How a Mosaic Patio Table Holds Up
Water is the enemy, not wear. Seal it again every spring, and cover it or bring it in before a hard freeze; a top that freezes wet can pop shards loose.
The white grout darkens around the center first, where coffee cups land.
FAQ
Some shards are sharp at the edges
The broken edges of a plate are as sharp as glass. Run a rubbing stone or a sanding sponge along any that stand above the grout, and fill low spots with a little more grout.
A piece came loose after grouting
It was set into thinset that had already skinned over. Chip out the old grout around it, butter the back with fresh thinset, press it in and grout the gap the next day.
Can I use floor tile instead of plates?
Yes, and porcelain tile is flatter and tougher than most plates. Break it the same way; it just takes a harder hit.
The grout cracked in a line across the top
That’s usually the board flexing between screws. Check that every screw bit into a slat, and add screws where the board gives under your hand.
How heavy does the table get?
The board, thinset, plates and grout add roughly 45 pounds. We haven’t weighed a full table, base and all.
The friend’s blue plate is in the outer ring, three pieces in from the edge nearest the house.
She points it out to everyone who sits there.