A neighbor asked how we got the concrete under the rocks instead of over them. The short answer is that the rocks go in first, face down in damp sand, and the concrete is poured onto their backs.
You’ll also love: How to Make Mosaic Stepping Stones in a Bicycle Tire Mold, How to Build a Natural Stone Retaining Wall with Mortar, How to Build Cinder Block Garden Steps with Wood Treads.
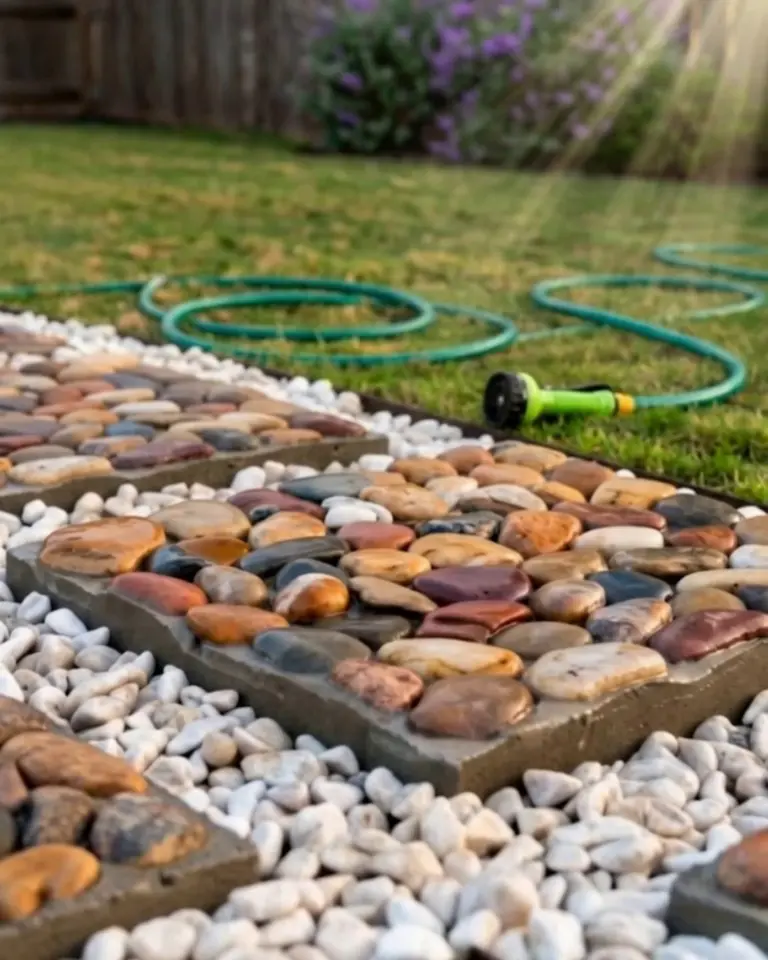
Our river rock stepping stones are eight 18-inch squares, 2 inches thick, set into a strip of white gravel. Each one weighs about 55 pounds.
The first slab went in without the sand. Flipped over, its stones were hidden under a skin of gray paste, and it became the step behind the shed.
Damp sand squeaks a little when you press a stone into it. The same neighbor walked the finished path in socks and said it was a foot massage he hadn’t asked for.
Why the Rocks Go In Upside Down
Concrete fills every gap it can reach. Bedded halfway in damp sand, the faces of the rocks are the one place it can’t get to.
We expected the rebar to be overkill for a stone this size. It isn’t: an 18-inch square only 2 inches thick can crack corner to corner if it rocks on an uneven bed, and the X keeps the halves together if it does.
Flat-sided rocks make the best stepping surface. Round ones look good in the bag and stand up like knuckles.
Materials & Tools
Not in the $290: a drill and screws for the molds, a hacksaw or rebar cutter, a mixing tub, and the hose.
How much mix: each stone takes about 0.26 cubic feet of mix once the rocks take up their share, and one maker’s data sheet puts an 80-pound bag at about 0.66, so four bags cover eight stones with a little spare.
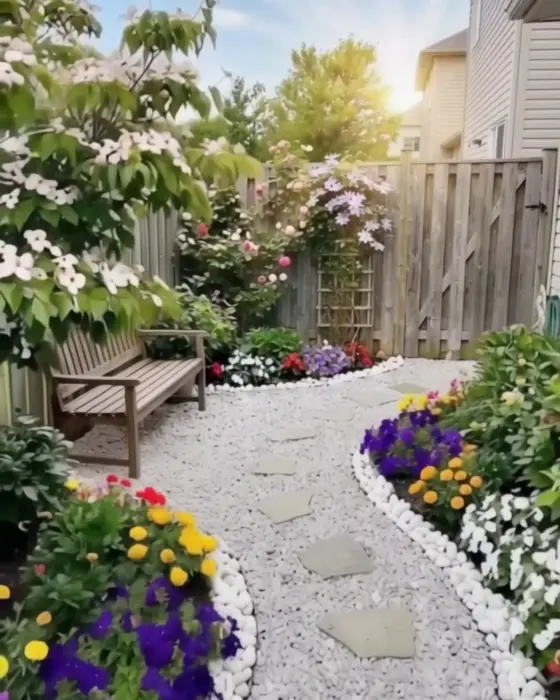
The runner: the white strip is laid the same way as our white gravel garden path, on fabric with a firm edge, just narrower.
Watch the Build
Step by Step
Step 1Build two molds
Cut the plywood into two 2 × 2 foot bases. Screw 1×3 sides onto each one to make an open box 18 inches square inside and 2½ inches deep, and wipe the inside with cooking oil.
Two molds let you pour every day while the last pair cures.
Step 2Bed the rocks in sand
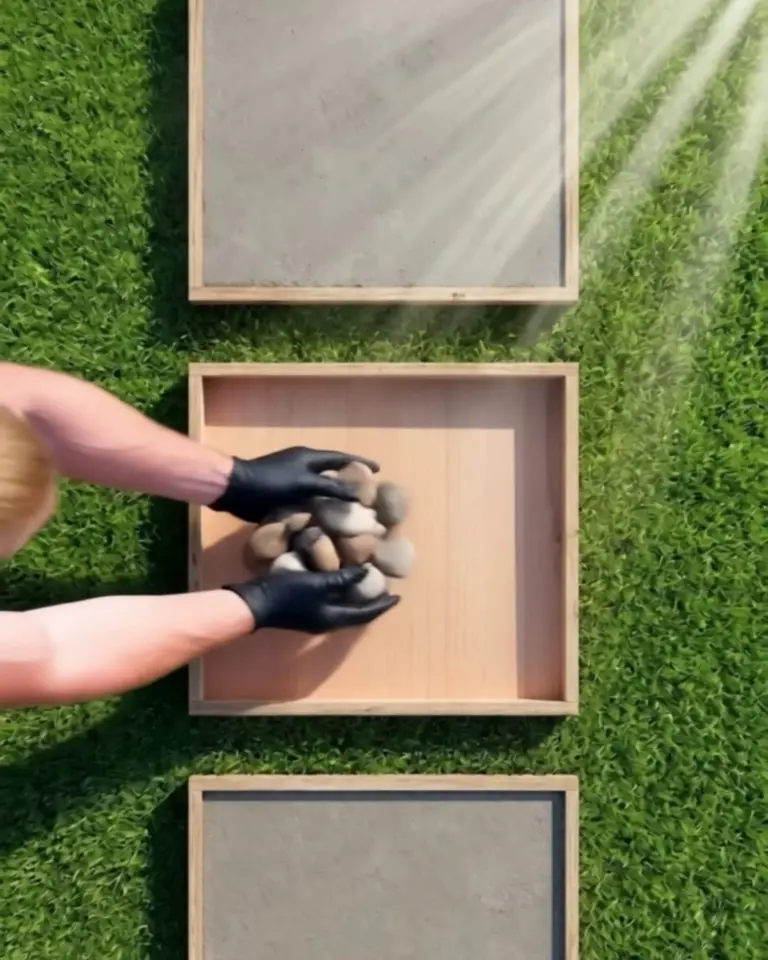
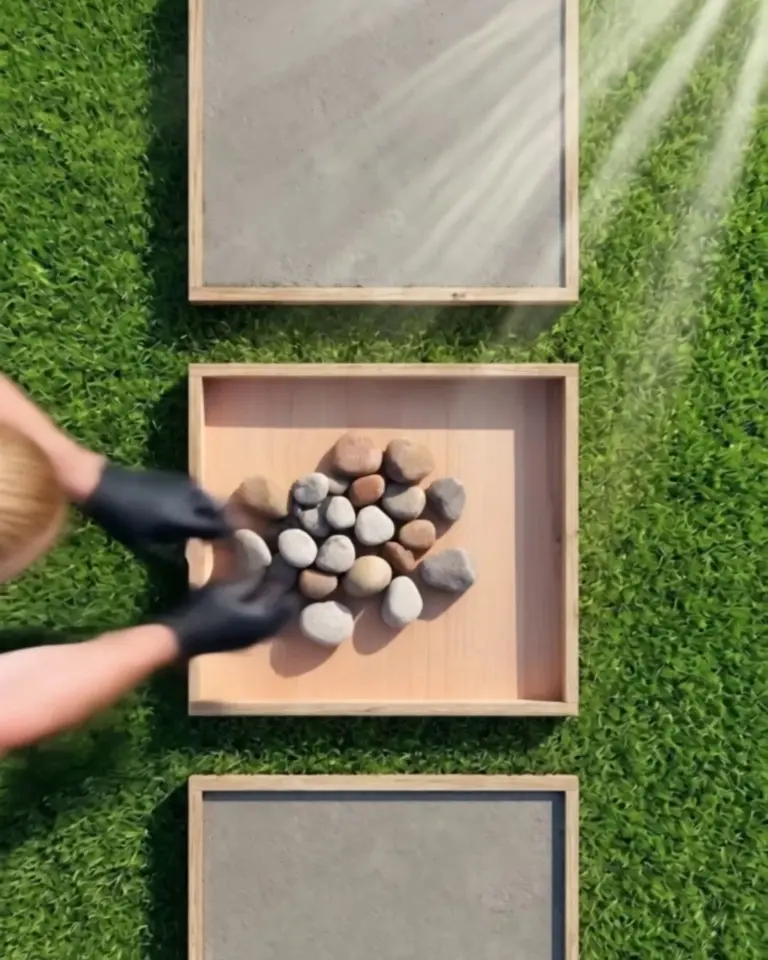
Spread ½ inch of damp play sand in the bottom of the mold. Press the rocks into it face down, about halfway in, as tight together as they’ll go.
The sand is what keeps the faces clean. Too dry and it runs; damp enough to hold a thumbprint is right.
Step 3Pour over the backs
Mix about 32 pounds of sand mix with roughly 4 pints of water, stiff enough to hold a ridge. Pour it in from one corner so it pushes into the gaps instead of knocking rocks loose, and fill to the top.
Mix one stone at a time. A whole bag stiffens in the tub before the second mold is ready.
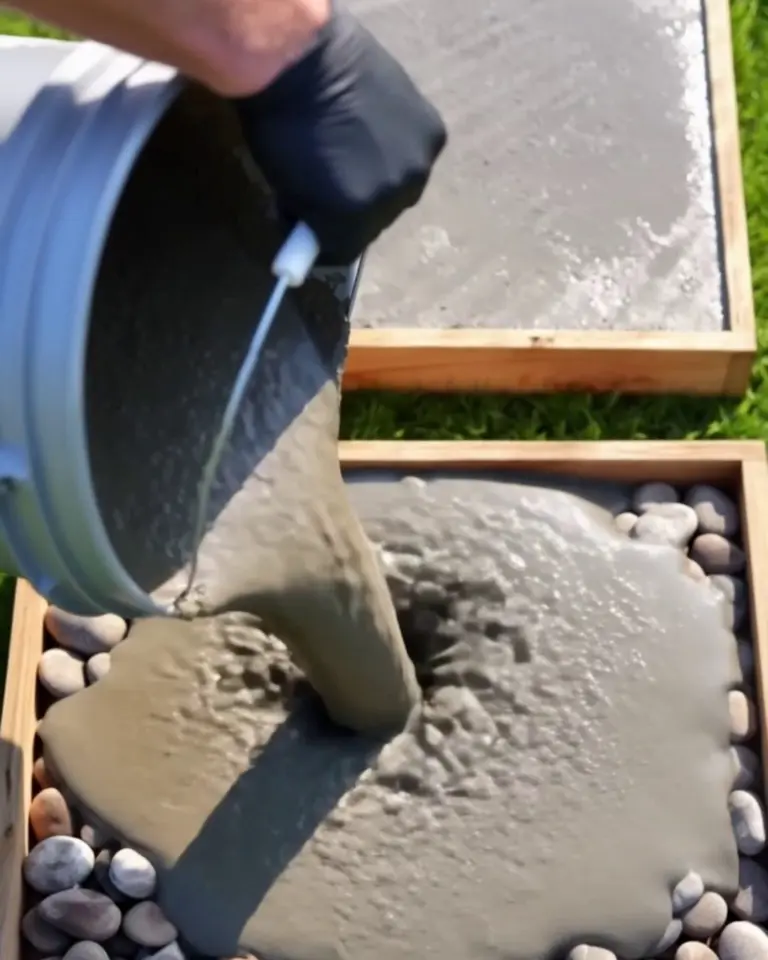
Step 4Level the back
Tap all four sides of the mold with the trowel handle to settle the mix and bring air bubbles up. Screed the back flat with the trowel, flush with the top of the 1×3s.
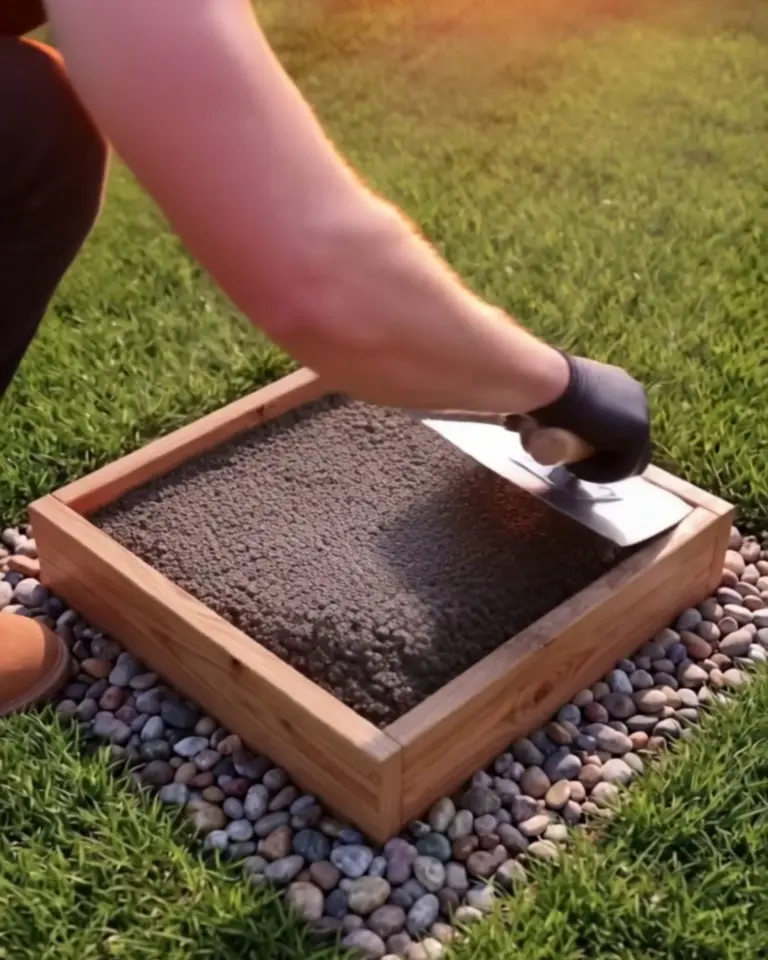
Step 5Press in the rebar X
Lay two 21-inch pieces of rebar corner to corner and push them down until they sit about 1 inch deep. Smooth the back over them again.
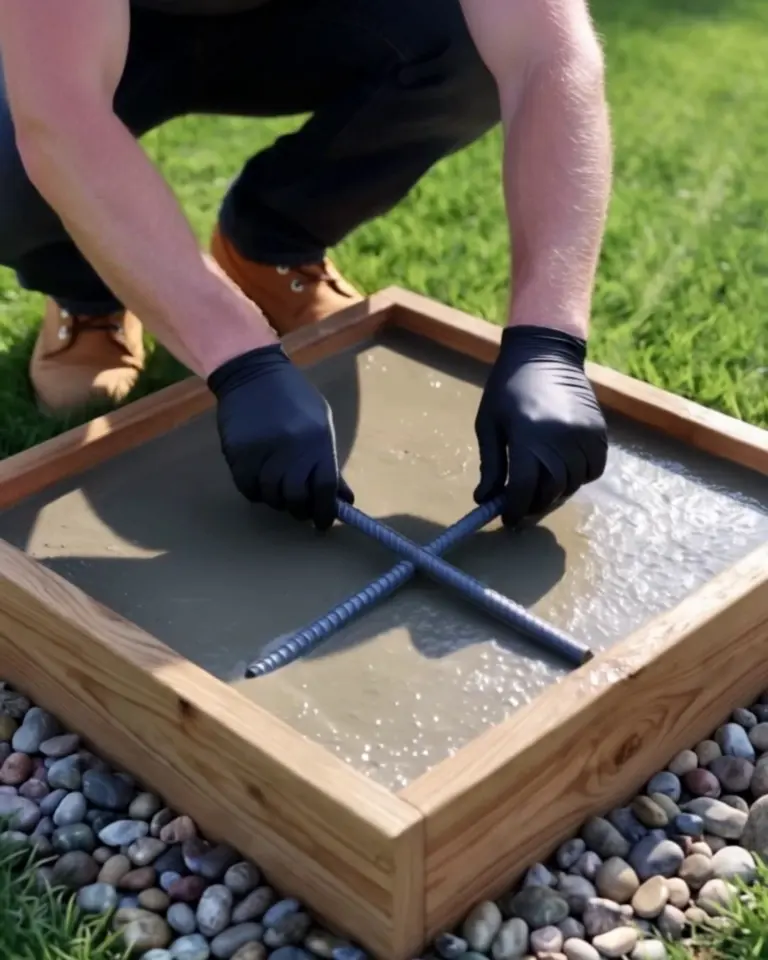
Step 6Cure, flip and brush
Cover the mold with plastic for 2 days. Unscrew one side, set a scrap of plywood on top, and flip the whole thing over with a helper; at 55 pounds, it’s a two-person job.
Lift the mold off, brush the sand from between the rocks, and keep the stone damp under plastic for the rest of the week.
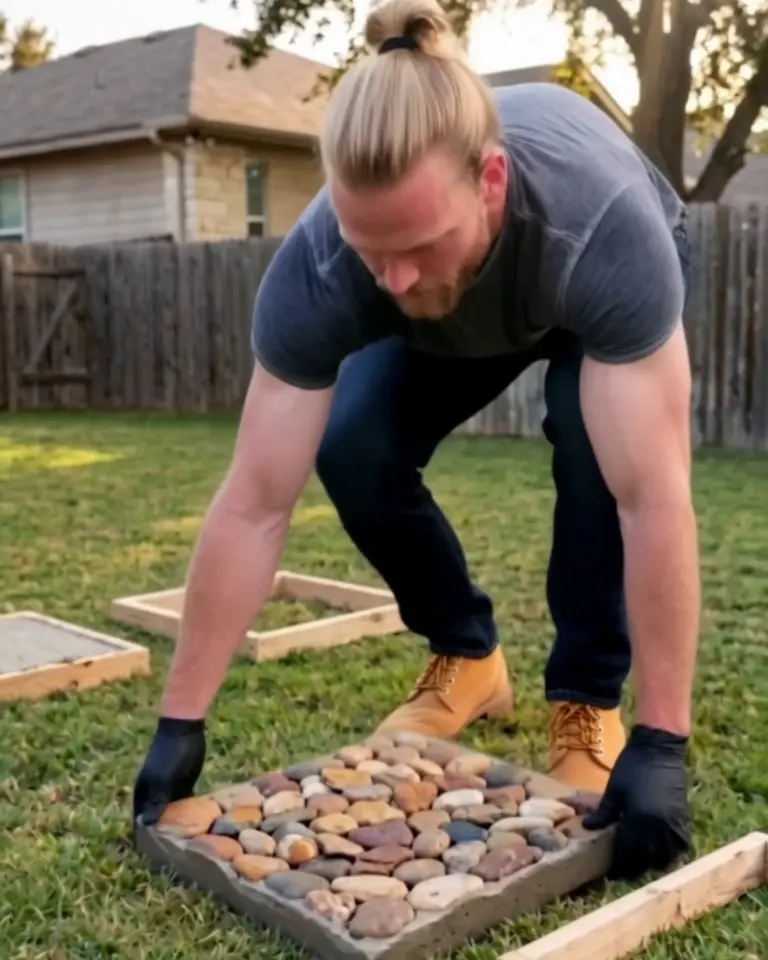
Step 7Lay the gravel runner
Dig out a strip 3 feet wide, 16 feet long and 3 inches deep. Line it with landscape fabric, set edging along both sides, and spread 2 inches of white marble chips.
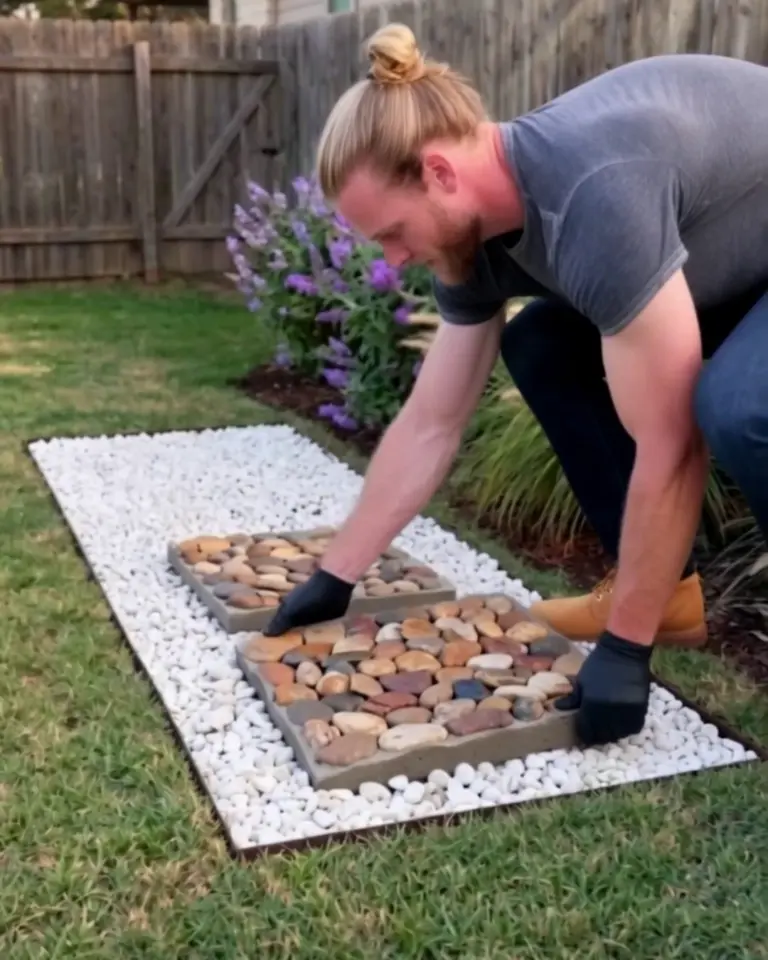
Step 8Set the stones
Lay the stones down the middle of the strip, 24 inches apart, center to center. Twist each one into the chips until it stops rocking, then pull chips up around the edges.
Keep the chips about ½ inch below the stone tops, so they don’t roll up onto them underfoot.
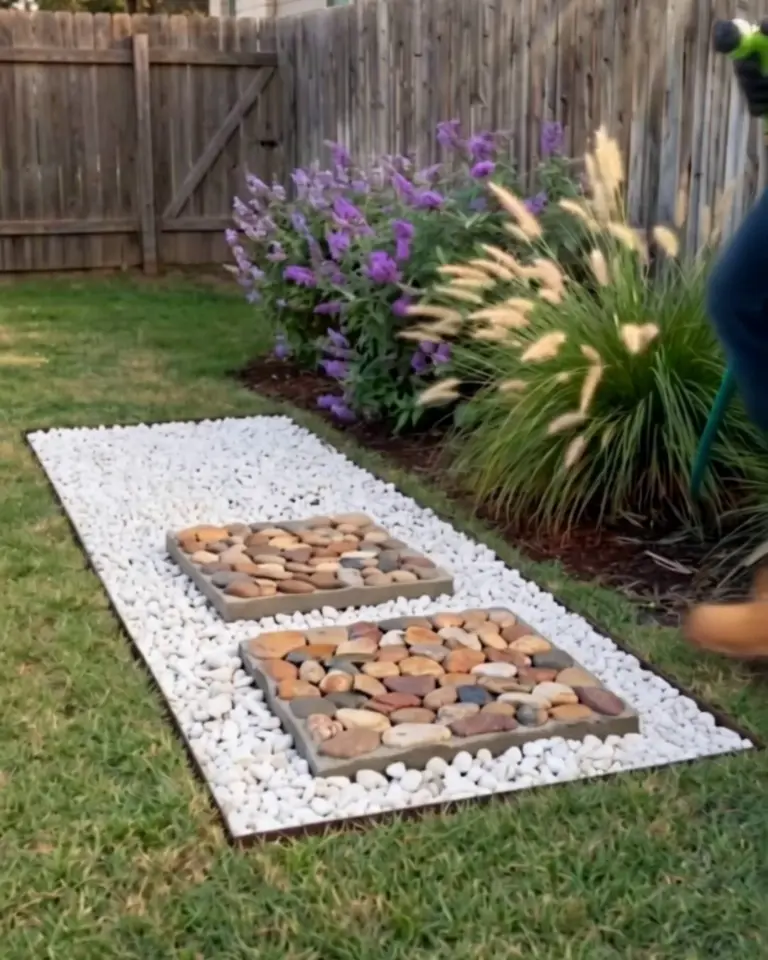
Step 9Hose off the haze
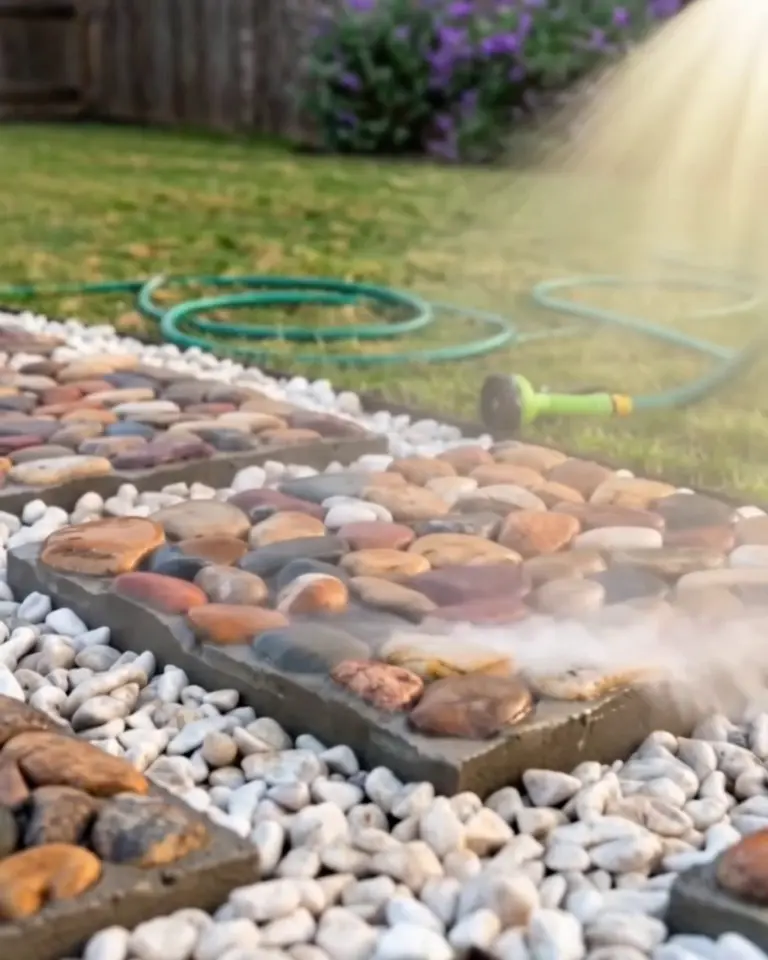
Spray the whole path down to wash the cement dust off the rocks and the chips. Wet, the colors come up the way they looked in the bag.
How River Rock Stepping Stones Hold Up
The rocks stay put once the concrete has them; the gravel around them is what wanders. Rake the chips back toward the stones a few times a year.
A stone that starts to rock needs its bed re-leveled before it cracks. Weeds that seed into the chips pull out easily while they’re small.
FAQ
The rock faces came out covered in gray paste
The sand was too dry or too thin, and the mix ran under the stones. Scrub the faces with a stiff brush and water while the concrete is still young; after a few weeks, it won’t come off.
A rock popped out of the slab
It was bedded too deep in the sand, so not enough of it reached the concrete. Glue it back with exterior construction adhesive.
Can I use flagstone pieces instead of river rock?
Yes, and they make a flatter surface to walk on. Bed them in the sand the same way, face down, with ¼-inch gaps between pieces.
The slab cracked when we flipped it
It probably came out of the mold too soon, or got flipped without a board under it. Give the next one the full 2 days and support the whole face as it turns.
Will the white chips stay white?
Not completely. Leaves and soil darken them over time, and we haven’t found anything that keeps them bright short of raking in a fresh bag now and then.
The slab with the hidden stones is still behind the shed, gray side up. Nobody steps on it but the cat.