Spray bottles have two settings, and only the fine mist belongs near this flamingo while it’s soft. On stream, one squirt cut a groove down the back of the neck and left bare sand behind it.
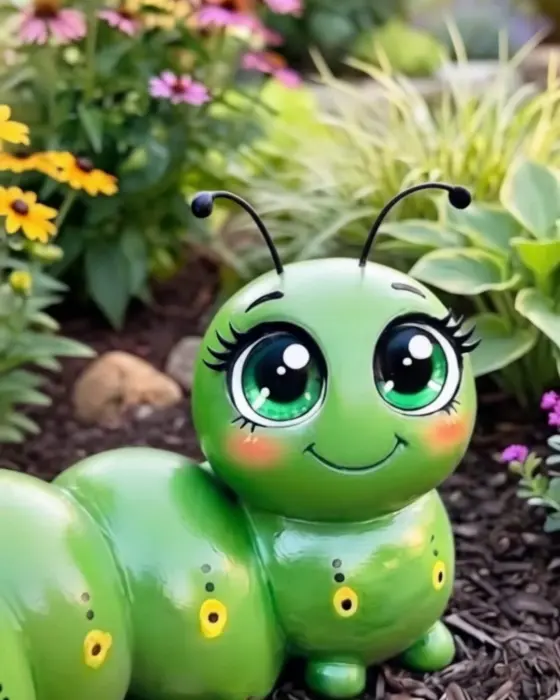
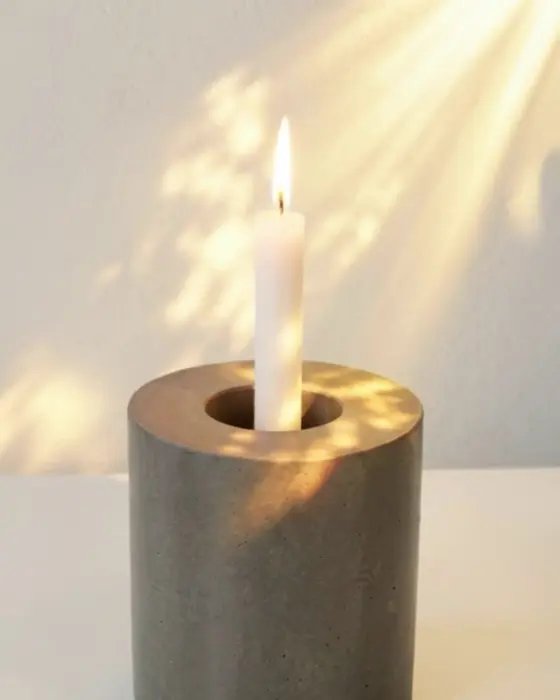
You’ll also love: How to Make a Concrete Caterpillar with a Nylon Stocking Mold, How to Make a Concrete Lace Floor Lamp with Cement and Cloth, How to Make a Concrete Candle Holder in a Plastic Bucket.
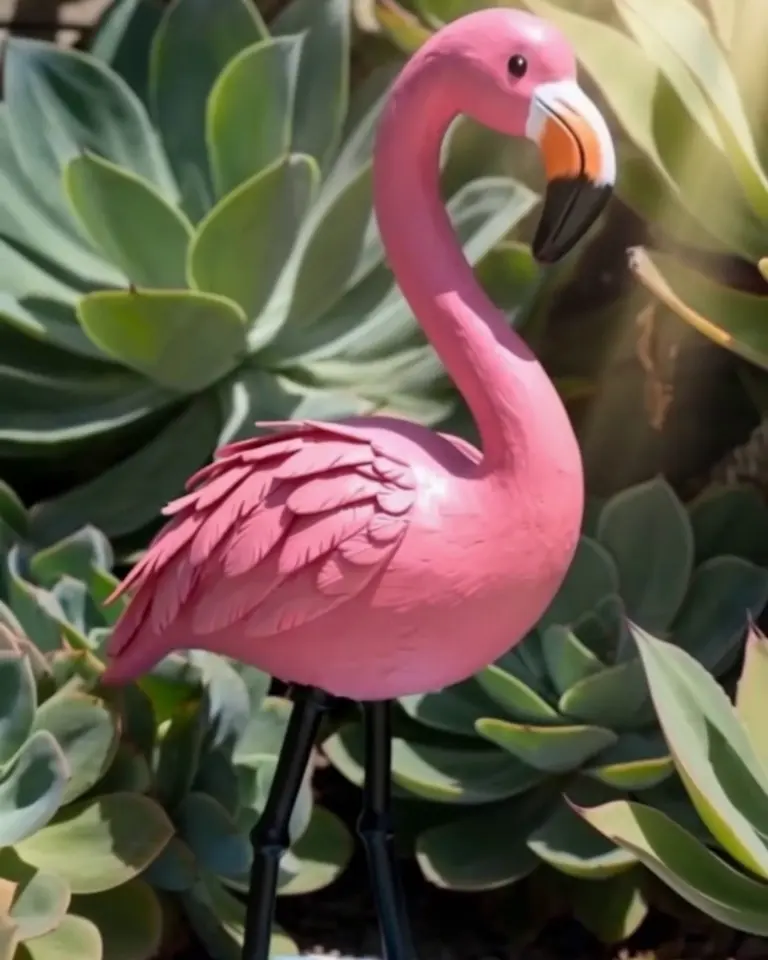
Our concrete flamingo statue stands about 2 feet tall on an 11-inch base, built over an emptied coconut and a bent steel rod, then painted pink.
The foam net squeaks against the rod when you pull it up into a neck. Until the cement covers it, the coconut still smells faintly sweet.
A friend said it looked just like the ones at the garden center, then turned it over to look for a price sticker.
What Holds the Neck Up
The rod does. Concrete this thin can’t carry its own weight sideways, so the neck is really a steel S with about half an inch of cement packed around it.
We expected the coconut to be the hard part. It only fills space; a foam ball would do the same job, and the coconut won because it was already in the kitchen.
Fortifier makes the mix sticky enough to stay on a vertical net without sliding off.
Materials & Tools
Not in the $105: a hacksaw, small brushes, a spray bottle and a mixing tub.
The mix: one maker’s data sheet calls for acrylic fortifier in anything under an inch thick. Swap a cup of it for a cup of the water in every 10 pounds of mix.
Three legs: flamingos have two, but a third rod set behind keeps the statue from rocking. Painted black, it disappears.
Watch the Build
Step by Step
Step 1Cast the base and legs
Cut one rod into a 22-inch neck piece and an 11-inch leg, and the other into two more 11-inch legs. Bend the bottom inch of each leg sideways into a foot.
Mix about 8 pounds of sand mix with 1½ cups of water, adding more by the spoonful until it’s like thick oatmeal, and fill the saucer 1¼ inches deep. Push the three feet in, two in front and one behind, about 4 inches apart, then lean the tops together and twist wire around them about 8 inches up.
Cover it with plastic and leave it 2 days before you flex the saucer off.
Step 2Empty and mount the coconut
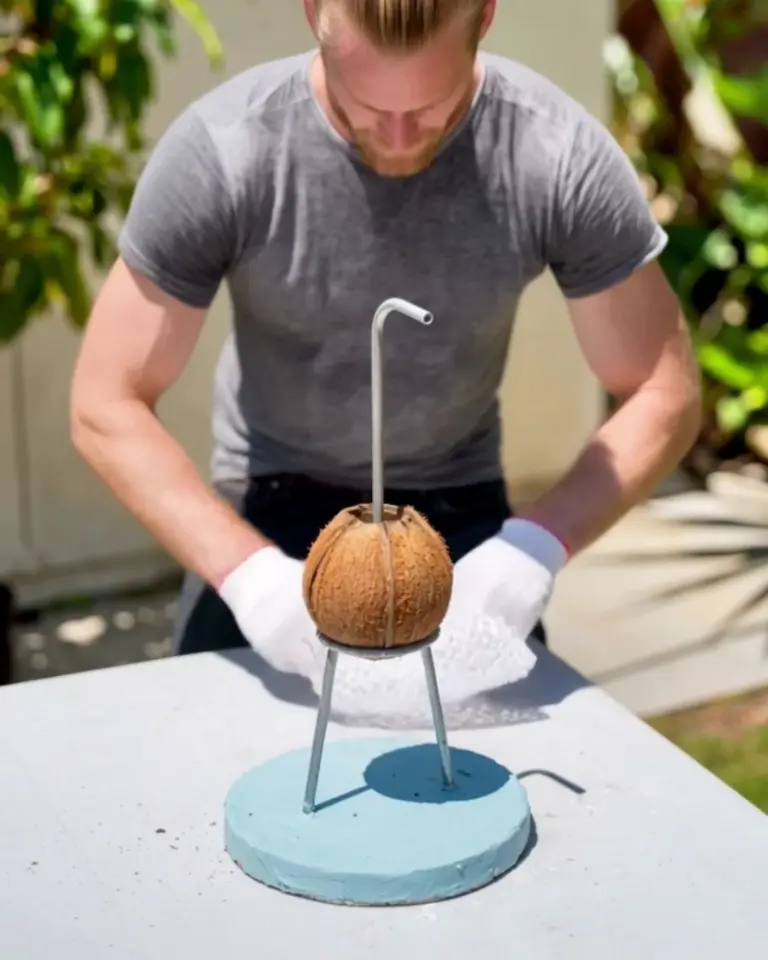
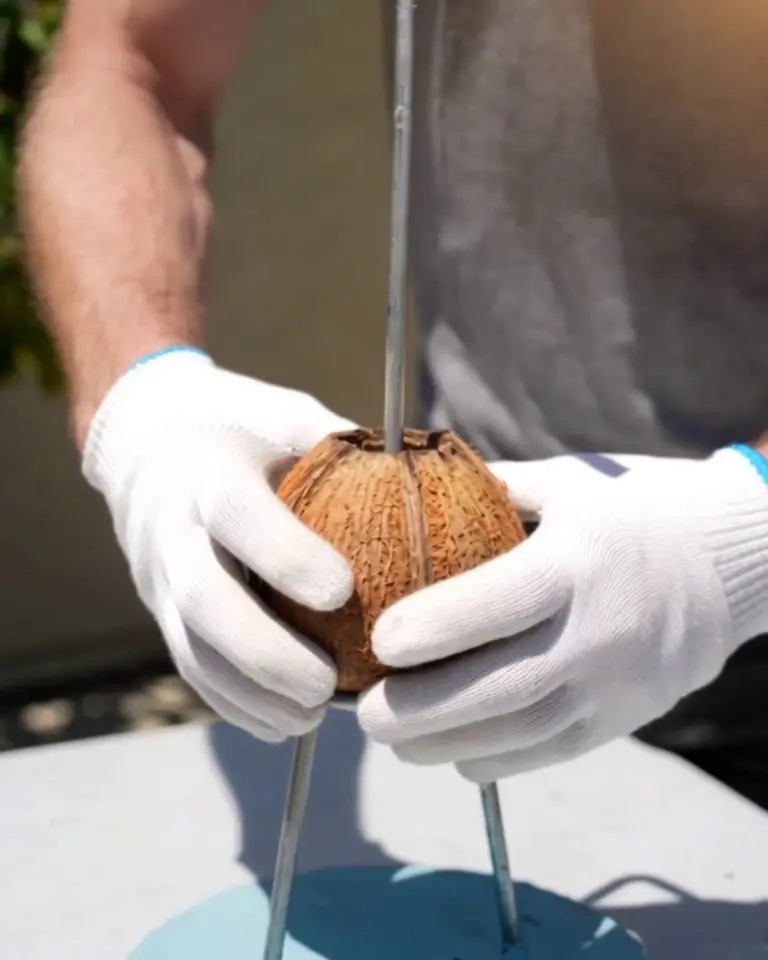
Saw the coconut in half around its middle, scoop out the meat, and let the halves dry for a couple of days. Drill a ¼-inch hole in the center of each half.
Thread the neck rod up through both halves and tape them back together. Wire the rod’s bottom end to the leg tops so the coconut sits on them like an egg in a cup, then bend the rod above it into an S about 10 inches tall, with a 3-inch hook at the top for the head.
Step 3Pull on the net
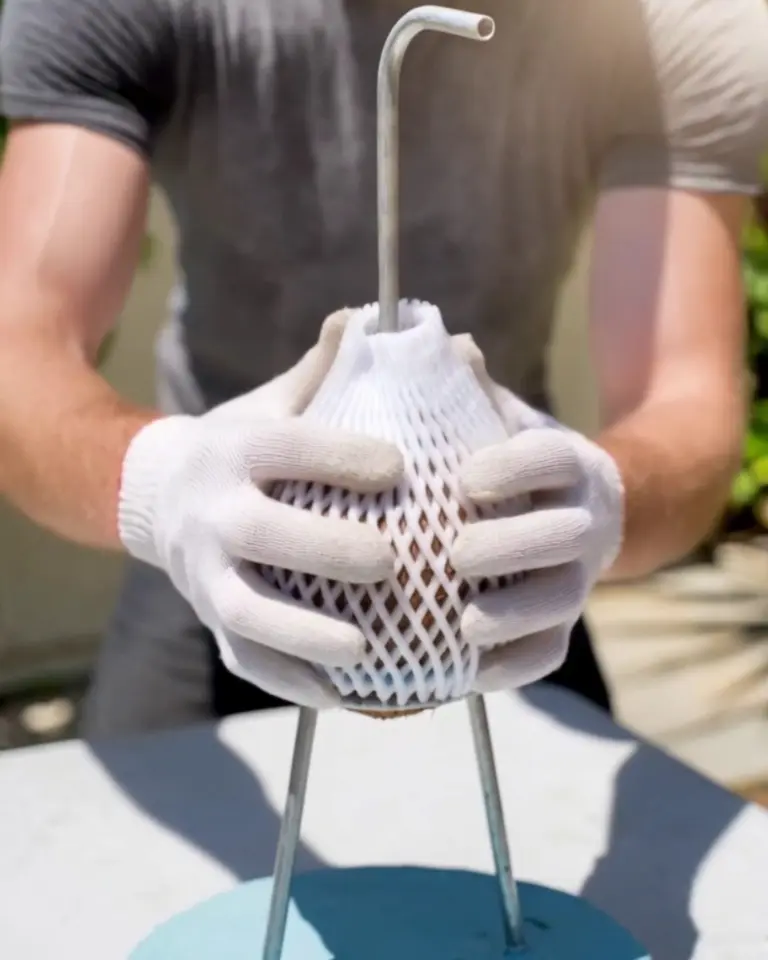
Slide a foam net sleeve down over the coconut, past its widest point. Gather the top and pull it up along the rod to make a neck, then twist a bit of wire around it at the hook.
Step 4Pack on the body
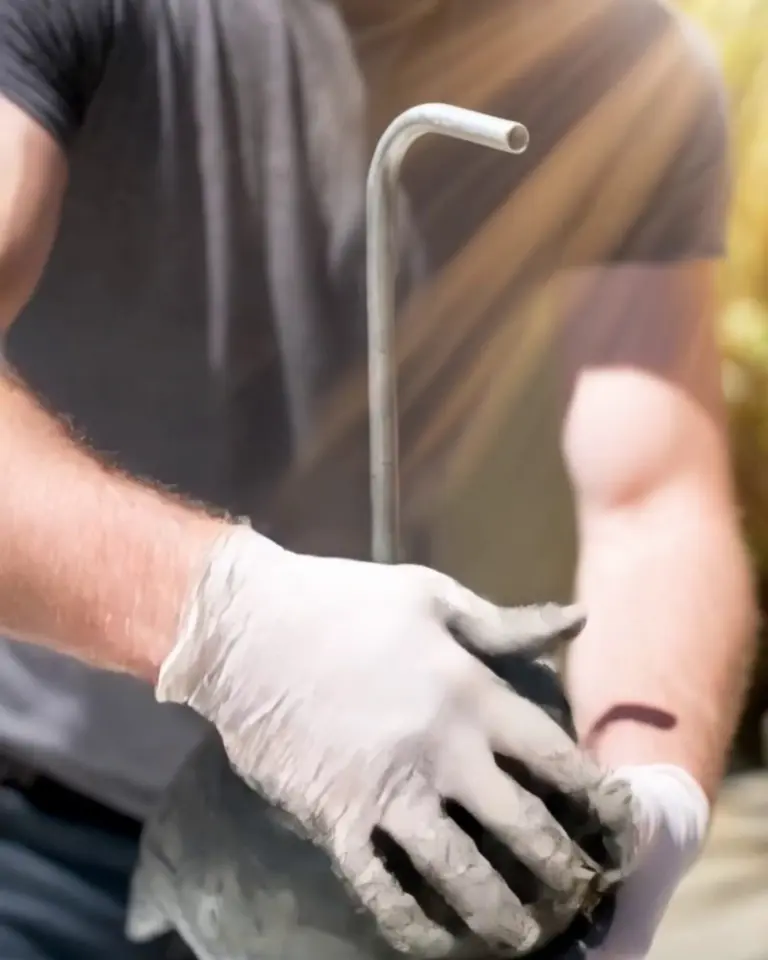
Mix the sculpting batch stiffer, about 3 pounds at a time, with the fortifier in place of part of the water. It’s right when a handful holds its shape like cookie dough.
Gloves on, since wet cement burns skin. Press it onto the body about ½ inch thick, from the bottom up, covering the wire under the coconut; mist the surface whenever it turns pale.
Step 5Build up the neck
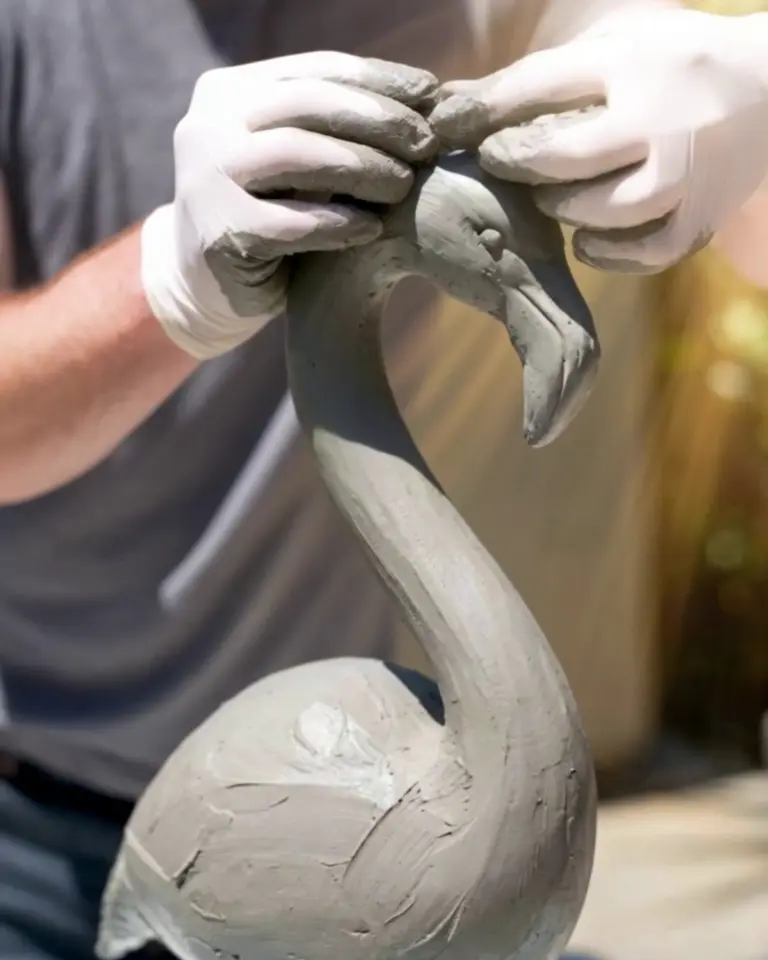
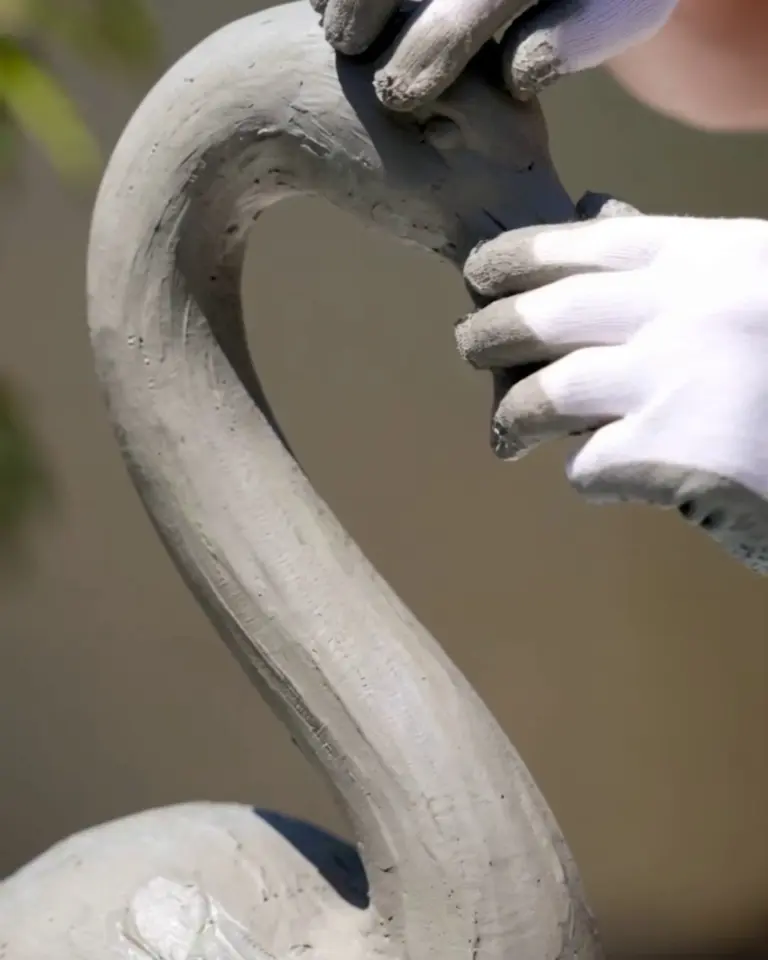
Wrap the neck in thin layers, no more than ⅜ inch at a time, and let each one stiffen for about 20 minutes before the next. Packed on all at once, it slides down the rod.
Step 6Shape the head and feathers
Build the head around the hook and pull a beak out of it with your fingers, about 2 inches long and bent down at the tip. Once the body holds a thumbprint, cut feather lines into the wings with a butter knife and pinch two flat webbed feet onto the base.
Step 7Cure it slowly
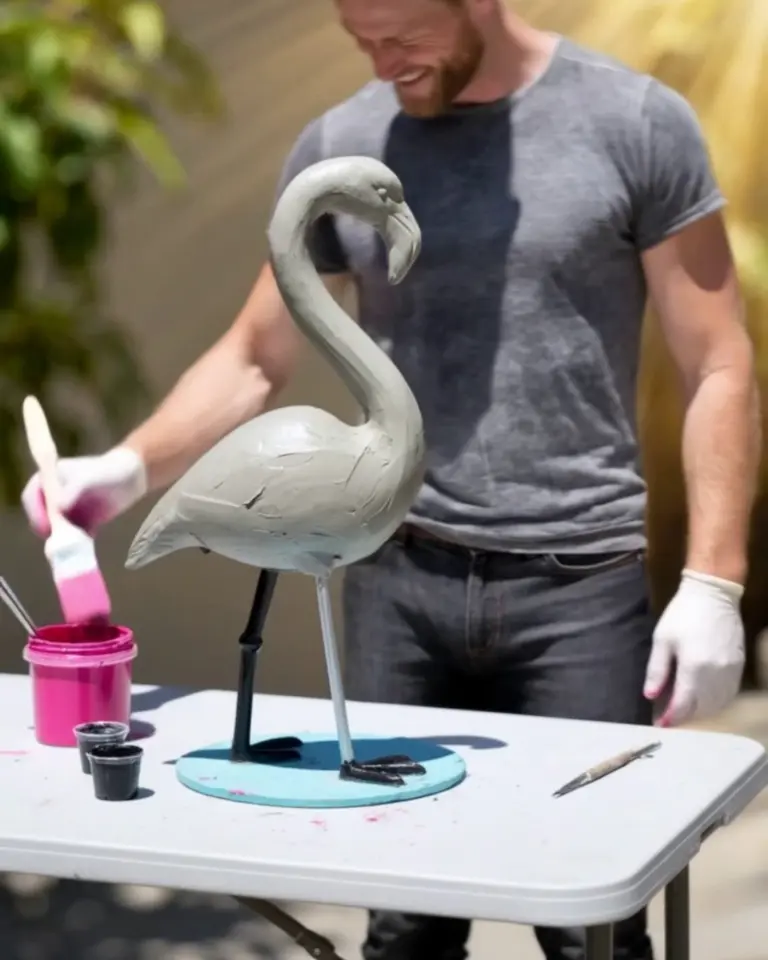
Slip a plastic bag over the flamingo and mist it every day for a week, out of direct sun. The thin neck dries fastest, and a neck that dries early cracks.
Then take the bag off and leave it until 30 days have passed since the base was poured. New concrete is too alkaline for paint to hold.
Step 8Paint it
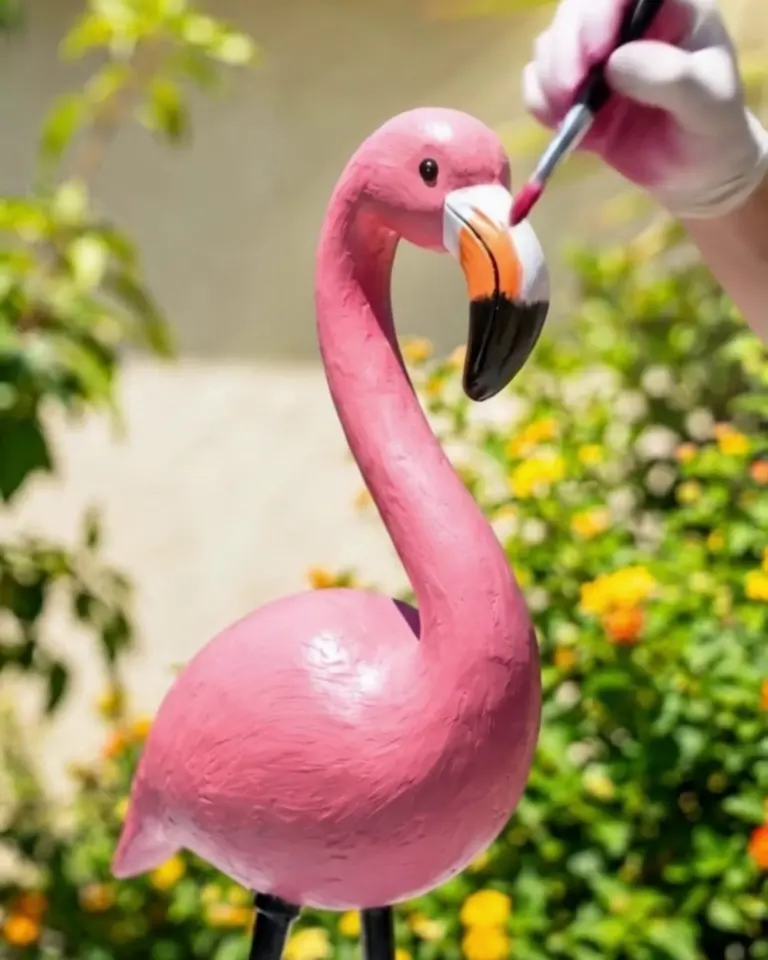
Paint the base light blue, then give the body two coats of pink and the legs and feet black. The beak goes white at the face, orange in the middle and black at the tip, with a black dot for the eye.
Keep it out of the rain for 3 days, then spray two light coats of clear sealer.
Step 9Ring the base with pebbles
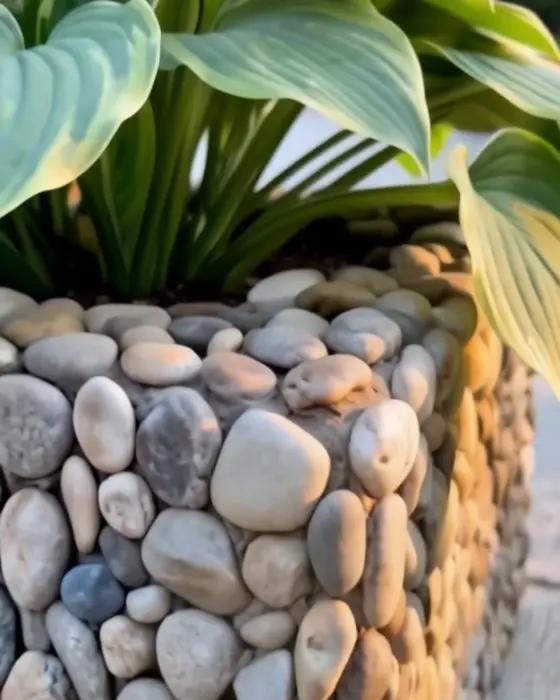
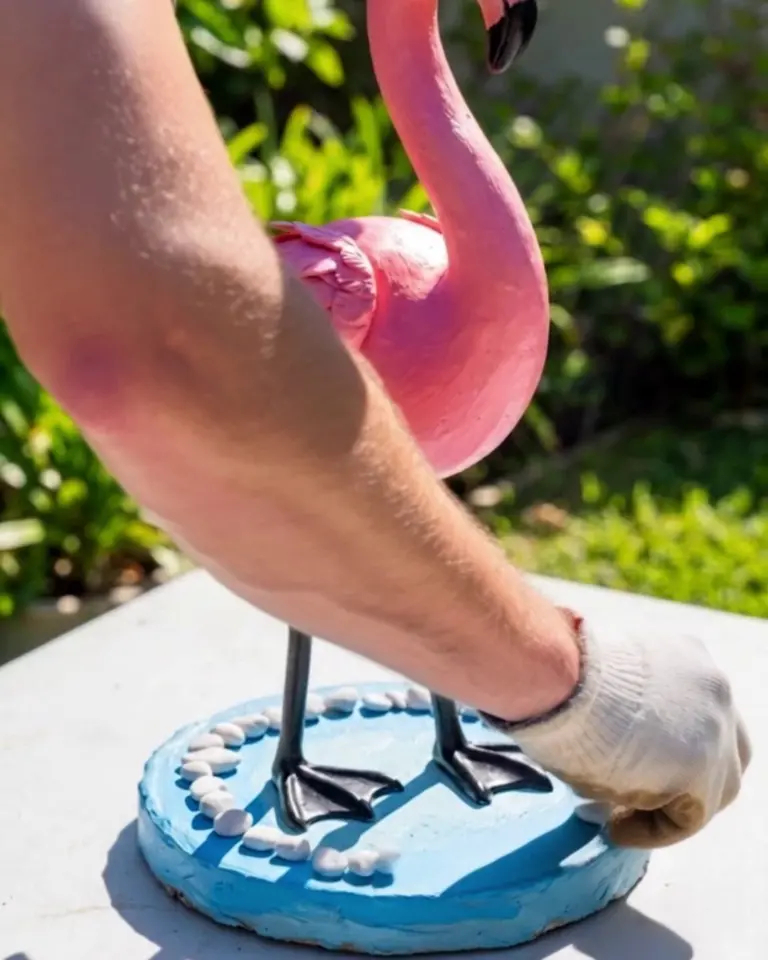
Run a bead of exterior adhesive around the edge of the base and press white pebbles into it, side by side. An 11-inch base takes about 35.
Step 10Set it in the garden
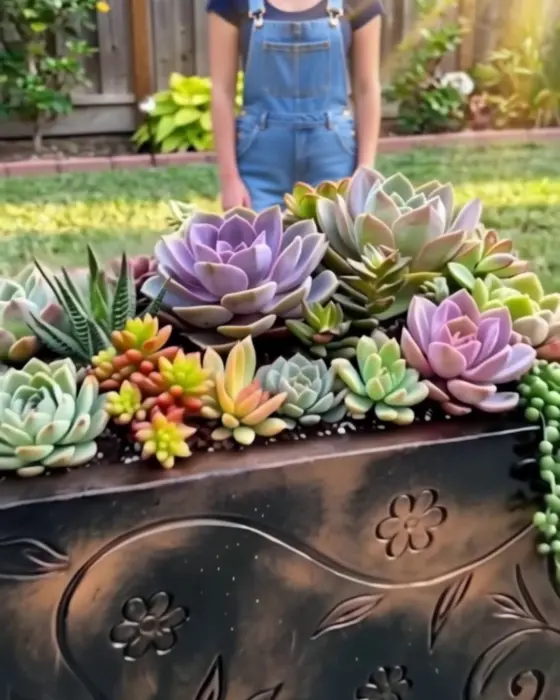
The finished statue weighs about 20 pounds, enough to sink and lean in loose soil. Set it on a buried paver or firm gravel; ours stands among succulents beside the white gravel garden path, where the ground stays flat.
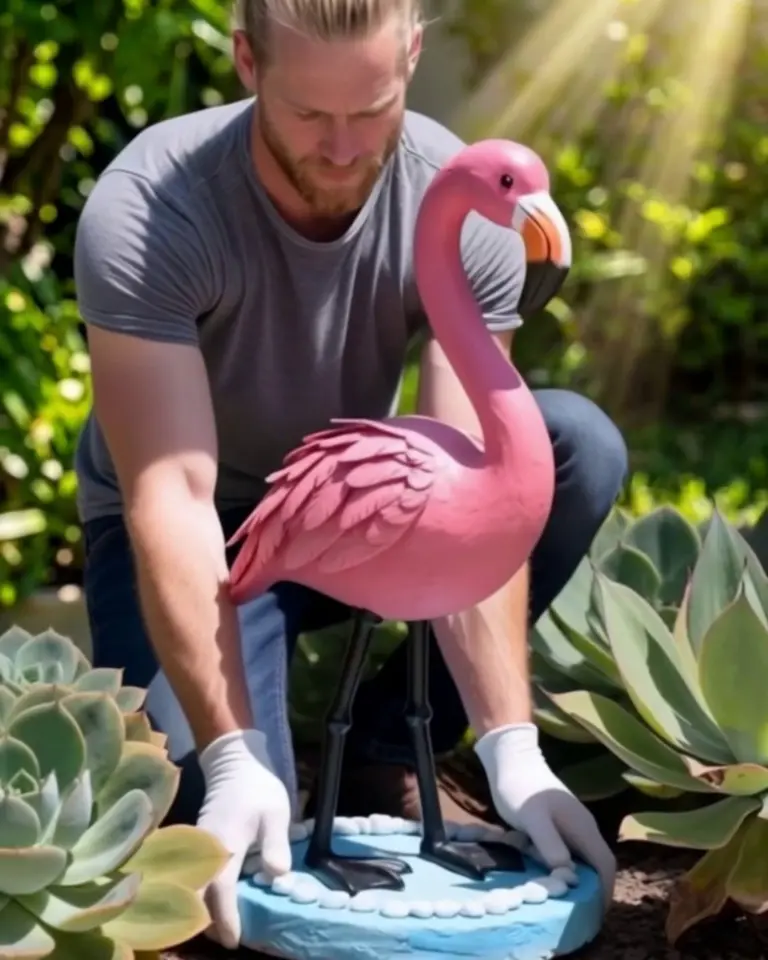
How a Concrete Flamingo Statue Holds Up
The beak tip and the edge of the base chip first, usually from a hose or a rake. A dab of paint hides it.
Re-seal it every spring, and lift it by the base, never by the neck.
FAQ
The neck slumped while I was working
It went on too thick, too fast. Scrape it back to the rod, let what’s left stiffen for 20 minutes, and build it up again in thinner layers.
Hairline cracks showed up on the body
Usually the surface dried too fast in the first week. Rub a little wet mix into them before you paint, and the paint covers what’s left.
Can I skip the coconut?
Yes. A 5-inch foam ball or a fist of crumpled foil wrapped in tape fills the same space, and neither needs emptying first.
Will it survive winter outside?
We haven’t left one out through a hard freeze. Water that gets into thin concrete can split it when it freezes, and we don’t know how long the neck would last.
The pink faded on the sunny side
Craft paint fades in strong sun, sealer or not. Touch it up with the same color and add a fresh coat of UV-resistant clear; the sunny side needs it first.
The spray bottle lives in the garage now with tape over the dial, stuck on fine mist. Nobody has needed the stream setting since.