A 2½-inch hole saw does most of the plumbing on this rack. Each of the four rubber seals between the barrels needs a hole that size, not close to it.
You’ll also love: How to Build a Tractor Tire Pond with Three Solar Fountains, How to Build a Natural Stone Retaining Wall with Mortar, How to Make a Concrete Lace Floor Lamp with Cement and Cloth.
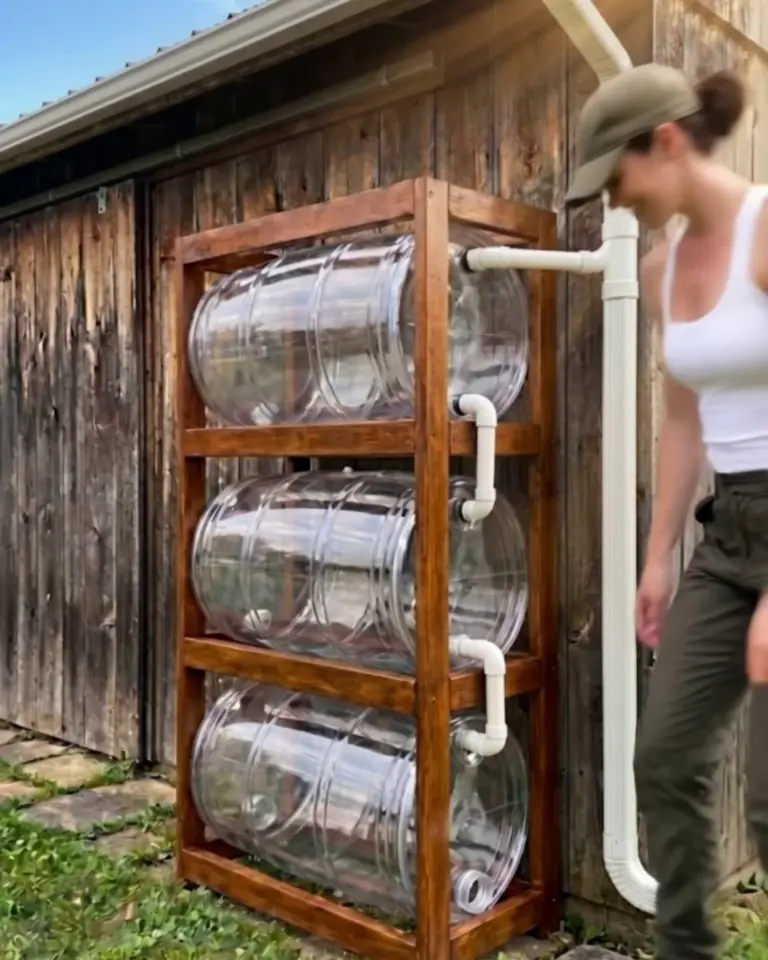
Our rainwater harvesting system is three 55-gallon barrels lying on their sides in a stained wooden rack beside the barn: 165 gallons, filled from the downspout and drawn off through one brass spigot.
The first hole went in with the 2⅜-inch saw from the drawer, and the seal wouldn’t even start. Second trip to the hardware store.
In a hard rain, the pipes between the barrels burp while the air works its way out. A neighbor from the next farm listened for a minute, then asked how long before the barrels turn green.
Why the Bottom Barrel Fills First
We expected the top barrel to fill first. The water drops straight through the top two into the bottom barrel and backs up from there, so the rack fills from the bottom and empties from the top.
Only the top barrel has a vent. Air leaves the lower two through the same pipes the water comes down, which is the burping you hear in a storm.
Stacking adds a little push. With all three full, the spigot sits under almost 6 feet of water, about 2½ psi, where a house tap runs at 40 or more.
Materials & Tools
Not in the $645: the drill, the hose, a cover for clear barrels, and a pump if you want a spray.
Clear barrels: light gets through clear and translucent plastic, and algae grows wherever it does. Opaque barrels don’t have the problem; clear ones need a cover from spring on.
Check your state: a few states limit how much rain a household may keep. Colorado allows two barrels and 110 gallons in all, so this rack is too big there.
Hose length: pressure this low fades fast down a long hose, so put the rack at the downspout nearest your beds. Ours feeds a 50-foot hose that just reaches the vegetable rows and the cinder block pyramid garden.
Watch the Build
Step by Step
Step 1Build the pad and rack
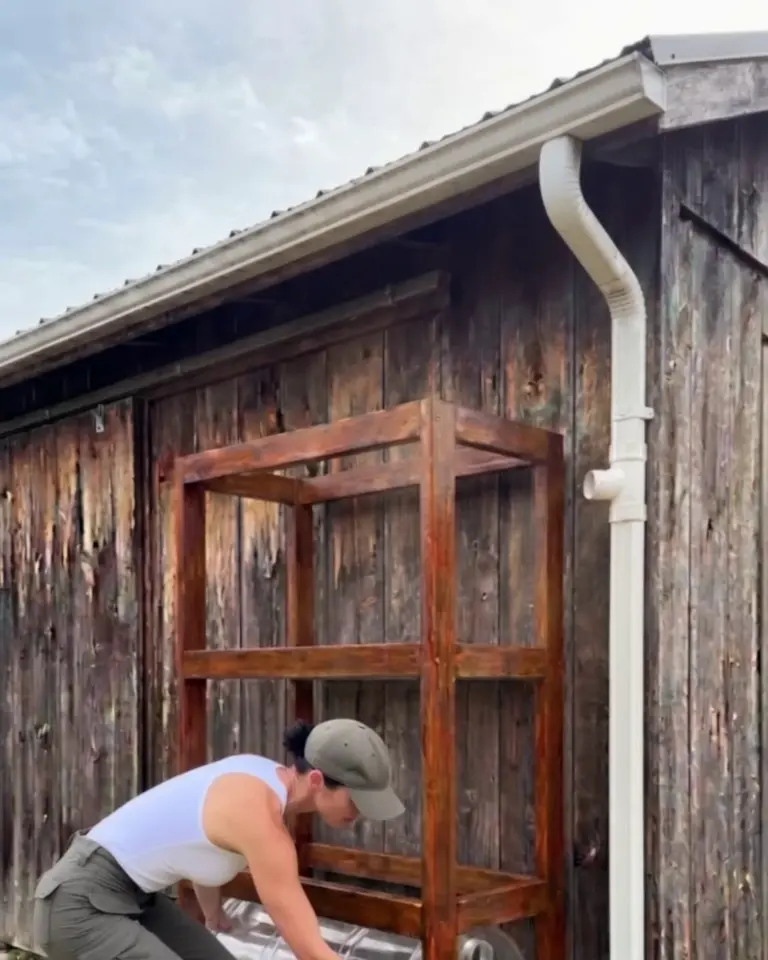
Under the downspout, against the barn wall, dig out a patch 48 × 32 inches and 4 inches deep. Fill it with paver base, tamp it hard and set six 16-inch pavers on it, level both ways.
Cut the 4×4s to 7 feet and stand them in a rectangle 43 inches wide and 27 deep, outside to outside. For each shelf, bolt 2×6 rails across the front and back faces, then screw on three 30-inch 2×6 cross pieces and two 2×4 chocks, 14 inches apart, so the shelves finish 8, 34 and 60 inches up.
Add rails at the top, an X of 2×4s across the back, and two steel straps from the top rails into the barn’s framing. Wet treated lumber won’t take stain, so wait until drops of water soak in instead of beading.
Step 2Drill the barrels
Lay each barrel on its side, bung end toward the downspout. Roll the middle and bottom barrels so the bungs sit at the sides, screw both caps down tight, and cut a 2½-inch hole at the very top of that end, about 3 inches in from the edge.
The middle barrel gets a second hole at the very bottom, straight below the first. Roll the top barrel so one bung sits on top, cut its bottom hole the same way, and drill its inlet beside the bung at the size the diverter kit gives.
That top bung is the vent. Drill three ¼-inch holes in its cap, glue a patch of screen inside, and screw it back on.
Step 3Slide in the bottom barrel
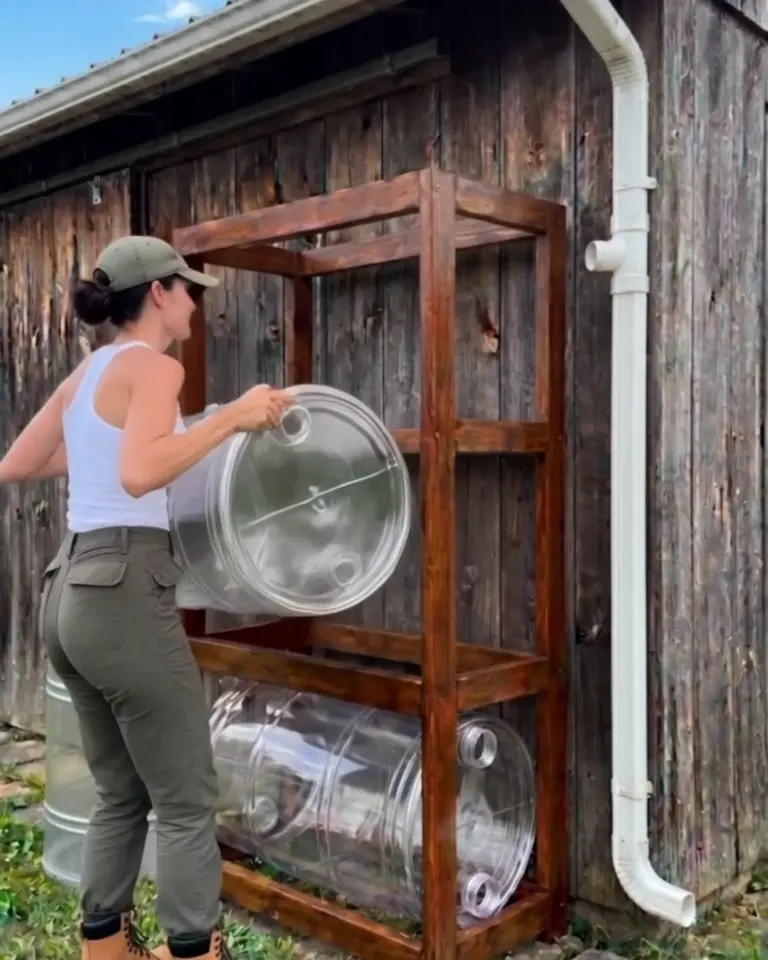
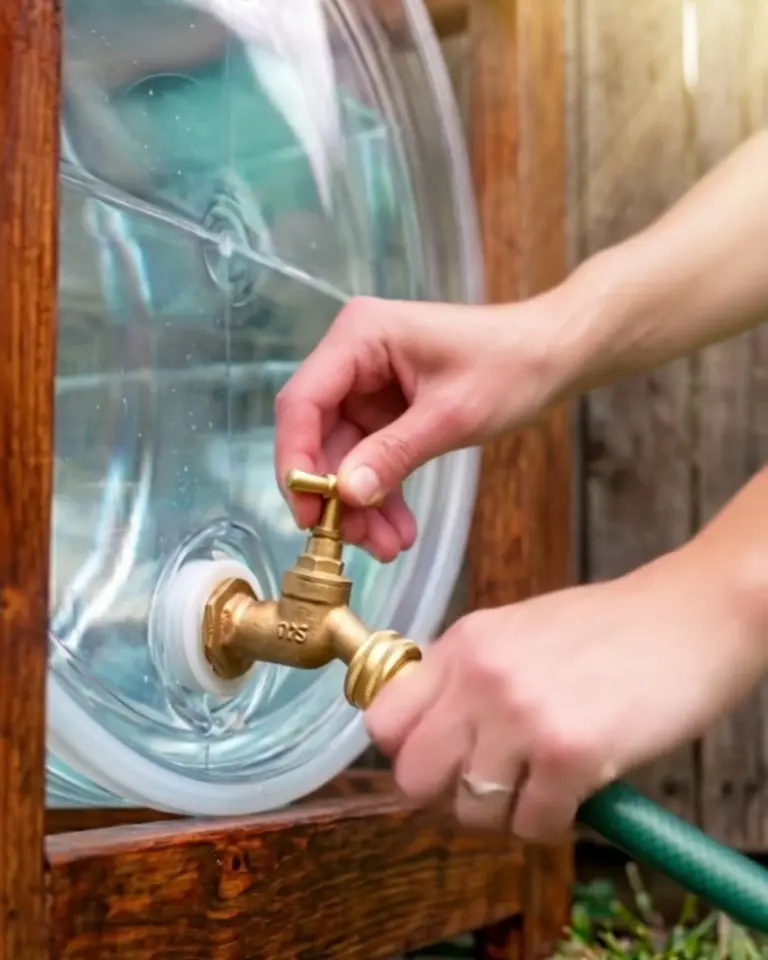
Drill the bottom barrel’s spigot hole 3 inches up from the bottom edge of its bung end, at the size the spigot kit calls for, and bolt the spigot in with its washers. Grit settles in those 3 inches instead of in the hose.
Press a seal into the top hole, then slide the barrel onto the bottom shelf between the chocks, bung end against the inside of the posts.
Step 4Lift in the other two
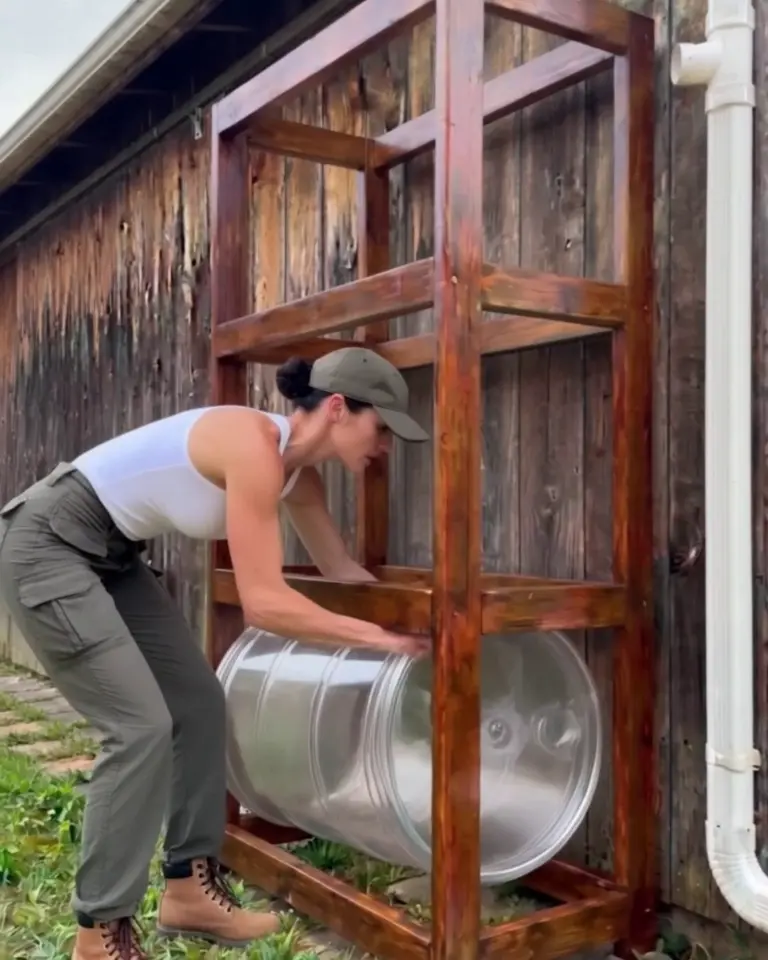
Press seals into the middle barrel’s two holes and the top barrel’s bottom hole, then set both barrels on their shelves the same way. Each hole should sit straight above or below its partner on the next barrel.
Empty, a barrel weighs about 20 pounds, but the top shelf is 5 feet up and the barrel is awkward. A second person makes it easy.
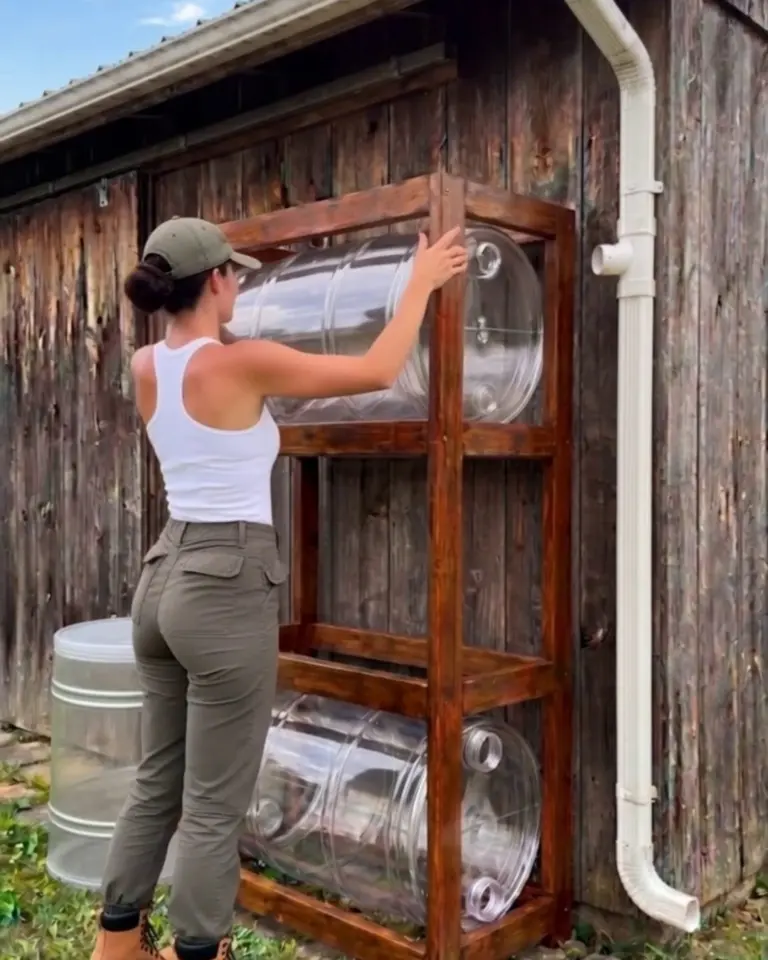
Step 5Fit the diverter
Hold a level across the top barrel and mark the downspout 3 inches below its highest point. The diverter fills the barrels only up to its own height, so any higher and water comes out of the vent.
Cut the downspout at the mark, fit the diverter as its instructions show, and run its hose into the top barrel’s inlet. Once the barrels are full, the rest of the rain goes down the old downspout.
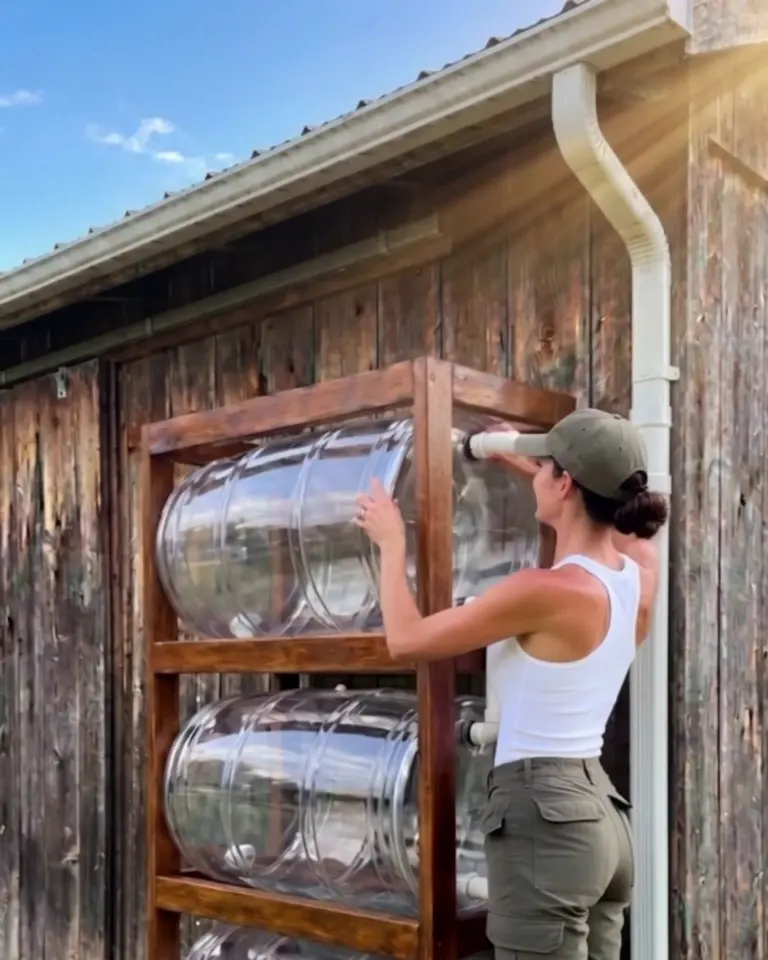
Step 6Join the barrels
Cut four 6-inch stubs of 1½-inch pipe and sand a bevel on one end of each. Push them through the seals with a little dish soap until about 4 inches stick out.
Dry-fit an elbow on each stub, cut a short drop to fit between each pair, then prime and glue the elbows and drops.
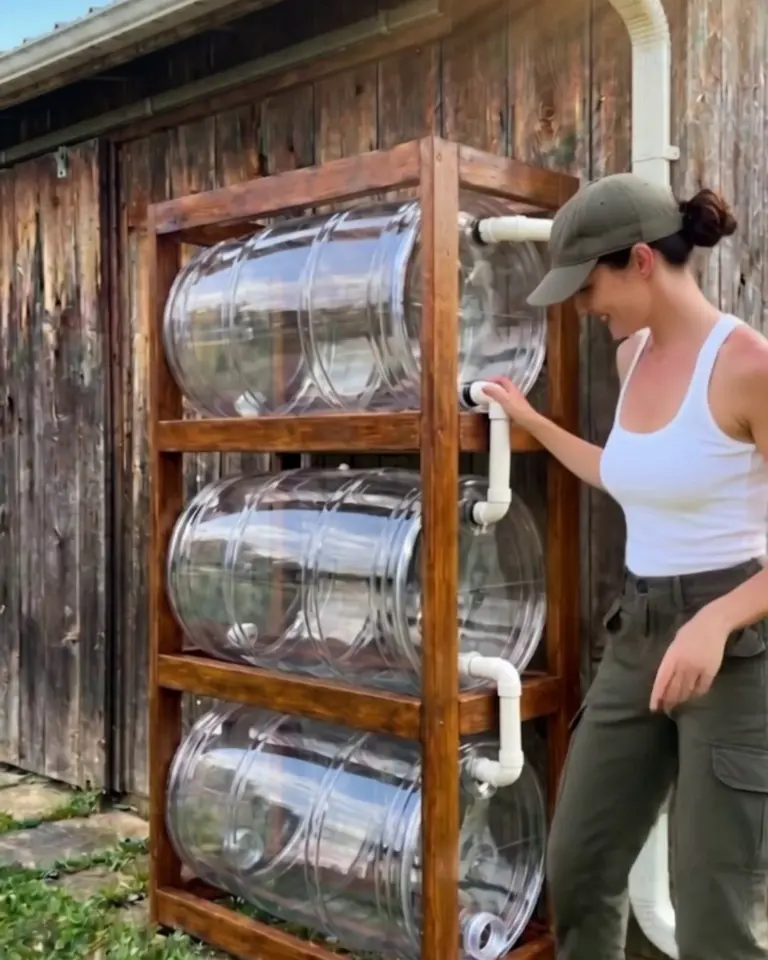
Step 7Let it rain
An inch of rain on the 400 square feet of barn roof that drains here is about 250 gallons, more than the rack holds. One good storm fills it, bottom barrel first.
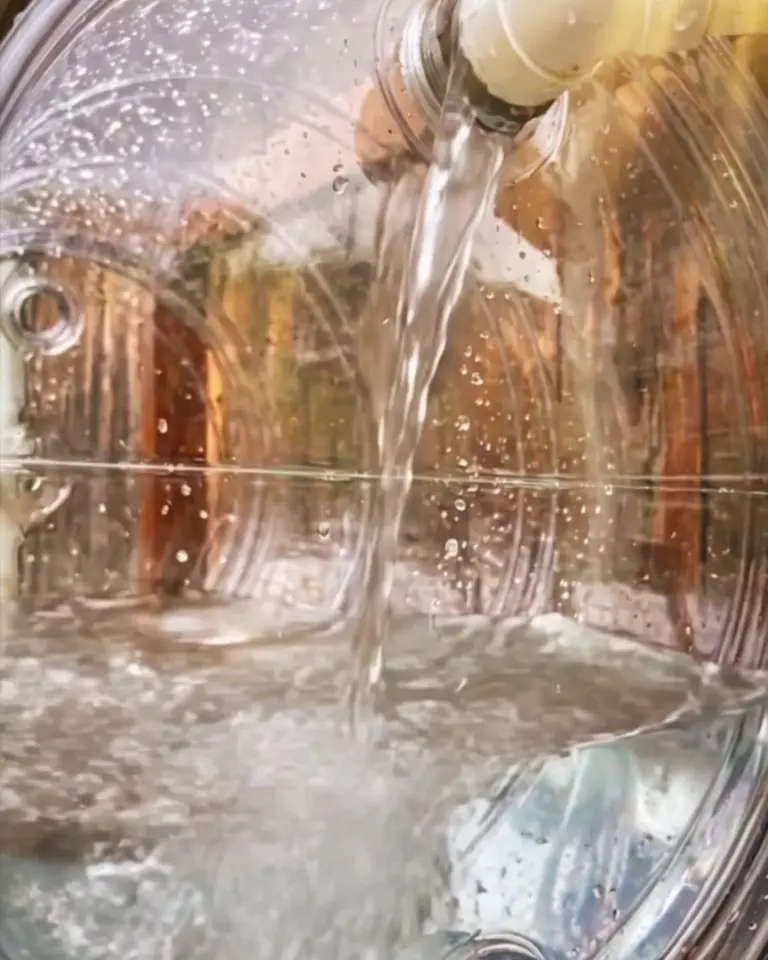
Step 8Hook up the hose
Screw a 50-foot hose onto the spigot, washer in place, and open it. The water comes out about as fast as a kitchen tap, slower as the barrels empty.
Step 9Water at the soil
Lay the hose at the base of the plants and let it run. One full rack puts an inch of water on about 265 square feet of bed.
Roof water isn’t safe to drink, and on vegetables we keep it on the soil, not the leaves. A spray nozzle needs more push than gravity gives; a small transfer pump between the spigot and hose supplies it.

How the Rainwater Harvesting System Holds Up
Condensation on the full barrels keeps the shelves under them damp, and that’s where the stain wears through first. Recoat those boards when water stops beading on them.
Empty the whole rack at least once a month in warm weather so mosquitoes can’t settle in, and drain it before the first hard freeze. Ice can split a full barrel.
FAQ
The top barrel only fills partway
The diverter fills the barrels only up to its own height. Ours sat 4 inches too low at first, and the top barrel never got past three-quarters full. Move it up the downspout until it’s 3 inches below the top of the barrel.
One seal keeps dripping
Usually the pipe isn’t far enough through, or the hole edge is ragged. Pull the stub, sand the edge smooth, and push it back with soap until 4 inches stick out. If the hole was cut oversized, no seal will close it.
Can I use blue barrels instead?
Yes, and the water stays cleaner, since no light gets in. You lose the view of the level; knock on the side instead, and a full barrel sounds dull all the way down.
The hose barely runs
Check that the hose end sits lower than the spigot and isn’t kinked. Gravity gives this rack about 2½ psi when full and less as it drains, so a short hose helps, and a small transfer pump fixes it.
Can I run drip irrigation off it?
We haven’t tried drip on this rack. Most drip parts are made for far more pressure than 2½ psi, and we don’t know how evenly they’d water at this little.
Five weeks, as it turned out. The bottom barrel went green first, since its water sits longest, and all three wear burlap now; we knock on them to find the water level.