A can of cooking spray decides how much of each leaf shows up in the concrete. One light pass from about 8 inches keeps the veins sharp; a heavy coat pools in them and leaves smooth gray patches where the veins should be.
You’ll also love: How to Make a Concrete Laundry Basket Planter with a Grid Texture, How to Make a Concrete Rope Lantern Over a Beach Ball, How to Make a Concrete Caterpillar with a Nylon Stocking Mold.
Our concrete leaf planter is cast between two nursery pots, with four philodendron leaves pressed against the outer wall: 12 inches across, 11 tall, about 35 pounds.
The first leaf got the heavy coat. That side faces the wall now.
A cured leaf peels off with a sound like wet paper tearing, and the green comes away in shreds. Our neighbor asked which store sold it, and looked a little let down when we said none of them.
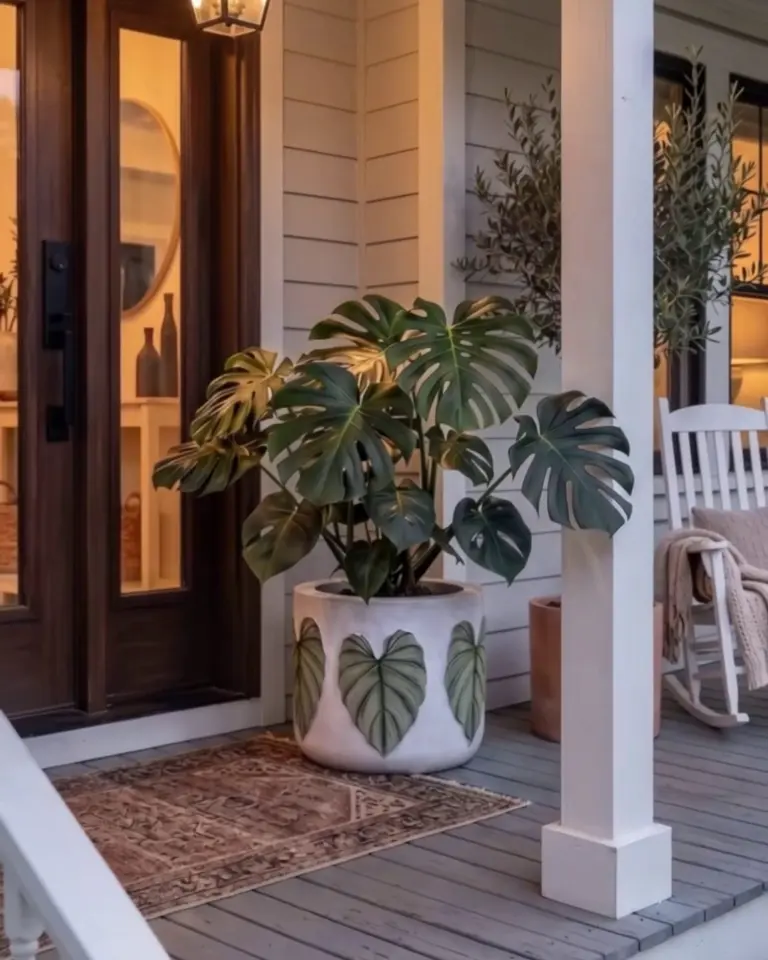
How a Leaf Leaves Its Print
Wet concrete takes the shape of whatever it’s pressed against, down to the fine veins on the back of a leaf. The leaf peels or rots away, and the print stays.
We expected the leaves to slide down the wall when the concrete went in. A thin smear of petroleum jelly behind each one holds it flat against the pot, and the concrete pressing in does the rest.
The backs of leaves print better than the fronts. That’s where the veins stand up.
Materials & Tools
Not in the $80: the leaves, a drill, small brushes and a mixing tub.
Leaves: pick big, flat ones with raised veins on the back. Thin, glossy leaves without much vein leave a print you can barely see.
Another texture: our draped concrete planters start with the same nursery pots and get their texture from folded cloth instead.
Watch the Build
Step by Step
Step 1Oil the leaves
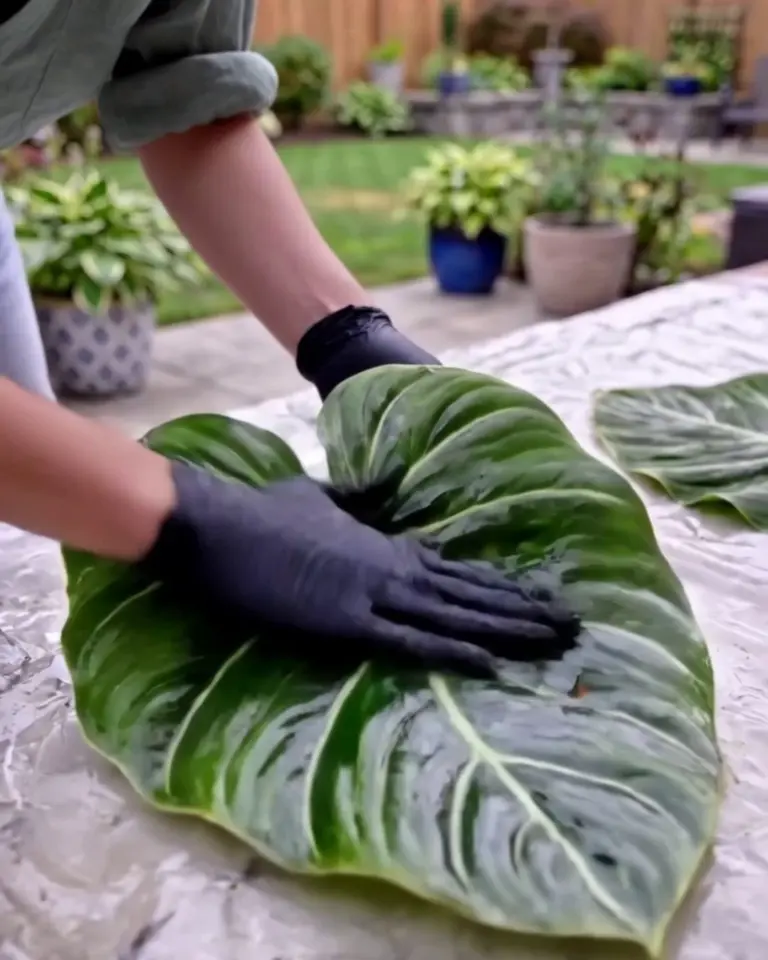
Lay each leaf face down and give the back one light pass of cooking spray from about 8 inches away. Wipe off any drops that bead up in the veins with a fingertip.
Step 2Line the outer pot
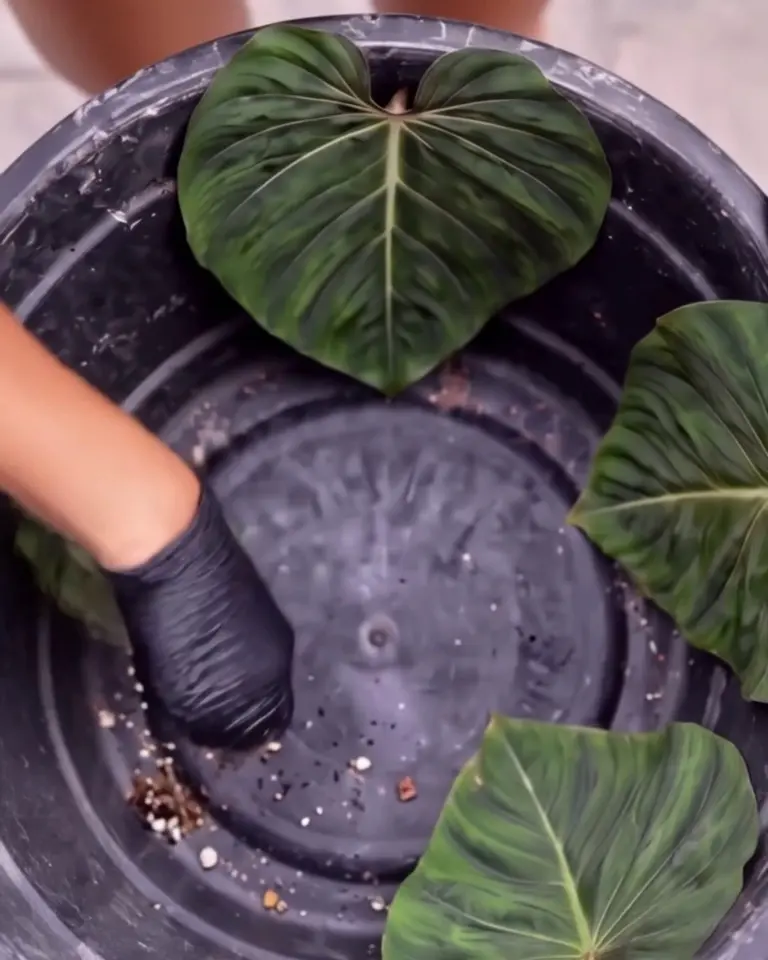
Smear a thin film of petroleum jelly inside the 5-gallon pot. Press the leaves against the wall, oiled backs facing in, spaced evenly around, with the stems pointing down.
Step 3Pour the bottom
Mix about 30 pounds of sand mix with roughly 4 pints of water, wet enough to pour but not soupy. Pour 1½ inches into the bottom and tap the sides of the pot to level it.
Scrape the corners of the tub as you mix. Dry pockets left there turn into crumbly spots on the wall.
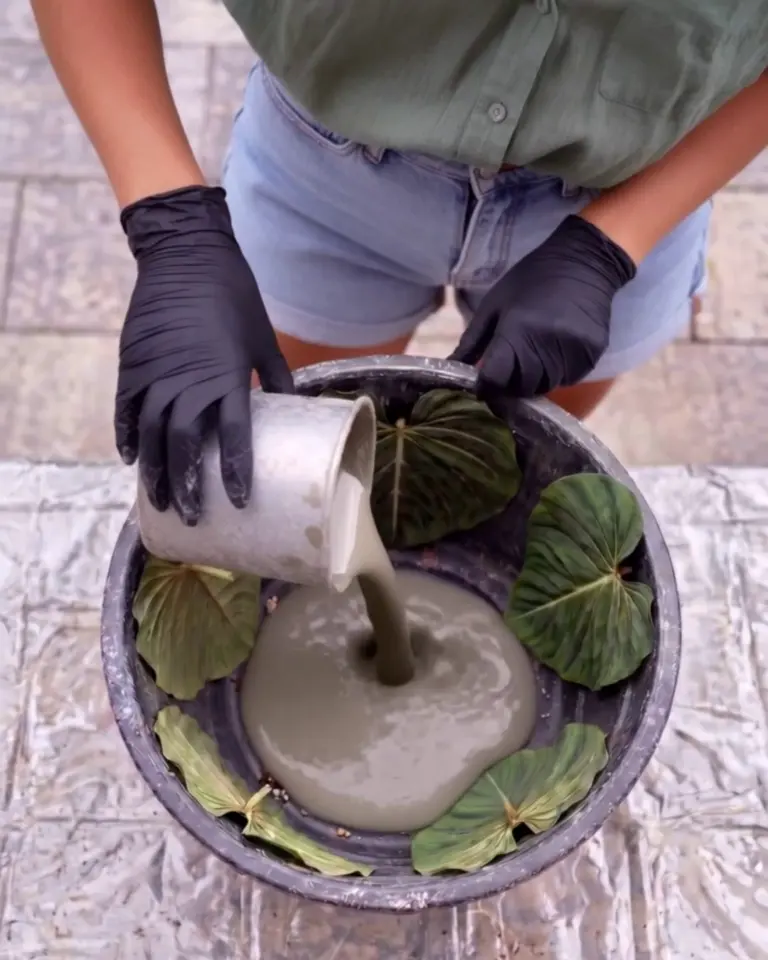
Step 4Set the inner pot and fill
Oil the outside of the 3-gallon pot, set it on the wet bottom layer, centered, and fill it with play sand so it can’t float. Spoon concrete into the gap all the way around, tapping the outer pot as you go, until the gap is full to the rim.
Rap the outer pot all the way around with a rubber mallet and watch for bubbles rising at the top.
Wet concrete pushes up hard on a hollow pot. Without the sand, it rises and the bottom comes out thin.
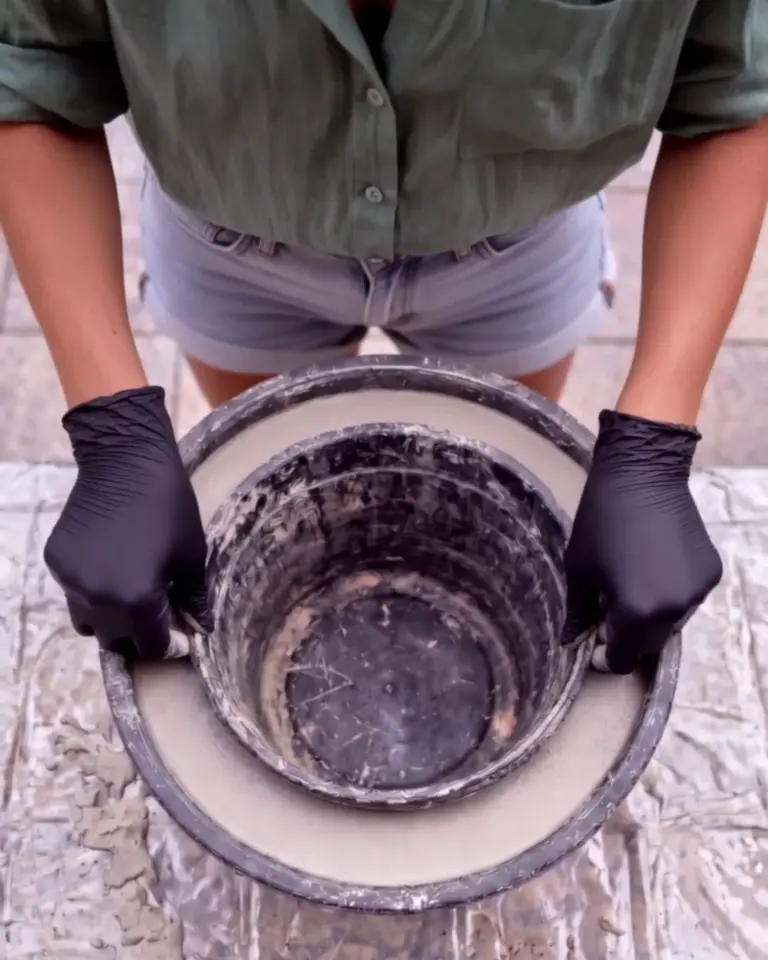
Step 5Pull the inner pot
Cover the top with plastic and leave it 2 days. Scoop out the sand, twist the inner pot, and lift it straight out.
If it sticks, trickle warm water down between the pot and the concrete and twist again.
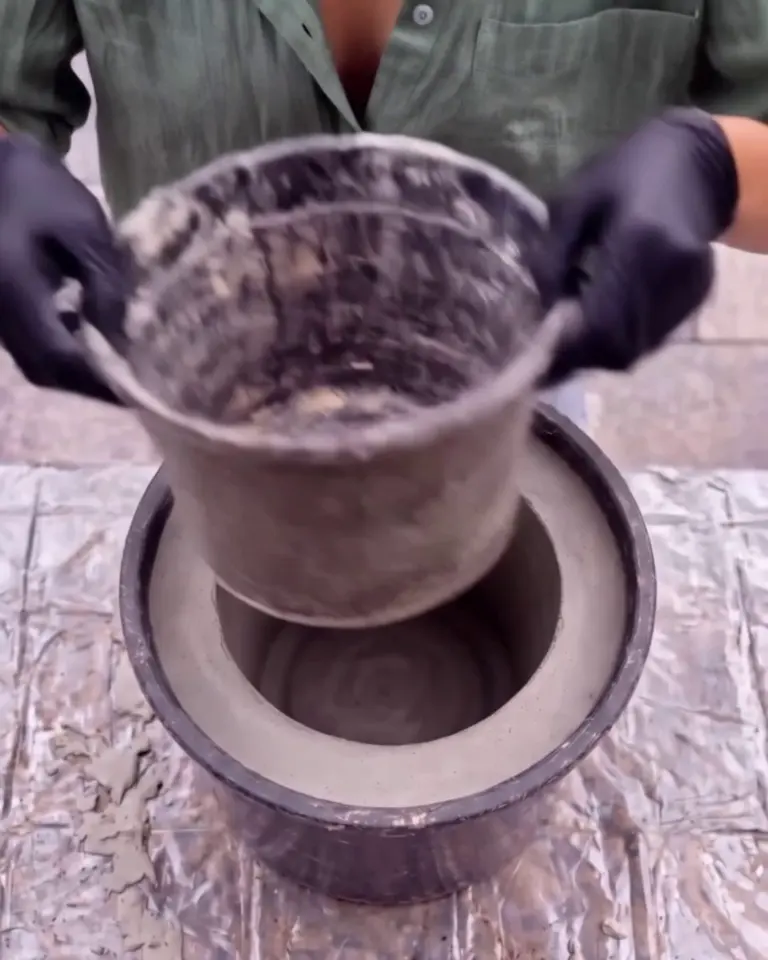
Step 6Demold and drill
Squeeze the outer pot all around to break it loose, then turn everything over and slide the pot off. Drill a drainage hole in the center of the bottom with the 1-inch diamond hole saw, keeping it wet as you go.
Let the saw do the cutting; leaning on it can crack the bottom.
Wear the mask; dry concrete dust is the part of this job that hurts later.
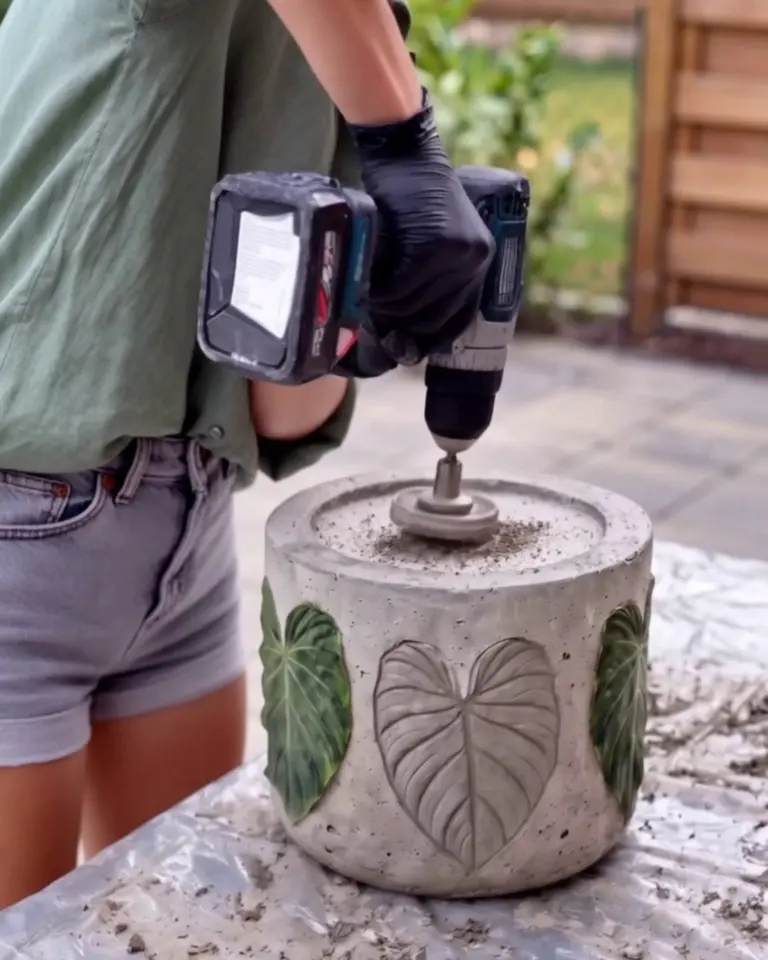
Step 7Peel the leaves
Pull each leaf off from the stem end, then pick out the shreds with a toothpick and an old toothbrush. Keep the planter damp under plastic for the rest of the week.
Some prints keep a faint green stain from the leaf. It scrubs off, or you can leave it under the paint.
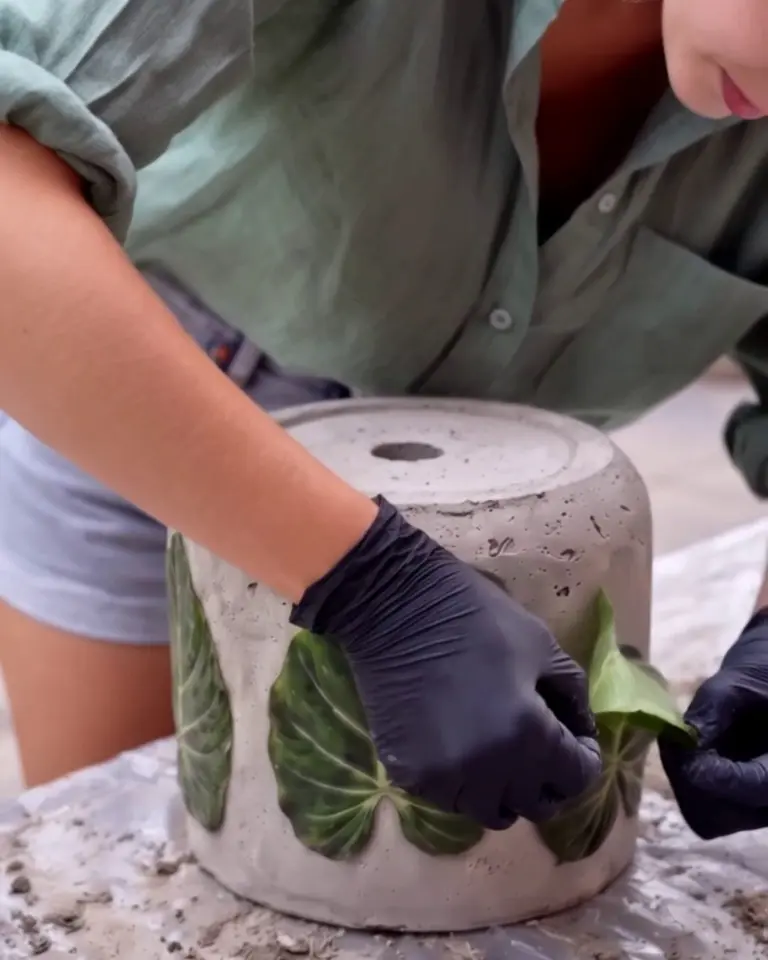
Step 8Paint the leaves
Wait out the month first; Behr asks for 30 days before paint goes on new concrete. Then brush sage green into each leaf print, working it down into the veins, and let it dry overnight.
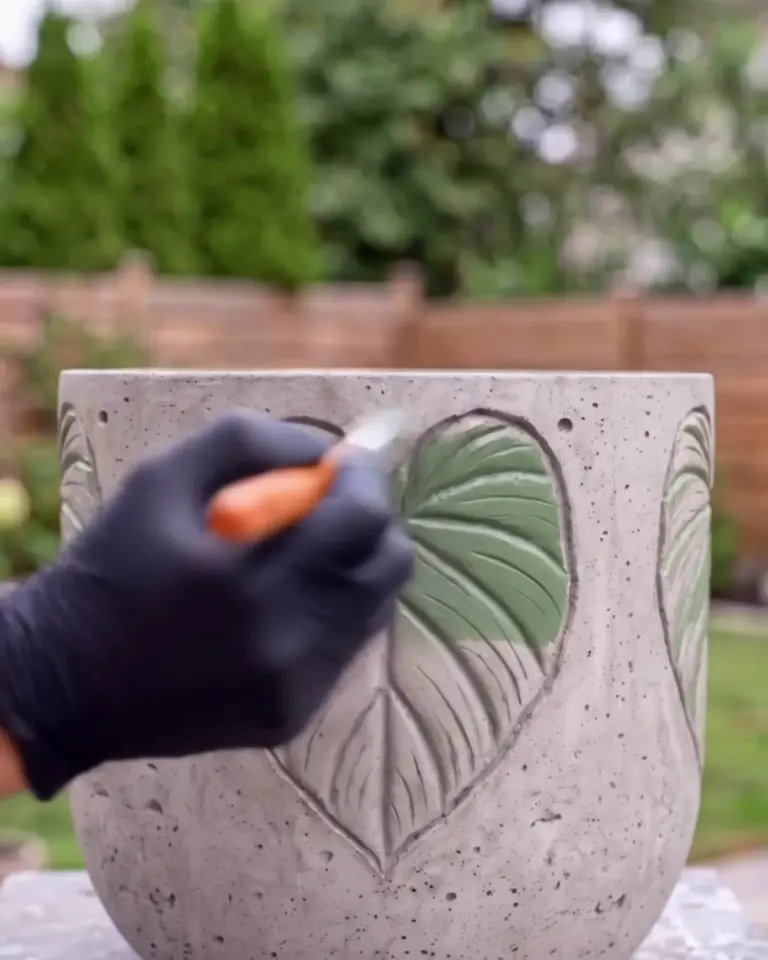
Step 9Paint the rest white
Brush two coats of white masonry paint over everything else, cutting in carefully at the leaf edges with a small brush. Leave the inside bare, so roots don’t sit against paint.
Set the finished planter on pot feet so the drain hole can empty.
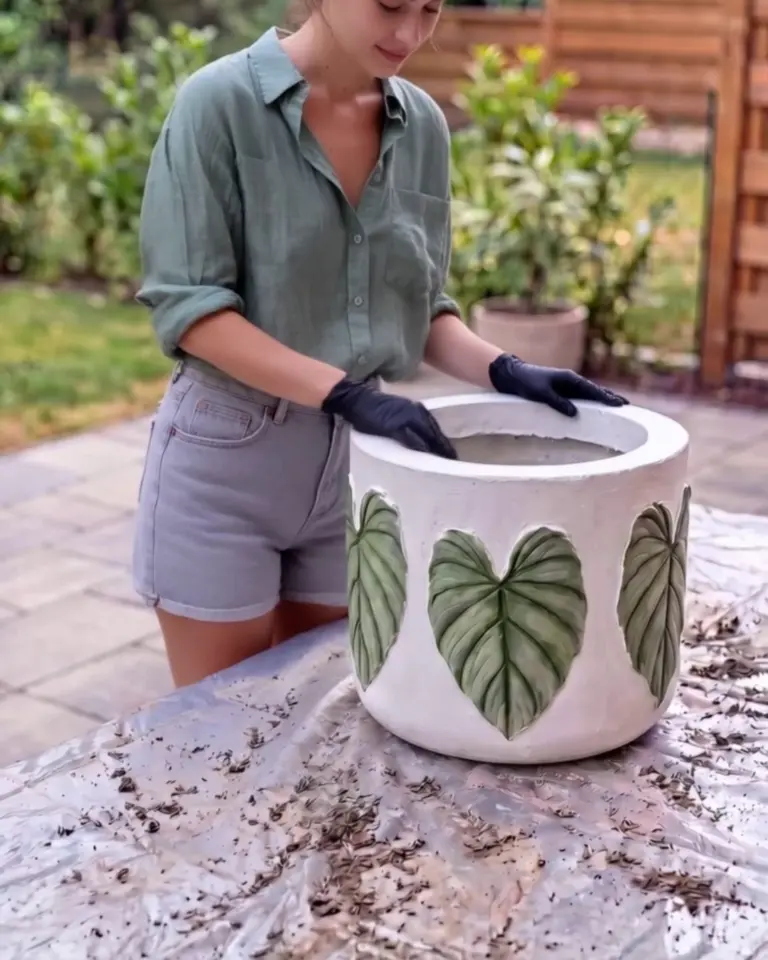
How a Concrete Leaf Planter Holds Up
The thin leaf edges of the print chip first if the planter gets knocked. A little green paint covers it.
Outdoors, the white needs a fresh coat every couple of years, sooner on the sunny side.
FAQ
The vein print came out blurry
Too much oil, or the leaf moved while the concrete went in. Use a lighter coat and press the next batch in from below, so it pushes the leaf flat instead of sliding it.
The bottom came out paper thin
The inner pot floated. Weight it with sand or gravel next time, and pour a full 1½ inches before it goes in.
Can I use hosta leaves?
Yes, and their deep ribs print well. Use the biggest ones you have; small leaves get lost on a pot this size.
The white paint is peeling
Usually the concrete was too new or still damp inside. Scrape off the loose paint, let it dry out for a few weeks, and recoat.
Can it stay outside all winter?
We haven’t left one out full of wet soil through a hard freeze. Concrete this thin can crack when wet soil freezes inside it, and we’d bring it in rather than find out.
The heavy-coat leaf is still there, facing the porch wall. You can just make out where the stem was.